r
aCk
I
nsTallaTIon
s
ysTem
r
emovIng The
r
aIls
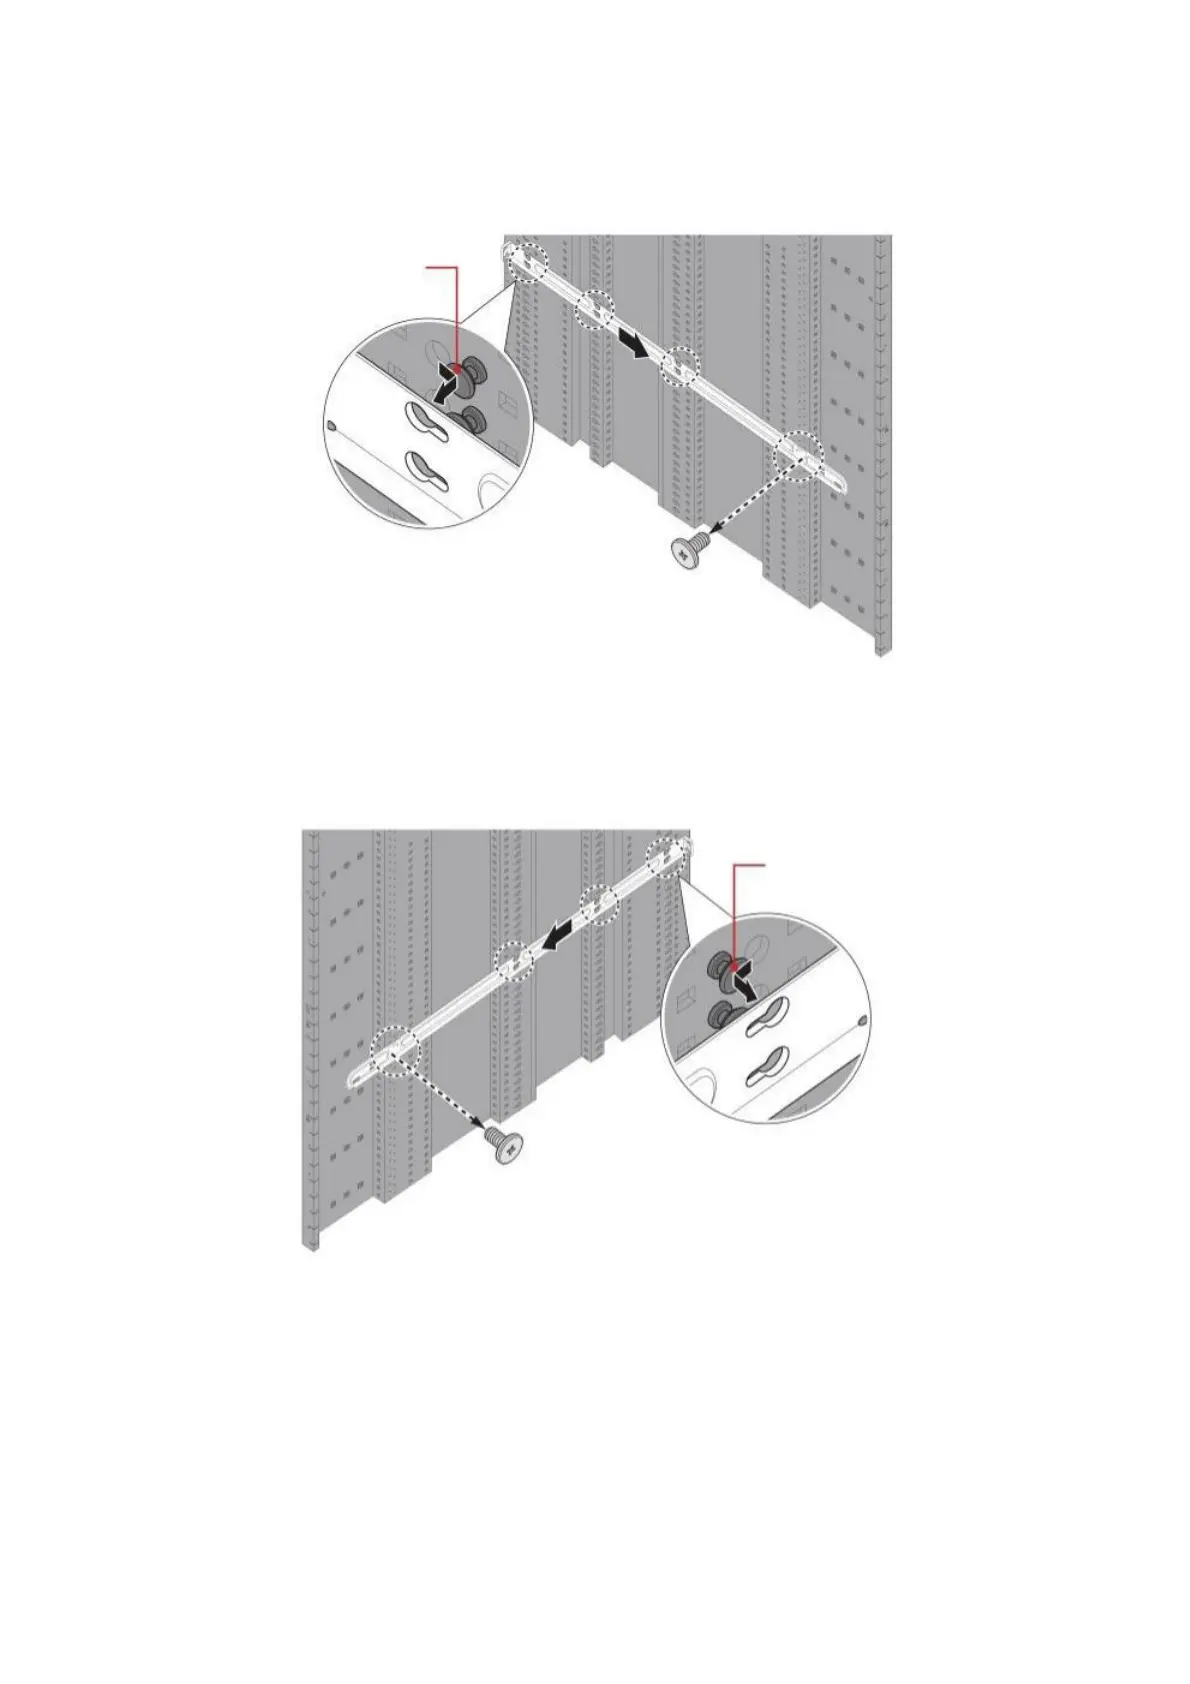
2. Remove the screw securing the front side of the right rail. Then slide the rail
forward to disengage the latches.
3. Remove the 6 mounting pins from the designated holes on the rack.
Mounting Pin
Figure 2-5: Removing the Right Rail
4. Remove the screw securing the front side of the left rail. Then slide the rail forward
to disengage the latches.
5. Remove the 6 mounting pins from the designated holes on the rack.
Mounting Pin
Figure 2-6: Removing the Left Rail
2-5