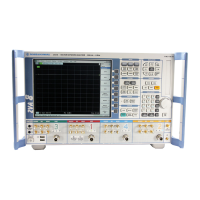
Repairs R&S ZVA
1177.5333.02 3.30 E-11
Re-insert the front unit into the instrument and secure to the front frame with 4 countersunk screws.
(610).
Fit the following countersunk screws (168) (2 ), (153), (154), (163), (164).
Avoid trapping cables and ensure cabling is tidy.
Replace the front cover (300 to 316) and secure with the countersunk screw (390).
Secure the 2 front handles (410) with the 4 screws.
Fit the termination and the 3.5mm connection cables (only with option ZVAx-B16)
Putting into operation
Connect the mains cable and turn on at the power on switch. The instrument is now in standby
mode.
Perform an Analyzer BIOS update (see https://gloris.rohdeschwarz.com, Document link: Firm- \
Software)
Turn the instrument off and on.
Select Service Level 2 (see Service Functions).
Check the protocol file for errors:
[ INFO : Error Log ]

 Loading...