4
Manual No. 016-0230-004 Rev. F 41
PowerGlide Plus
5. Locate the LEFT SOLENOID (PORT LF) and RIGHT SOLENOID (PORT RT) connectors on the harness
cable.
6. Connect the LEFT SOLENOID (PORT LF) connector to Port 4A on the AutoBoom valve.
7. Connect the RIGHT SOLENOID (PORT RT) connector to Port 4B on the AutoBoom valve.
8. Locate the LEFT PROP (PORT 5A) and RIGHT PROP (PORT 13A) connectors on the harness cable.
9. Connect the LEFT PROP (PORT 5A) connector to Port 5A on the AutoBoom valve.
10. Connect the RIGHT PROP (PORT 13A) connector to Port 13A on the AutoBoom valve.
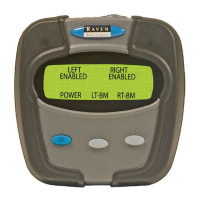
FIGURE 16. Machine’s Left and Right Boom Function Controls
11. Locate the machine’s boom function coils near the machine’s hydraulic valve.
12. Disconnect the connector from the machine’s left tilt up coil.
13. Install a boom sense adapter cable (P/N 115-0171-559) between the coil and the machine’s coil connector.
14. Disconnect the connector from the machine’s left tilt down coil.
15. Install a boom sense adapter cable (P/N 115-0171-559) between the coil and the machine’s coil connector.
16. Disconnect the connector from the machine’s right tilt up coil.
17. Install a boom sense adapter cable (P/N 115-0171-559) between the coil and the machine’s coil connector.
18. Disconnect the connector from the machine’s right tilt down coil.
19. Install a boom sense adapter cable (P/N 115-0171-559) between the coil and the machine’s coil connector.
FIGURE 17. Boom Sense Adapter Cable Diagram
20. Cut off the male weatherpack ends of the installed boom sense adapter cables, just below the cable
connectors.
Cut Here
Male Weatherpack
End
Connect to Coil
Connect to the
Machine’s Harness
Cable (Connector
Removed from the
Coil)
 Loading...