Chapter 4
44 Miller Nitro 2000 Series AutoBoom™ Installation Manual
11. Cut the smaller male LEFT SOLENOID UP SENSE connector off the yellow wire on the AutoBoom harness
cable (P/N 115-0230-052).
12. Plug the removed connector into the remaining LEFT SOLENOID UP SENSE connector on the AutoBoom
harness cable.
13. Splice a ring terminal (not provided) onto the cut end of the cable.
14. Connect the ring terminal to the signal side of the left up coil.
15. Cut the smaller male LEFT SOLENOID DOWN SENSE connector off the black wire on the AutoBoom
harness cable.
16. Plug the removed connector into the remaining LEFT SOLENOID DOWN SENSE connector on the
AutoBoom harness cable.
17. Splice a ring terminal onto the cut end of the cable.
18. Connect the ring terminal to the signal side of the left down coil.
19. Cut the smaller male RIGHT SOLENOID UP SENSE connector off the wire on the AutoBoom harness
cable.
20. Plug the removed connector into the remaining RIGHT SOLENOID UP SENSE connector on the AutoBoom
harness cable.
21. Splice a ring terminal onto the cut end of the cable.
22. Connect the ring terminal to the signal side of the right up coil.
23. Cut the smaller male RIGHT SOLENOID DOWN SENSE connector off the wire on the AutoBoom harness
cable.
24. Plug the removed connector into the remaining RIGHT SOLENOID DOWN SENSE connector on the
AutoBoom harness cable.
25. Splice a ring terminal onto the cut end of the cable.
26. Connect the ring terminal to the signal side of the right down coil.
Connect the Harness Cable to the Controller Cable
1. Route the AutoBoom harness cable (P/N 115-0230-052) toward the machine’s cab.
2. Remove the terminator from the machine’s harness in the cab.
3. Install the terminator on the 4-pin Deutsch connector of the AutoBoom harness cable.
4. Connect the CAN connector of the controller cable (P/N 115-0230-056) to the machine’s harness
connection from which the terminator was removed.
5. Connect the round 16-pin connector on the AutoBoom harness cable to the mating 16-pin connector on the
controller cable.
6. Connect the spade terminal on the controller cable to a switched power source on the machine.
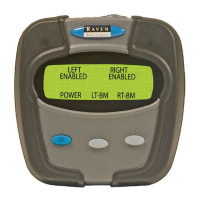
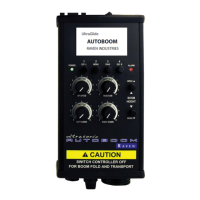
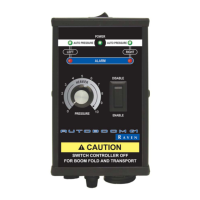
Connect the Controller (If Applicable)
1. Route the controller cable (P/N 115-0230-056) into the right side of the machine’s cab.
2. Connect the round 16-pin connector on the controller cable to the AutoBoom controller (P/N 063-0130-021).
Note: The AutoBoom controller should be mounted in the machine cab so that the machine operator has
easy access to it.
Connect the Field Computer (If Applicable)
Refer to the Installation & Operation Manual and the appropriate wiring schematic beginning on page 46 for
installation and wiring instructions for your specific field computer.
 Loading...