20
User Manual
ChapTer 6: operaTing The deviCe
is chapter explains how to start the device and change the device settings.
6.1 starting the deviCe
1. Plug in the device to an AC or DC power source to power up the device. A confirmation alarm
sounds, and the control pad buttons light up.
NOTE: If the alarm does not sound or the buttons do not light up, the device requires servicing. Call
your home care provider.
Several screens appear initially during this step:
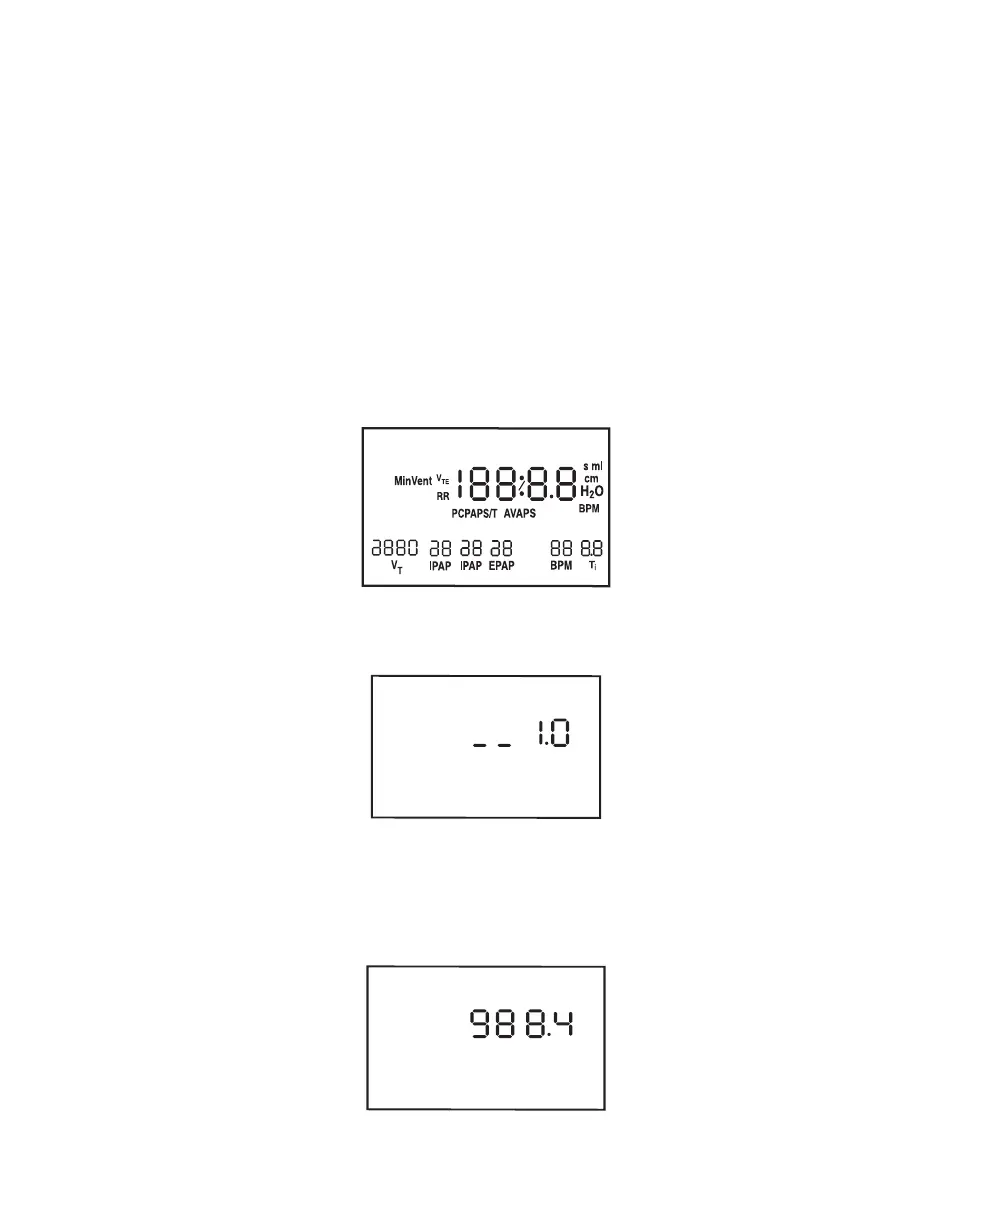
a. e first screen that appears is the Self Test screen, shown in Figure 6–1. is is the internal test
performed by the device.
LEAK
Max
Min
ERASE
HOURS RISE TIME FLEX
ALARM
PATIENT HEAT
RAMP
SETUP
APNEA
LIGHT
START
CARD
Figure 6–1 Self Test Screen
b. e next screen displays the software version, as shown in Figure 6–2:
Figure 6–2 Software Version Screen
NOTE: e version number (1.0) shown in Figure 6–2 is an example. Your device may have a higher
software version installed.
c. e third screen to appear is the Blower Hours screen, which displays the blower hours time meter:
Figure 6–3 Blower Hours Screen

 Loading...