2
Playback Functions
103
Note -----------------------------------------------------------------------------------------------------------
• The image size after trimming differs depending on the size of the original image and the size of the
trimming frame.
Correcting Skewed Images
You can correct images of rectangular objects such as message boards and
business cards taken at an angle so that the images appear as if they were
taken from the front.
1 Display the image to correct in playback mode, and then press
the MENU/OK button.
The [Playback] menu appears.
2 Select [Skew Correction], and then press the $ button.
A message appears to indicate processing is being performed, and then up
to five areas recognized as correction targets are indicated by yellow frames.
If an area could not be detected, an error message appears.
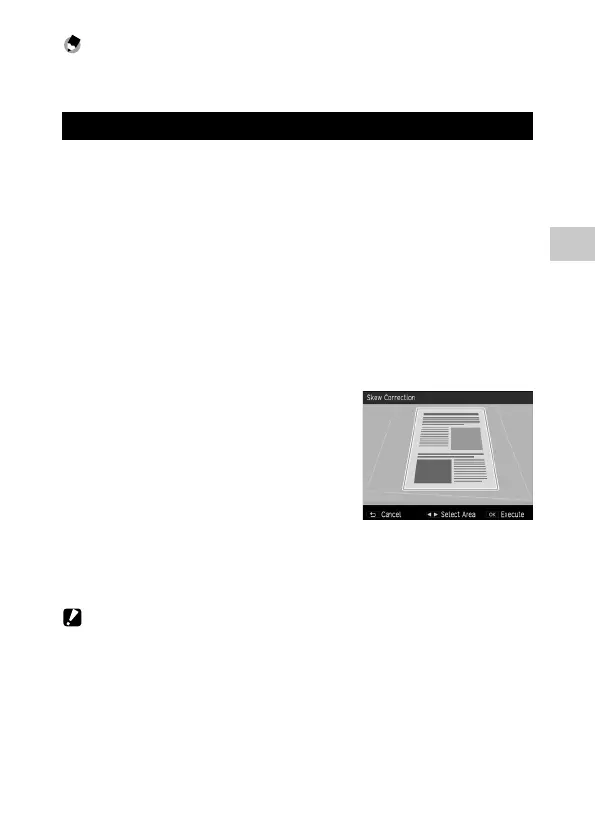
3 Press the #$ buttons to select a
correction area.
To cancel the correction, press the r button.
4 Press the MENU/OK button.
Screw correction is performed for the selected area, and then the portions
outside the frame are trimmed.
Caution -------------------------------------------------------------------------------------------------------
• The time for skew correction increases with image size.

 Loading...