3
Changing Camera Settings
125
Setting the Information Displayed in Shooting Mode
You can set the information displayed for each number of presses of the
DISP. button in shooting mode.
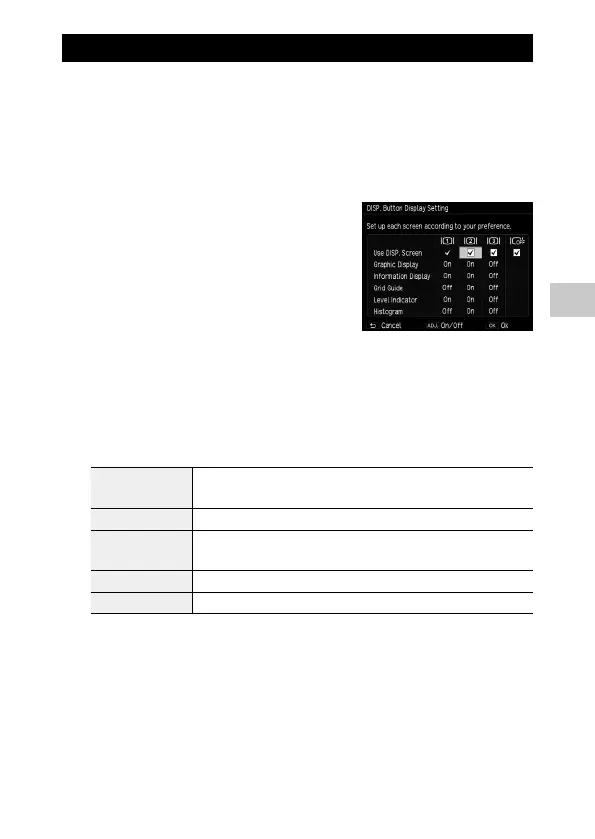
1 Select [DISP. Button Display Setting] in the [Setup] menu, and
then press the $ button.
The [DISP. Button Display Setting] screen appears.
2 Press the #$ buttons to set [Use
DISP. Screen].
O1 to O3 indicate the number of button
presses, and OOFF indicates that the pic-
ture display is off.
3 Press the ADJ. lever to enable or disable a setting.
A setting without a check mark is disabled (the information is not displayed).
O1 cannot be disabled.
4 Press the !"#$ buttons to select a display item, and then
press the ADJ. lever to turn it on/off.
Graphic Display Displays the values that can be set at the bottom of the screen while the aper-
ture value and shutter speed are being changed.
Information Display Displays symbols for the shooting mode, settings, etc.
Grid Guide Displays guidelines for shooting.
Select the type of grid in [Grid Guide Display Options] of the [Setup] menu.
Level Indicator Displays an indicator for confirming camera tilt.
Histogram Displays a histogram.
5 Press the MENU/OK button.
The [Setup] menu reappears.

 Loading...