7.3 Check: Control direcon of the Manual Control (MC)
1. Use the manual control (MC). Let the motor gearbox turn in a direcon that can cause no
damage to the operated system.
2. Make sure that the symbols on the manual control (MC) agree with the necessary moving
direcon (of the operated system).
Direcon A Direcon B
CORRECT - Go to step 5.
NOT CORRECT - De-energize the system. Go to step 3.
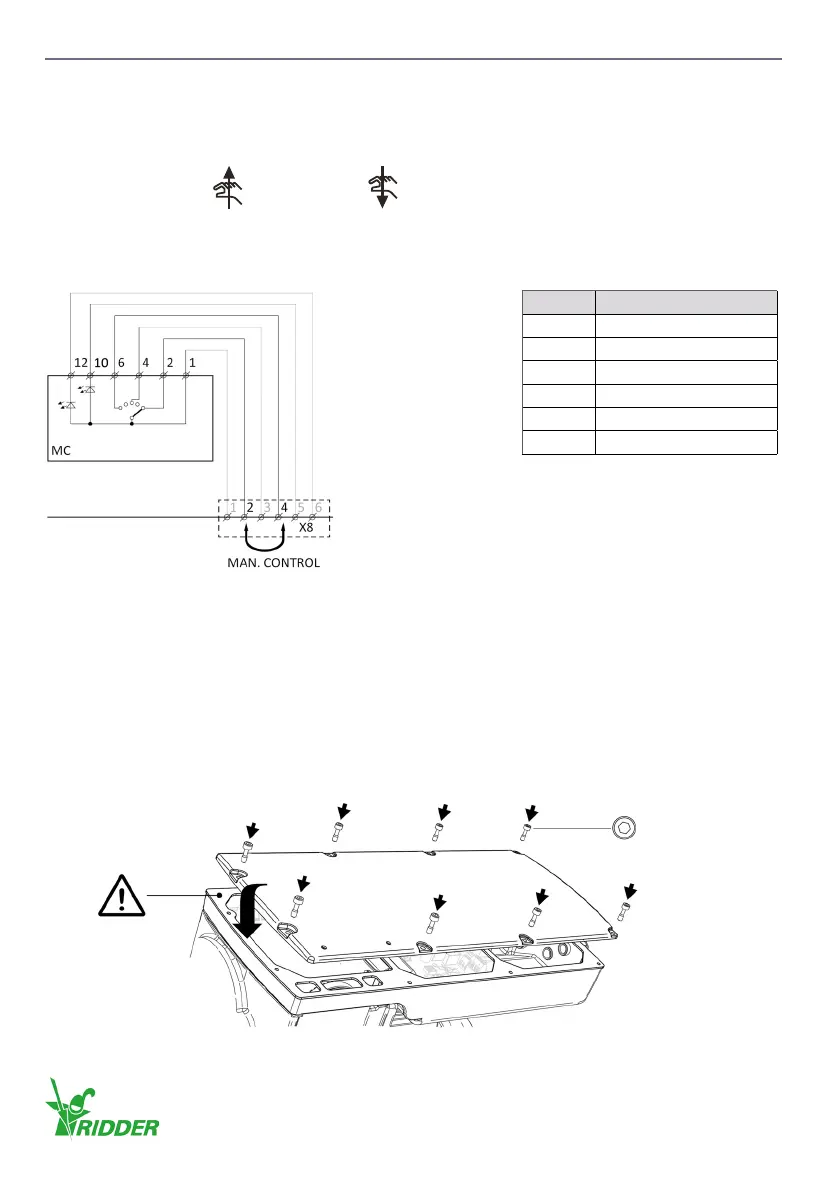
3. Interchange the connecons 2 and 4 of connector X8.
4. Energize the system. Go to step 1.
5. The check procedure of the direcon-of-rotaon of the manual control is completed.
Installaon cover
Always put the cover and the bolts (8x) back aer the work. Problems with moisture and/or the IP
protecon rang (if applicable) must be prevented!
• Do a check of the gasket for dirt and damages.
• Put the gasket (if removed) back carefully and make sure that no damage is caused.
• Tighten the bolts crosswise and gradually with the correct ghtening torque.
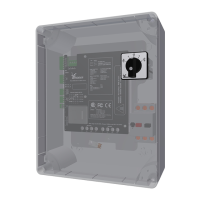
Control board A2
X8 Manual Control (MC)
1 24 V DC
2 Direcon A
3 Auto
4 Direcon B
5 LED red (D2)
6 LED green (D1)
HEX 4 mm (8x)
2 Nm
(maximum)
Ridder Drive Systems B.V.
T +31 (0)341 416 854 - F +31 (0)341 416 611 - I ridder.com
26