Operating Progeny Analyzers 29
1006232_RevD
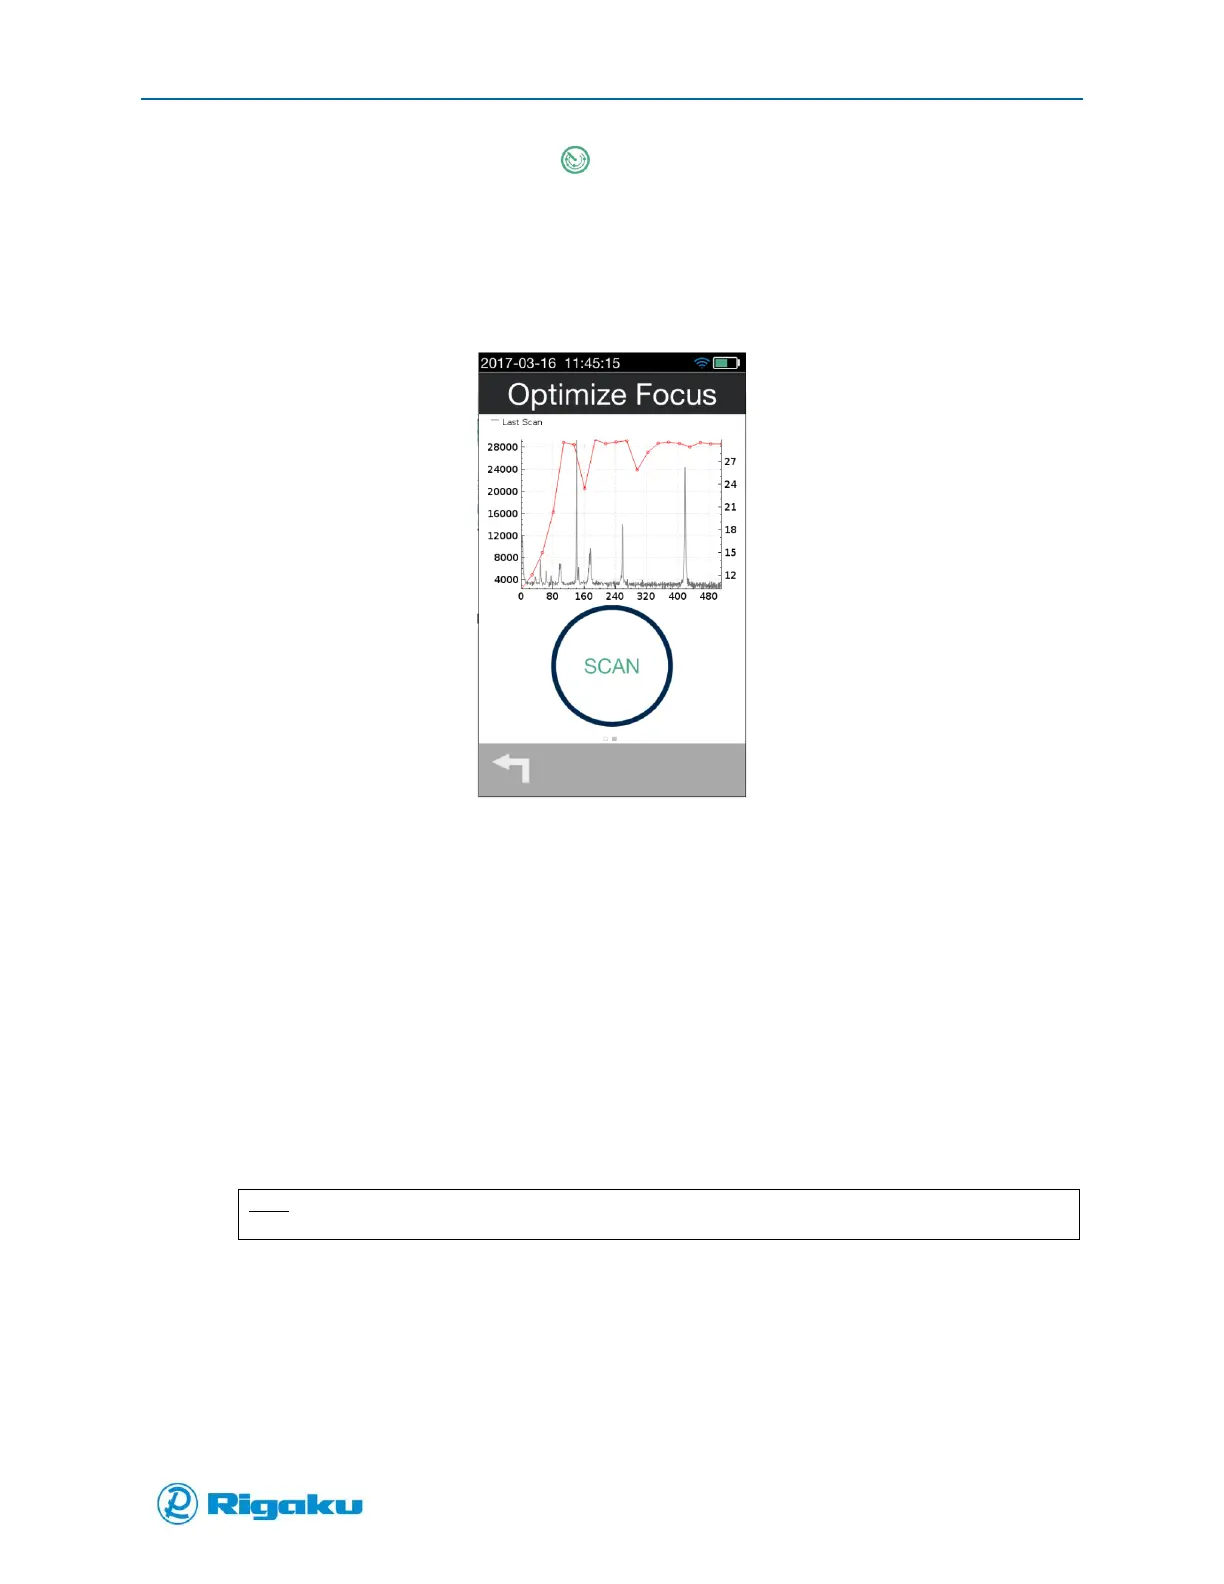
3. On the bottom of the panel select (Optimize).
4. Tap Arm Laser, and then Scan to begin continuous scanning in which another measurement
is performed as soon as the first is finished.
The spectra of the material are shown in the background and in the foreground is a red line
showing the counts.
Figure 13. Optimize Focus
5. You will need to maximize the counts to determine the optimal focal point setting.
While the Optimize is running- slowly make small (0.5-1mm) movements of the adaptor
focal position. The counts will increase as you do so. Do this until the highest Raman
signal is obtained. This is the optimal focal position for the adaptor and the type of
material used, and should be used for any further testing.
Preparing to Scan: Other scan settings and properties
Once the focal point is set for a sample there are other scan properties that may need to be adjusted to
get sufficiently detailed spectral results. These are:
Power—specifies the intensity of the laser stimulus of the sample.
Exposure—specifies the duration of the spectral collection period.
Averages—specifies the number of times the stimulus/collection sequence is performed
during the Scanning phase of the sample-analysis cycle.
Note:
Adjustments to other scan properties may change the quality of spectral result.
It is recommended that the user select the Auto Collect option as a preliminary test of the samples, and
adjust any scan properties only if Auto Collect settings are not adequate for the sample type.
When the sample container is aligned and scan properties selected you are ready to perform a scan (see
“Performing Scans”).
 Loading...