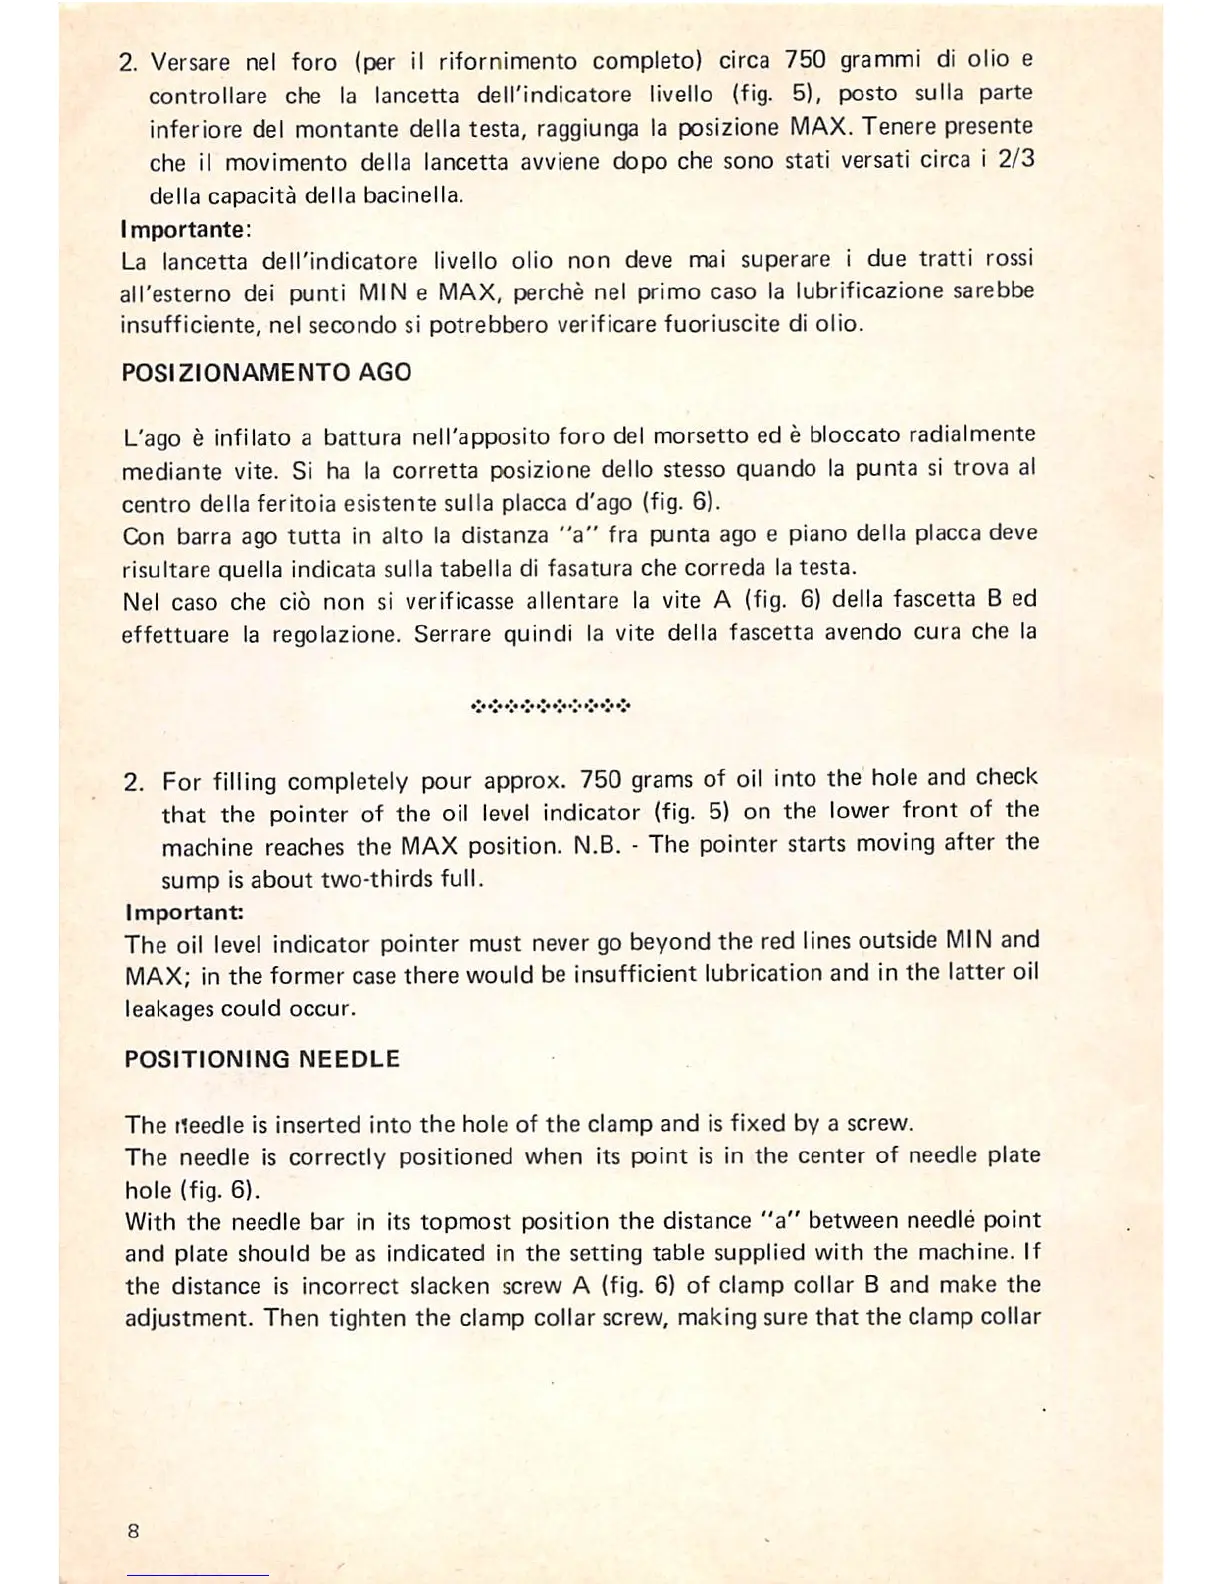
2. Versare nel foro (per il rifornimento completo) circa 750 gramml di olio e
controllare che la lancetta dell'indicatore livello (fig. 5), posto sulla parte
inferiore del montante della testa, raggiunga la posizlone MAX. Tenere presente
che il movimento della lancetta avviene dopo che sono stati versati circa i 2/3
della
capacita
della
bacinella.
Importante:
La
lancetta
dell'indicatore
livello
olio
non
deve mai
superare
i
due
tratti
rossi
all'esterno dei punti MIN e MAX, perche nel primo caso la lubrificazione sarebbe
insufficiente,
nel
secondo
si
potrebbero
verificare
fuoriuscite
di olio.
POSIZIONAMENTO
AGO
L'ago
e infilato a battura nell'apposito foro del morsetto ed e bloccato radialmente
mediante vite. Si ha la corretta posizione dello stesso quando la punta si trova al
centro
della
ferltoia
esistente
sulla piacca
d'ago
(fig. 6}.
Con barra ago tutta in alto la distanza
"a"
fra punta ago e piano della piaccadeve
risultare
quella
indicata
sulla
tabella
di
fasatura
che
correda
la
testa.
Nel caso che cio
non
si verificasse allentare la vite A (fig. 6) della fascetta B ed
effettuare la regolazlone. Serrate quindi la vite della fascetta avendo cura che la
2. For
filling
completely pour approx. 750
grams
of oil into the hole and check
that the pointer of the oil
level
indicator
(fig.
5) on the
lower
front of the
machine reaches the
MAX
position. N.B. • The pointer starts moving after the
sump
is
about
two-thirds
full,
important
The oil
level
indicator pointer must nevergo beyond the red linesoutside
MIN
and
MAX;
in the former case there would be insufficient lubrication and in the latter oil
leakages
could
occur.
POSITIONING
NEEDLE
The
needle
is
inserted
into
the
hole
of
the
clamp
and
is
fixed
by a
screw.
The
needle is
correctly
positioned
when
its
point
is in
the
center
of needle plate
hole
(fig. 6).
With
the
needle
bar
in its
topmost
position
the
distance
"a"
between
needle
point
and plate should be as indicated in
the
setting table supplied with
the
machine. If
the
distance
is
incorrect
slacken
screw A (fig. 6)
of
clamp
collar
8
and
make
the
adjustment.
Then
tighten
the
clamp collar screw, making sure
that
the
clamp
collar