EVISION - HD101 & HD102 www.roevisual.com
V1.13, 2020-05-20 | Copyright © 2020 ROE Visual Co., Ltd. All Rights Reserved.
18 / 41
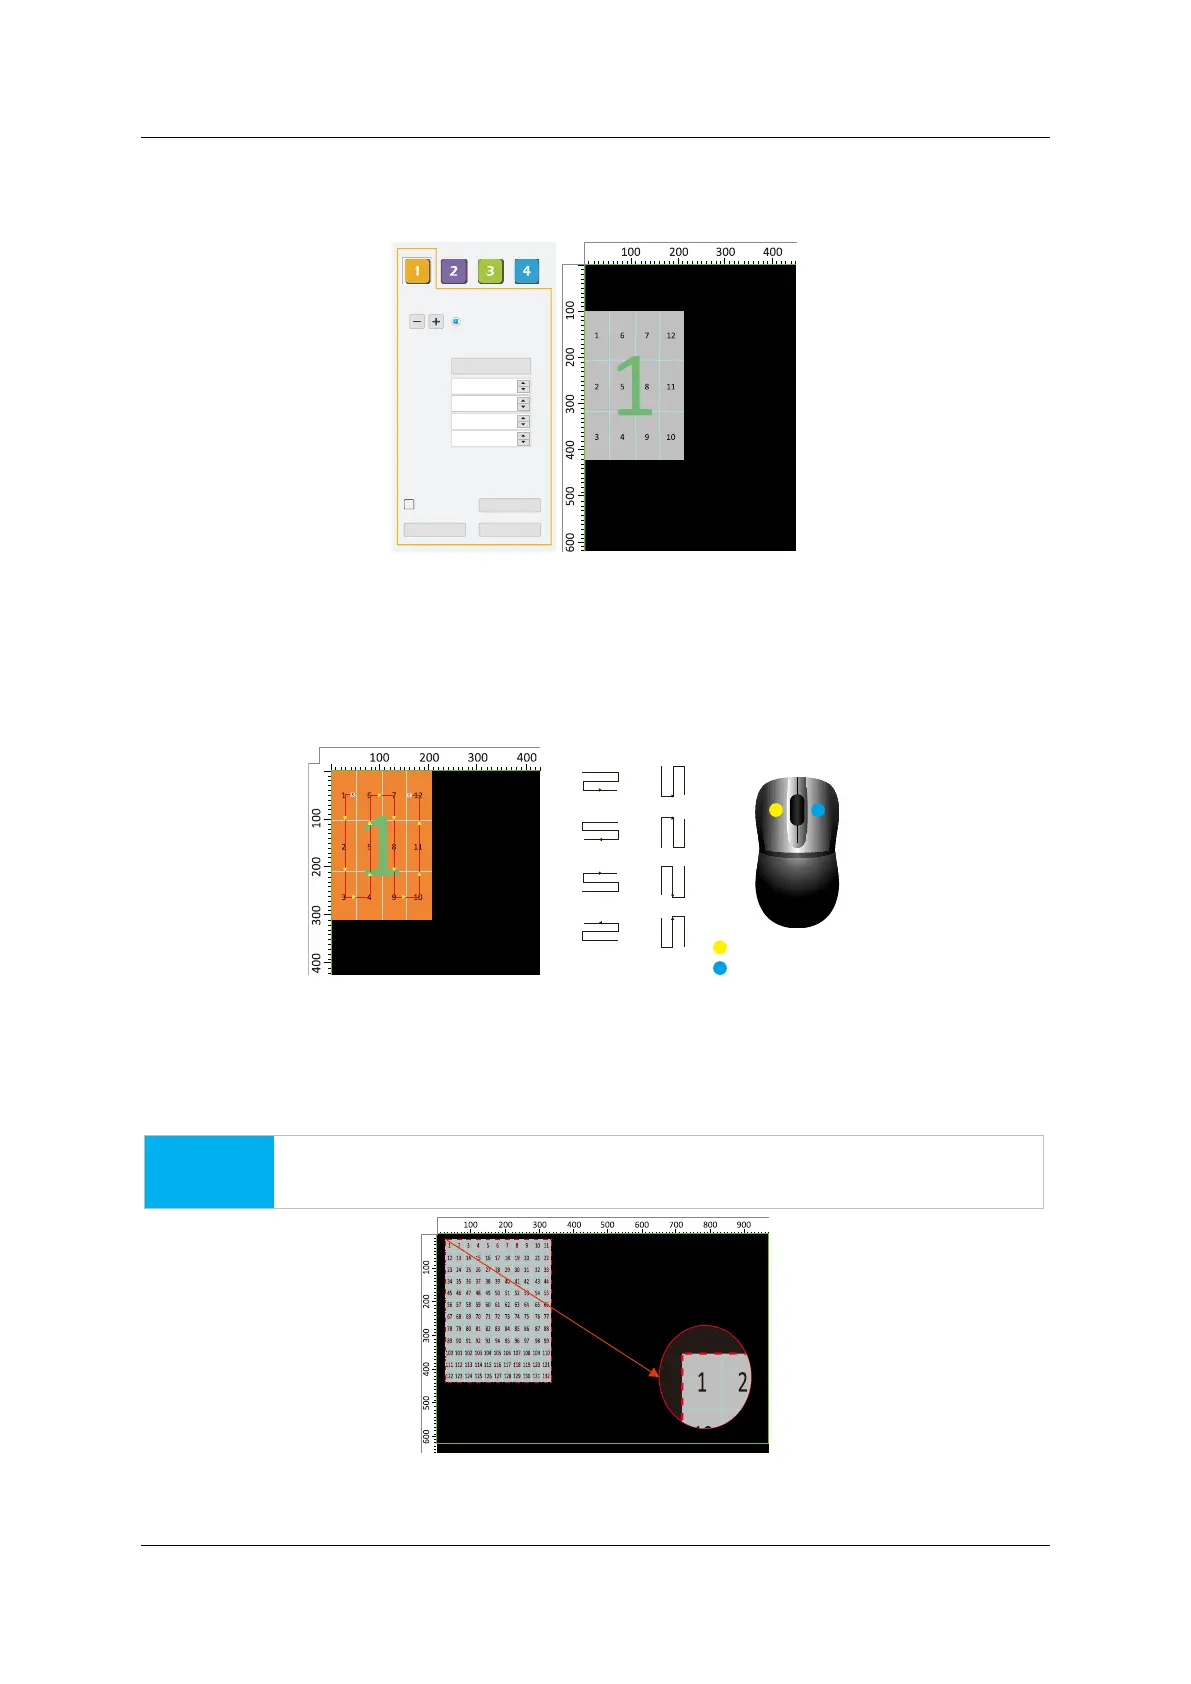
5.8 Adjust Tile QTY and Position
Adjust the QTY of the tiles accordingly. Adjust the position of the tiles, relative to the canvas.
The mouse wheel can fast-change the values.
Figure 5-8. Tile QTY and position adjustment
5.9 Mapping
Establish the mapping of the tiles accordingly.
Use the Fast Mapping Buttons for auto-mapping.
Left-click on tiles to establish links, while a right-click will remove ones.
Figure 5-9. Tile mapping
5.10 Output Capacity
The outer border of the tiles indicates the output capacity of one output port.
RED border indicates that the total resolution of the tiles is exceeding the output capacity.
NOTICE
Please ensure the resolution of tiles to one output port is within capacity.
Figure 5-10. Output capacity indicator
Mapping Save Setting
Preview
416
624
1
B5-MBI5051B.rcvb
Tile Type
H Count
V Count
H Position
V Position
H Size
V Size
Hybird (port1)
4
0
100
3
Fast Mapping Button
Left click to establish link
Right click to remove link