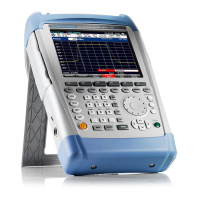
R&S FSH3 Using the Markers
¾ Press the MARKER or DELTA softkey.
The R&S FSH3 opens a list for selecting the marker or
delta marker to be edited. The markers that are already
switched on are highlighted in green. The (delta)
marker numbers already allocated to a (delta) marker
are deactivated, i.e. greyed out.
¾ Using the rotary knob or the cursor keys, select the
marker or delta marker you want and confirm your
selection with the ENTER key or the MARKER or
DELTA softkey.
The R&S FSH3 opens the entry box for the frequency
of the selected marker or the spacing between the
delta marker and the reference marker M1.
¾ Using the cursor keys, place the marker or delta
marker near the position you want. The step width
here is 10 % of the X axis.
¾ Then use the rotary knob to fine-tune the marker or
delta marker to the signal The step width
corresponds to the pixel spacing of the trace.
¾ Alternatively, enter the desired position of the
marker or delta marker using the number keys and
terminate the entry with one of the unit keys.
The R&S FSH3 displays the marker or delta marker last edited in the marker readout box at the upper
left-hand corner of the screen. All marker functions in the SET MARKER menu apply to the displayed
markers.
1145.5973.12 4.25 E-6

 Loading...
