95
Chapter 5: Maintenance
2. Secure the print heads in place.
1
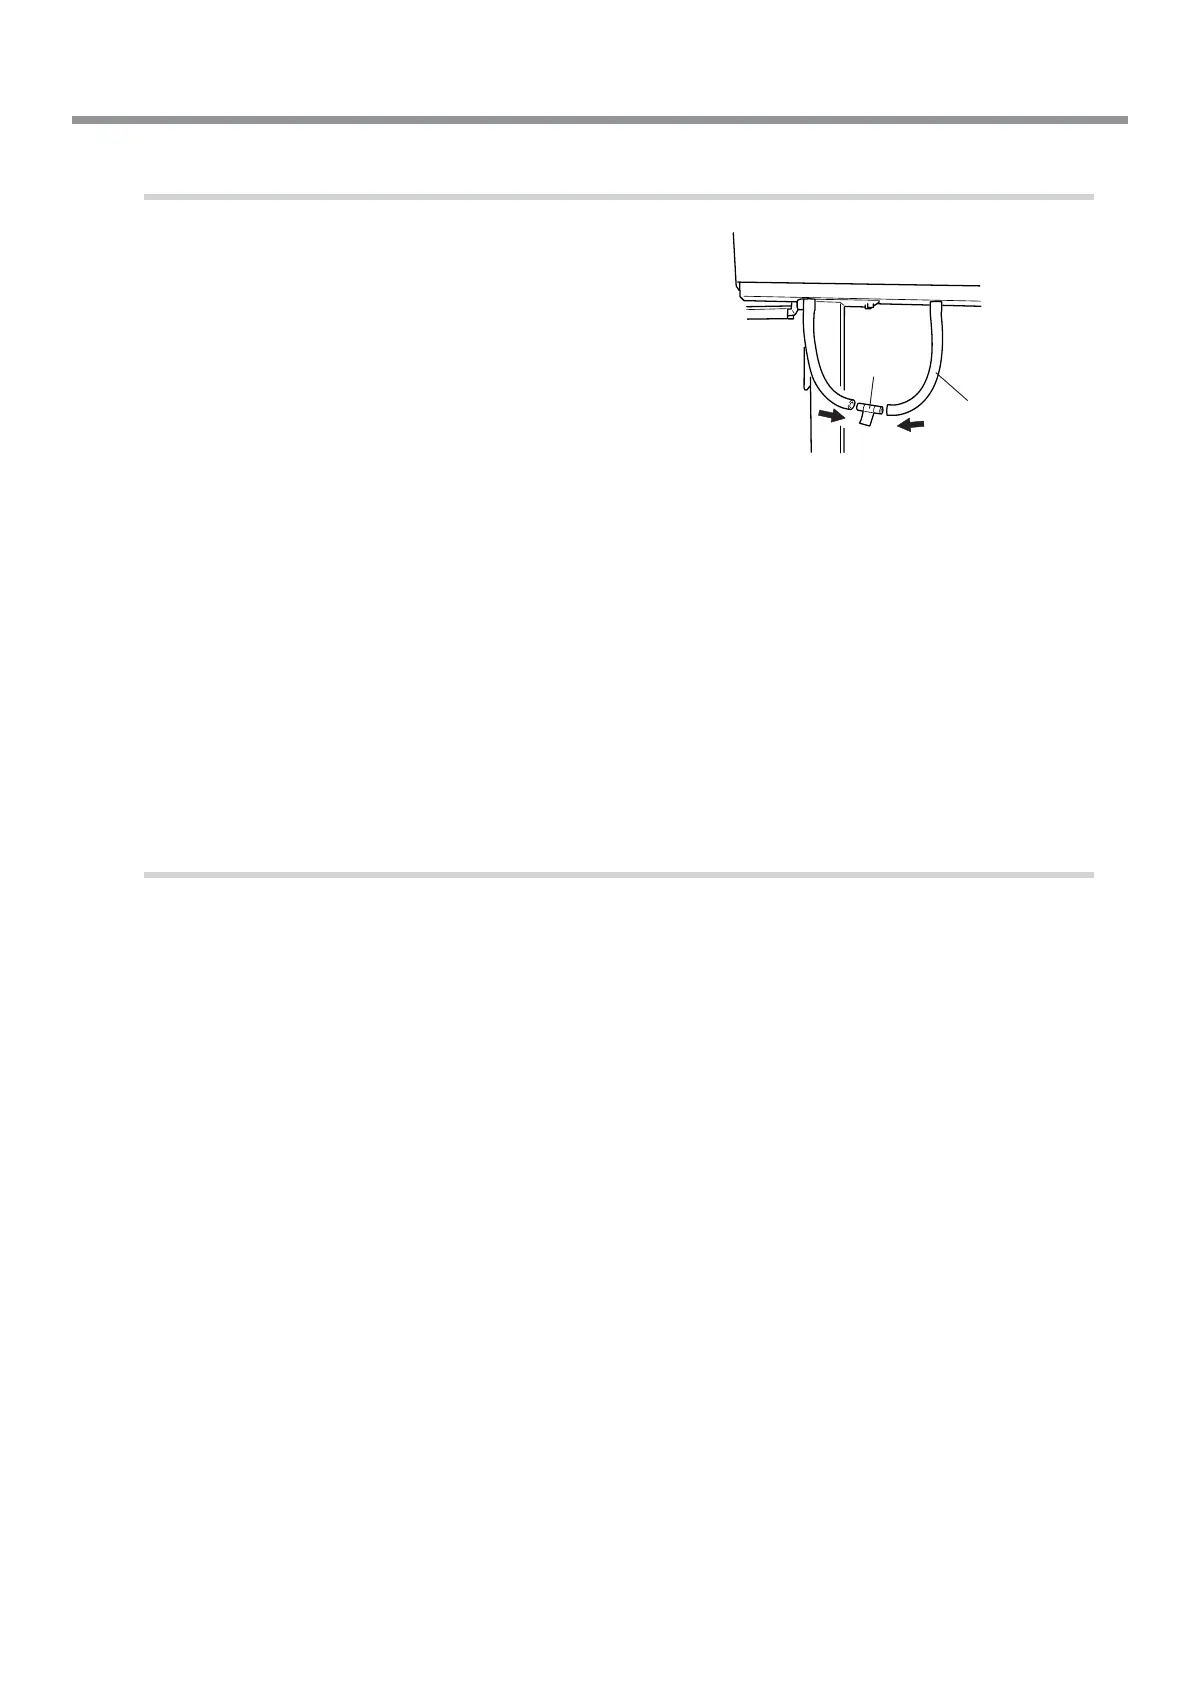
Remove the drain bottle and discard the dis-
charged ink. (Refer to "5-5 Disposing of Dis-
charged Ink.")
Pull out the drain tube from the bottle stand and
attach the stopper.
2
Detach the blade holder.
3
Flip the loading lever to the rear.
4
Secure the print heads in place using the re-
tainers.
For information on how to secure in place, go to "1-3
Assembling and Installing" and refer to "Step 4: Remove
the Protective Media."
5
Lower the roll media from the printer and de-
tach the shafts.
If necessary, also detach the left and right arms
and the stand.
The machine is now ready to be moved.
3. Immediately move the machine and fill it with ink.
1
Once the preparations are complete, move the machine with as little delay as possible.
2
Immediately reinstall the machine and fill with ink.
To reinstall and fill with ink, carry out "1-3 Assembling and Installing" through "1-6 Installing the blade." When filling with
ink, four unused cleaning cartridges are required.
Drain tube
Stopper
5-8 When Moving the Unit

 Loading...