56
Chapter 2: Basic Operation
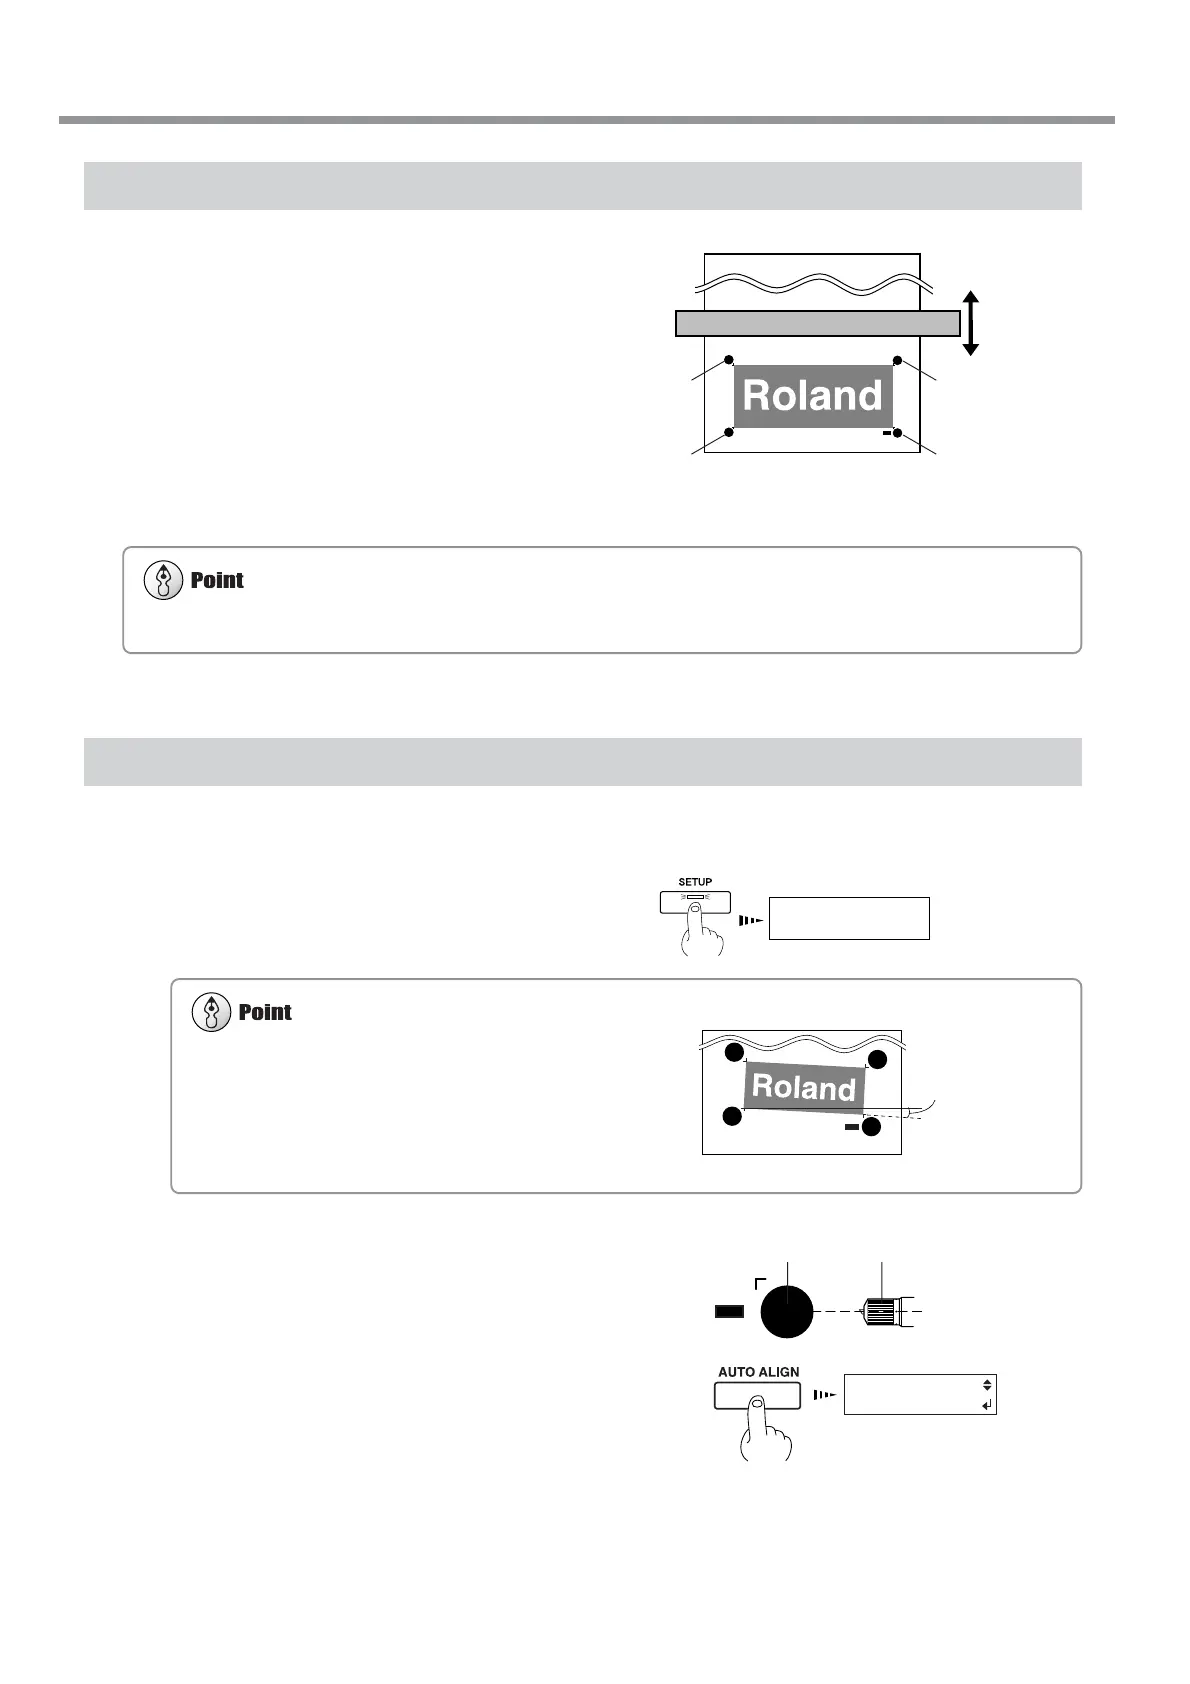
Printing with Crop Marks
Load media and output the data. Crop marks are
automatically printed at four places.
Use your RIP to make the setting for printing crop
marks. For information on how to make the set-
ting, refer to the documentation for the RIP you're
using.
You can use BASE POINT and ALIGN POINT
1 through ALIGN POINT 3 to perform alignment
automatically or manually. For information about
how to make the settings, see the following sec-
tion.
Aligning Automatically
Read the four crop marks and perform alignment for printing and cutting.
1
Reload the media.
Press the [SETUP] key to display the top
screen.
2
Move the center of the blade to a position over
the lower-right crop mark (the base point), then
press the [AUTO ALIGN] key.
The screen shown in the figure appears.
W 1234 mm
Top menu
AUTO ALIGN
BASE - ALIGN
Cropmark
(ALIGN POINT 2)
Cropmark
(BASE POINT)
Cropmark
(ALIGN POINT 3)
Cropmark
(ALIGN POINT 1)
2-7 Reloading the Media and Performing Cutting
Crop marks and the like drawn with computer programs cannot be used as crop marks by this machine.
Alignment cannot be performed if the line connecting the left
and right crop marks is slanted by 5 degrees or more. Adjust the
positioning of the loaded media.
Within 5 degrees
Crop mark Blade
 Loading...