47
Synchronizing/Recording with Other Devices
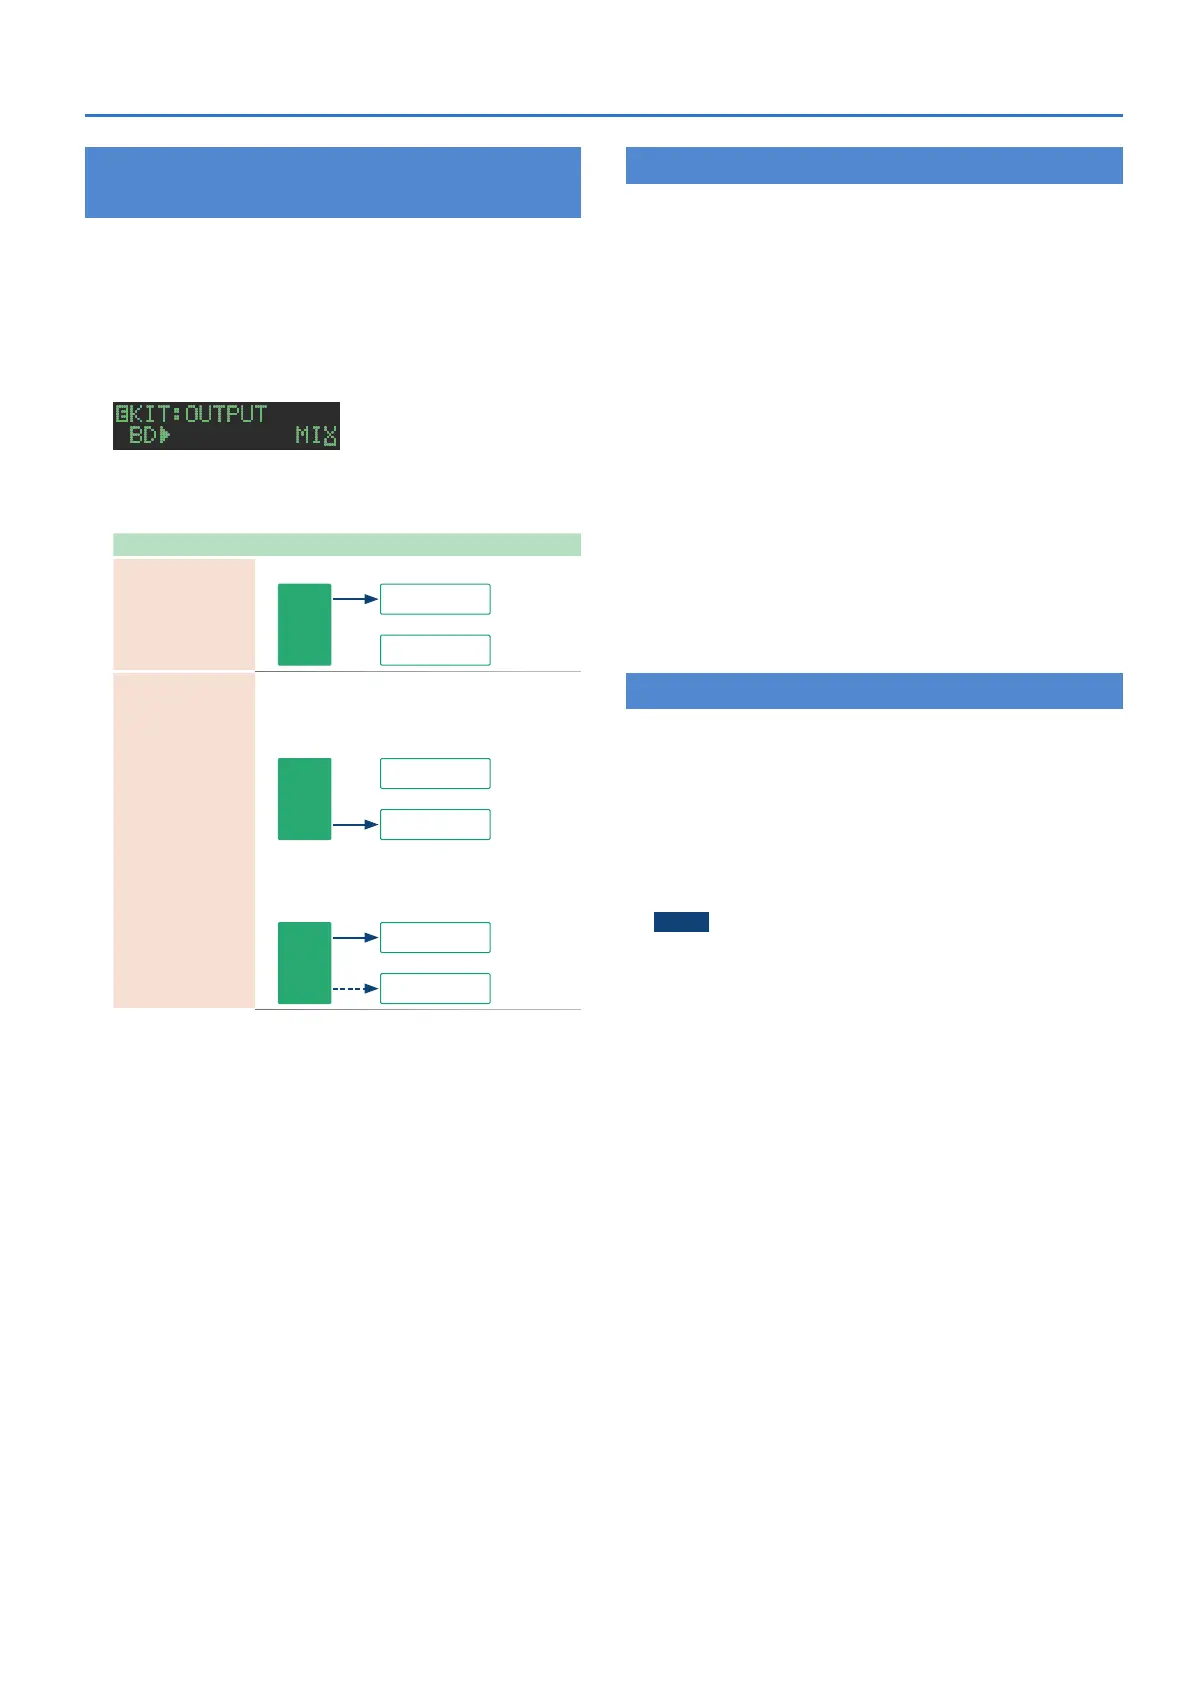
Assigning an Instrument to the ASSIGNABLE
OUT/TRIGGER OUT jacks
1. Hold down the [SHIFT] button and press the [KIT]
button.
The setting screen appears.
2. Use the [VALUE] knob to select the KIT:OUTPUT
“BD”–”RC” parameter, and press the [ENTER]
button.
3. Use the [VALUE] knob to select the jack that you
want to assign, and press the [ENTER] button.
Parameter Explanation
MIX
Output stereo audio from the MIX OUT jacks.
Instrument
MIX OUT
ASSIGNSBLE OUT
TRIGGER OUT
ASSIGN 1–6
ASSIGN A–C
Output mono audio from an ASSIGNABLE OUT/
TRIGGER OUT 1–6 jack.
Output stereo audio from the ASSIGNABLE
OUT/TRIGGER OUT A–C jacks.
Instrument
MIX OUT
ASSIGNSBLE OUT
TRIGGER OUT
* If the UTILITY: ASSIGN OUT 1–6 setting is
NORMAL or BOOST, audio is output. If the
setting is TRIGGER, a trigger is output, and audio
is also output from the MIX OUT jacks.
Instrument
MIX OUT
ASSIGNSBLE OUT
TRIGGER OUT
4. Press the [KIT] button.
Exit the KIT Edit screen.
Inputting an External Audio Source (EXT IN)
Connect a microphone, synthesizer, or rhythm machine etc. to the
EXT IN jacks.
You can do the following things to the audio source that’s input to
the EXT IN jacks.
5 Select the input (stereo input x 1 / mono input x 2)
&
“Convenient Functions and Settings (UTILITY)”
0
“EXT IN” (p. 43)
5 Apply a side-chain
&
“Editing a Kit’s Settings (KIT Edit)”
0
“KIT: EXT IN” (p. 27)
5 Specify the gain (Gain).
&
“Editing a Kit’s Settings (KIT Edit)”
0
“KIT: EXT IN” (p. 27)
5 Specify the stereo position (Pan).
&
“Editing a Kit’s Settings (KIT Edit)”
0
“KIT: EXT IN” (p. 27)
5 Apply reverb (Reverb Send)
&
“Editing a Kit’s Settings (KIT Edit)”
0
“KIT: EXT IN” (p. 27)
5 Apply delay (Delay Send)
&
“Editing a Kit’s Settings (KIT Edit)”
0
“KIT: EXT IN” (p. 27)
5 Select the output destination (MIX OUT / ASSIGNABLE OUT)
5 Apply SCATTER (if FILL IN is set to SCATTER, and using MIX OUT
output)
5 Apply MASTER FX (if using MIX OUT output)
Connecting a Computer via USB
If you use a commercially available USB 2.0 cable to connect the TR-8S
to your computer, you can synchronize the TR-8S with your DAW via
USB MIDI, or record individual instruments of the TR-8S onto tracks of
your DAW via USB audio.
In order to use the TR-8S, you’ll need to download the driver from the
following URL and install it on your computer.
For details on installation, refer to the following URL.
&
https://www.roland.com/support/
NOTE
Do not connect the TR-8S to your computer before you have
finished installing the driver.
If you have already connected the TR-8S, disconnect it, and
then reconnect it after driver installation is completed.
 Loading...