User Manual - 6/32
Step 4. Set current time and date
Press MENU button and use the button ▼ to select “Time settings” – press MENU.
When the box “Automatic” is checked (factory setting) and the Controller is connected to the internet the clock and date will be set
automatically.
If there is no internet connection then select “Clock settings” with MENU, set “hour” with ▼ or ▲ – conrm with MENU, set “Minute” with ▼
or ▲ – press MENU. Press MENU to “CONFIRM” or choose “CANCEL” with ▲ – press MENU.
Now choose “Date settings”, set “Year” with ▼ or ▲ – conrm with MENU, set “Month” with ▼ or ▲ – press MENU, set “day” with ▼ or ▲ – press
MENU. Press MENU to “CONFIRM” or choose “CANCEL” with ▲ – press MENU.
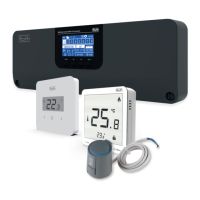
Step 5. Congure the settings for the temperature sensors and the room regulators
To enable the Roth controller - master to control a given zone, it is necessary to provide it with current temperature value. The easiest way is to
use a room thermostat, where the user will be able to change the pre-set temperature value directly on the thermostat. But the user can also use
a sensor which can be controlled via the display on the controller or using the Roth Soline app.
Registration of room thermostat:
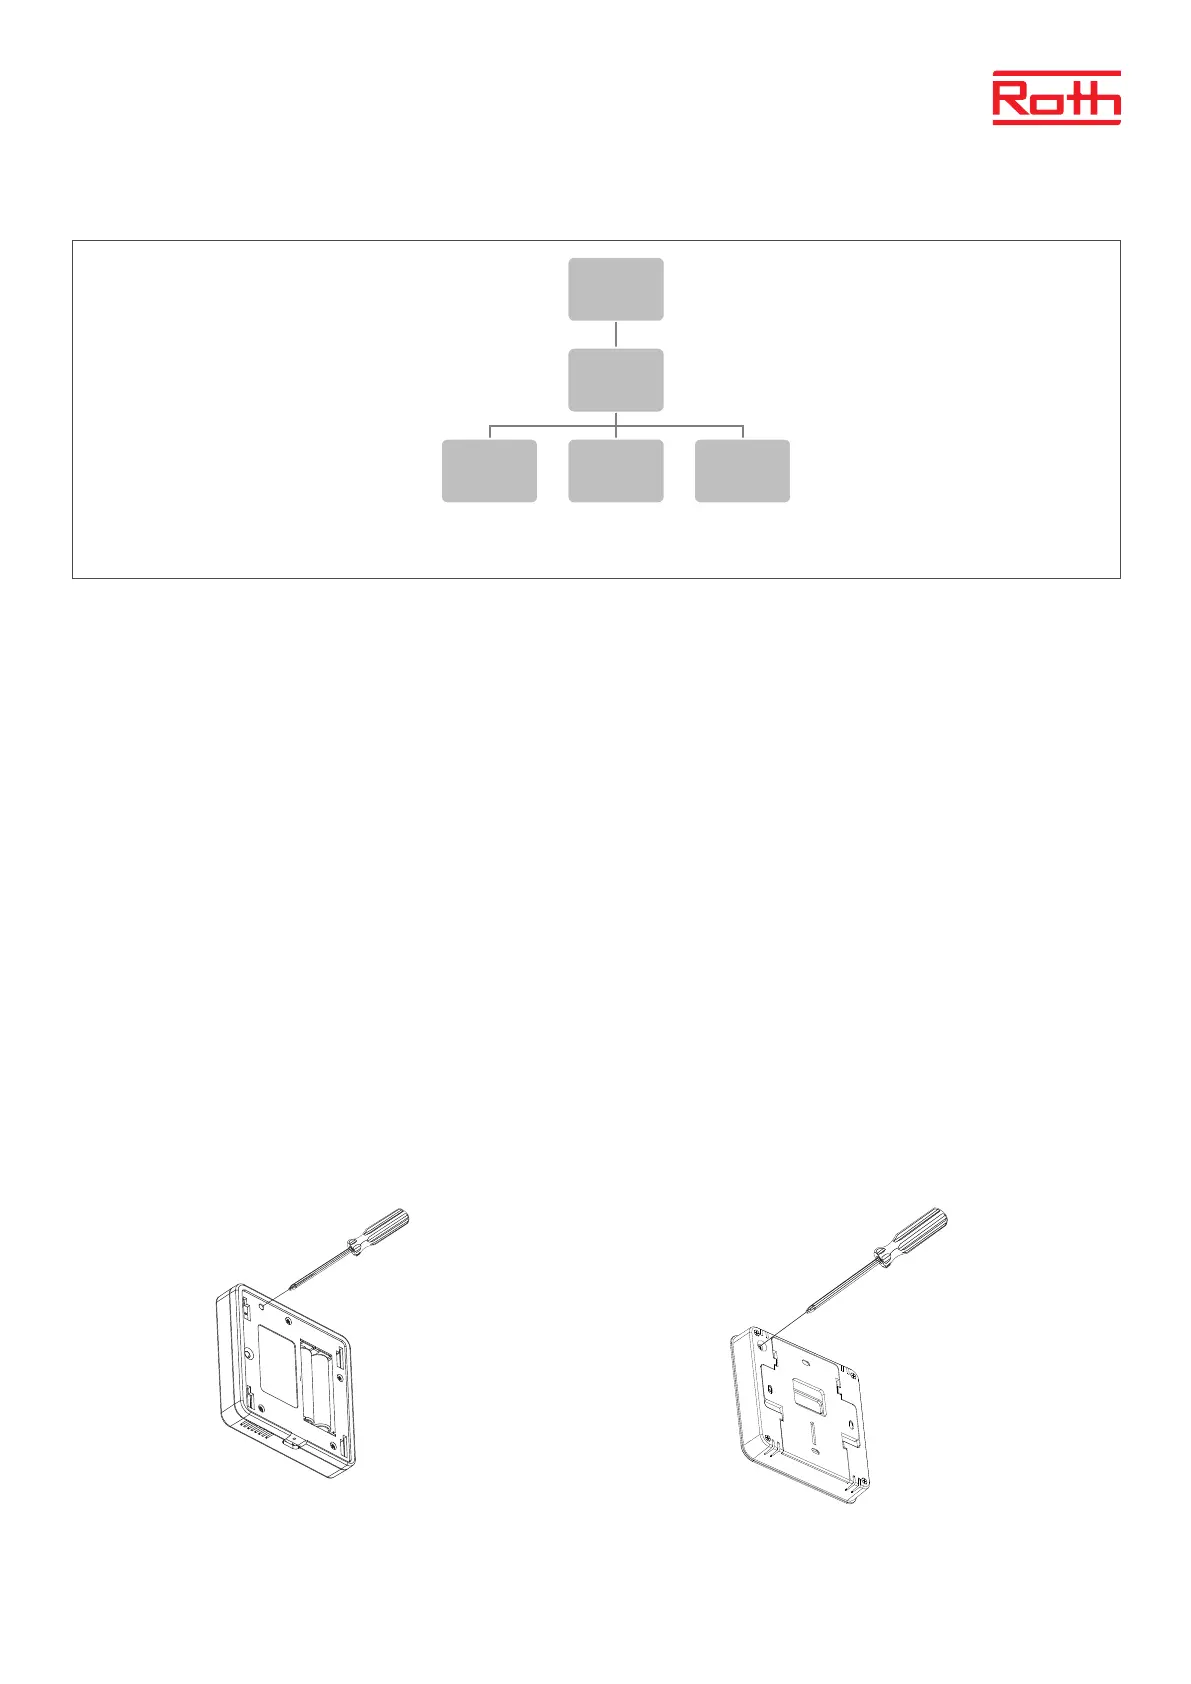
If it is the very rst room thermostat “No active zones” will be displayed. Pres MENU button and choose “Zones” -pres MENU. Choose a zone
with ▼ or ▲ where you want the thermostat to be connected - press MENU. Choose “registration” – pres MENU. Choose YES to register
sensor and searching will start. Pres registration button (see pictures below) on the back of the thermostat and the sensor will be found.
Choose OK with MENU to leave setup.
Repeat registration for other thermostats or sensors, by choosing one of the other zones (2 to 8) until required number of thermostats are
connected.
Attention! If a thermostat is paired to the wrong zone, do not delete the thermostat. Pair the thermostat to the correct/new zone and the old pairing will
be deleted.
1
Steg 2. Slå på strömförsörjningen och ställ in ditt språk
Steg 3. Kontrollera om enheterna fungerar korrekt
Steg 4. Ange aktuell tid och aktuellt datum
Menu
Manual
mode
Valves 1-8
Potential-
free
contact
Pump
Menu
Language
version
Menu
Time
settings
Automatic
Clock
settings
Date
settings
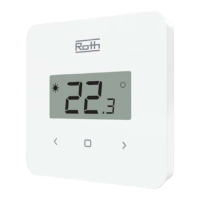
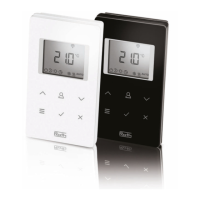
Roth Soline Project room thermostat Roth Soline Standard room thermostat
Please see the manuals for the specic room thermostats or sensors for more detailed information about the functionality.