82
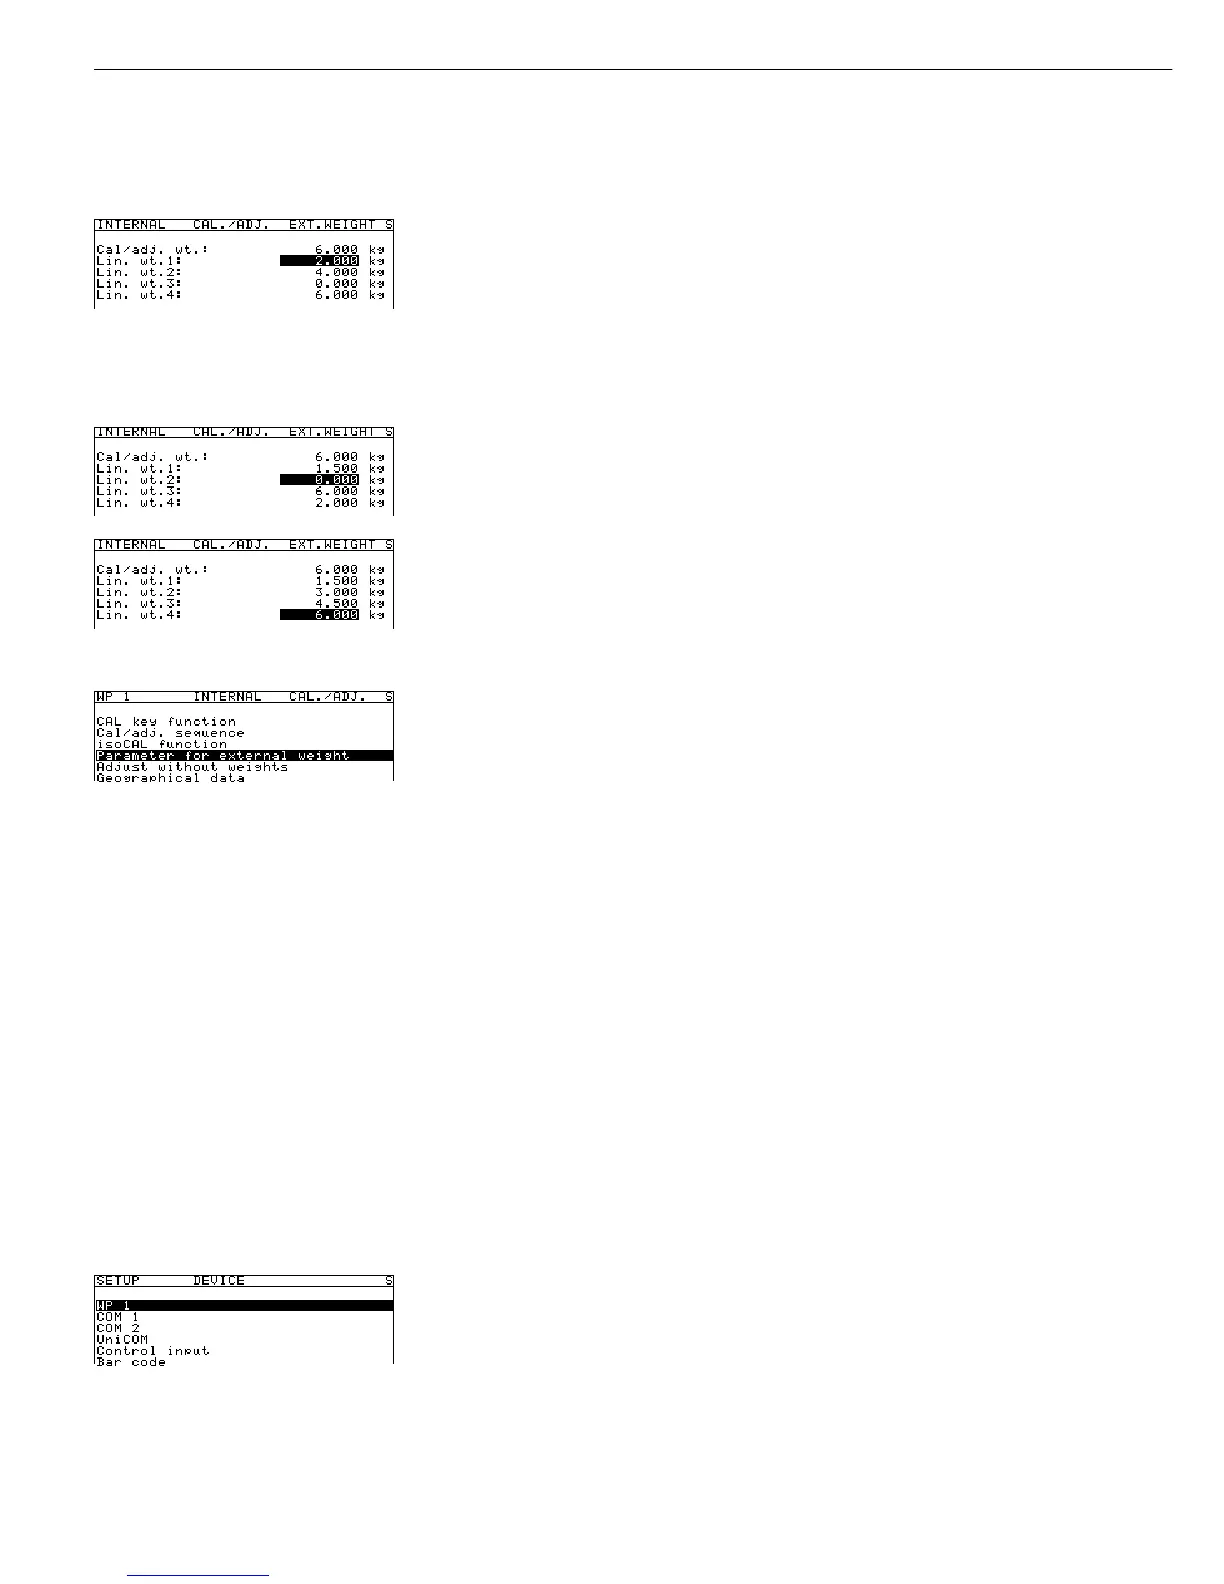
Changing linearization weight 1:
1.500 Enter the new value (in this example, 1.5 kg) and press the l to confirm. The highlight
bar is automatically positioned on the field for the next linearization weight (“Lin. wt.2”).
Soft key l
Enter or change up to four linearization weights in sequence as needed.
If you do not require all four linearization positions, enter “0.000” in the unused fields to
blank these lines in the display. The highlight bar is automatically positioned in the next
input field after you enter each value. When you close the menu by pressing o, the new
or changed values are stored.
In the example shown here, four linearization weights have been entered (1.5 kg, 3.0 kg,
4.5 kg and 6.0 kg).
Soft key o Return to the next higher menu level and store values entered.
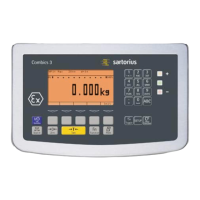
Calibration/Adjustment and Linearization Functions
Settings
§ Open the “Device Parameters” menu for the weighing platform
(e.g., “WP 1 - Internal”) and open the “Calibration/Adjustment” submenu.
– Menu item “Cal./adj. sequence”: setting “Cal. then manual adj.”
(factory setting).
– Menu item “Activate ext. adj.” (not for “Verifiable” configuration): setting “Activated”
(factory setting).
– Geographical data is not displayed during calibration/adjustment
(factory setting).
To activate display of geographical data: Menu path “Device Parameters > Operating
parameters > Display geogr. data”: setting “On” (factory setting: “Off”). For details on
performing calibration/adjustment procedure with the geographical data displayed, please
see “Entering Geographical Data” above.
Preparation
(See also “Calibration and Adjustment” in the chapter entitled “Operation” and refer to
the service manual for Combics Complete Scales and Indicators.)
§ Remove the cap that covers the menu access switch on the left-hand side of the back of
the indicator housing.
§ Move the menu access switch to the right (towards the interface connectors);
into the “Accessible” position.
§ Activate the Service mode and open the
Device parameters menu
(see the corresponding section at the beginning of this chapter).
Select the desired weighing platform (in this example:
WP 1).
If the
Internal setting is not already activated (marked by o), press the Q or q soft
key to select the setting and press O to confirm. The message
Function
active is shown briefly in the first line of the display, after which the Setup menu for
“WP 1 - Internal” is opened.
 Loading...