90
Setting and Clearing the Preload
Preparation
(See also “Calibration and Adjustment” in the chapter entitled “Operation” and refer to
the service manual for Combics Complete Scales and Indicators.)
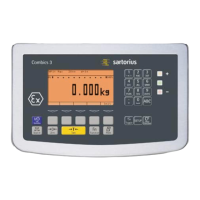
§ Remove the cap that covers the menu access switch on the left-hand side of the back
of the indicator housing.
§ Move the menu access switch to the right (towards the interface connectors);
into the “Accessible” position.
§ Activate the Service mode and open the
Device parameters menu
(see the corresponding section at the beginning of this chapter).
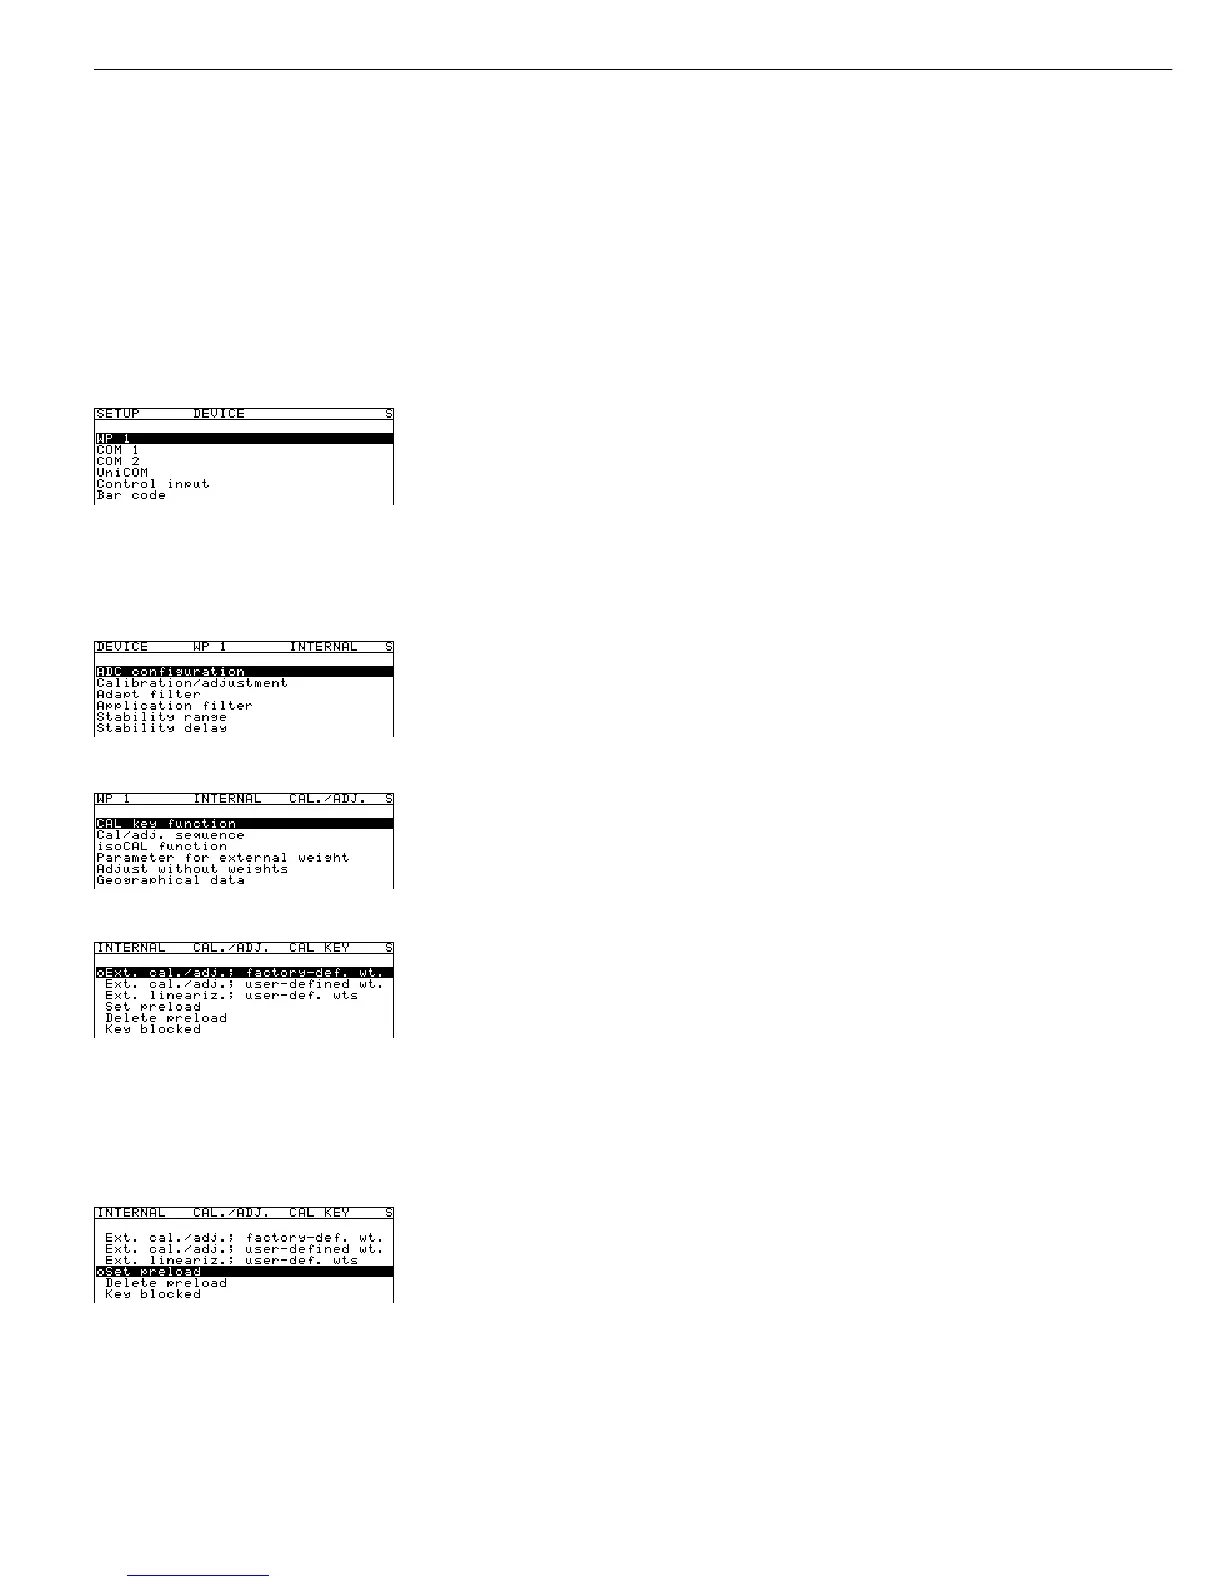
Select the desired weighing platform (in this example:
WP 1).
If the
Internal setting is not already activated (marked by o), press the Q or q soft
key to select the setting and press O to confirm. The message
Function active
is shown briefly in the first line of the display, after which the Setup menu for
“WP 1 - Internal” is opened.
Soft key O
If nec.: soft key Q | q, soft key O
The Setup menu for the “WP 1 - Internal” device parameters is displayed.
Soft key q, soft key O Open the Calibration/adjustment menu.
Soft key O Open the CAL key function submenu.
The function currently set for the CAL key (in this example, “Ext. cal./adjust.; factory-
defined cal weight” (external calibration/adjustment using the weight defined at the
factory - default weight) is marked by a circle (o).
Setting the Preload
Soft key Q (repeatedly, if nec.)|q If not already selected (marked by o), activate the Set preload setting.
To do this, press the q or Q soft key (repeatedly if necessary)
Soft key l to highlight this menu item and press the l soft key to confirm.
The “Set Preload” item is marked by a circle (o).
ee Restart the scale: Turn the indicator off and then on again.
The Sartorius logo is displayed briefly, after which the device is in normal weighing mode.
( or ) Unload and then tare or zero the scale.
After a tare command, the indicator may show NET.
 Loading...