SARTORIUS Master
pro
39
Repairing the Balance
Repairing the Weighing System
Do not attempt to repair the weighing system; send defective equipment to a
Sartorius Repair Center, or to the main factory in Goettingen.
Temperature compensation may be required; this can only be performed in
Goettingen.
Repairing the Electronics
Note: Do not attempt to repair electronic components in Master
pro
balances.
In case of defects, replace the entire PCB.
To replace the 2nd main PCB, you must use the PSION Server or SARTOCAS
software program. Make sure you order/install a PCB that has been pro-
grammed for the correct balance model and serial number.
Do not install a PCB from a different balance, because every data record is
specific to the weighing system in the balance.
Replacing the PCB in the Display and Control Unit
Before replacing the PCB, make sure you either:
– write down the user’s settings (entered in the INPUT mode and/or in appli-
cation programs), or
– copy the settings from the old to the new PCB.
– Disconnect the balance from AC power.
– Open the display and control unit (see page 28 for instructions).
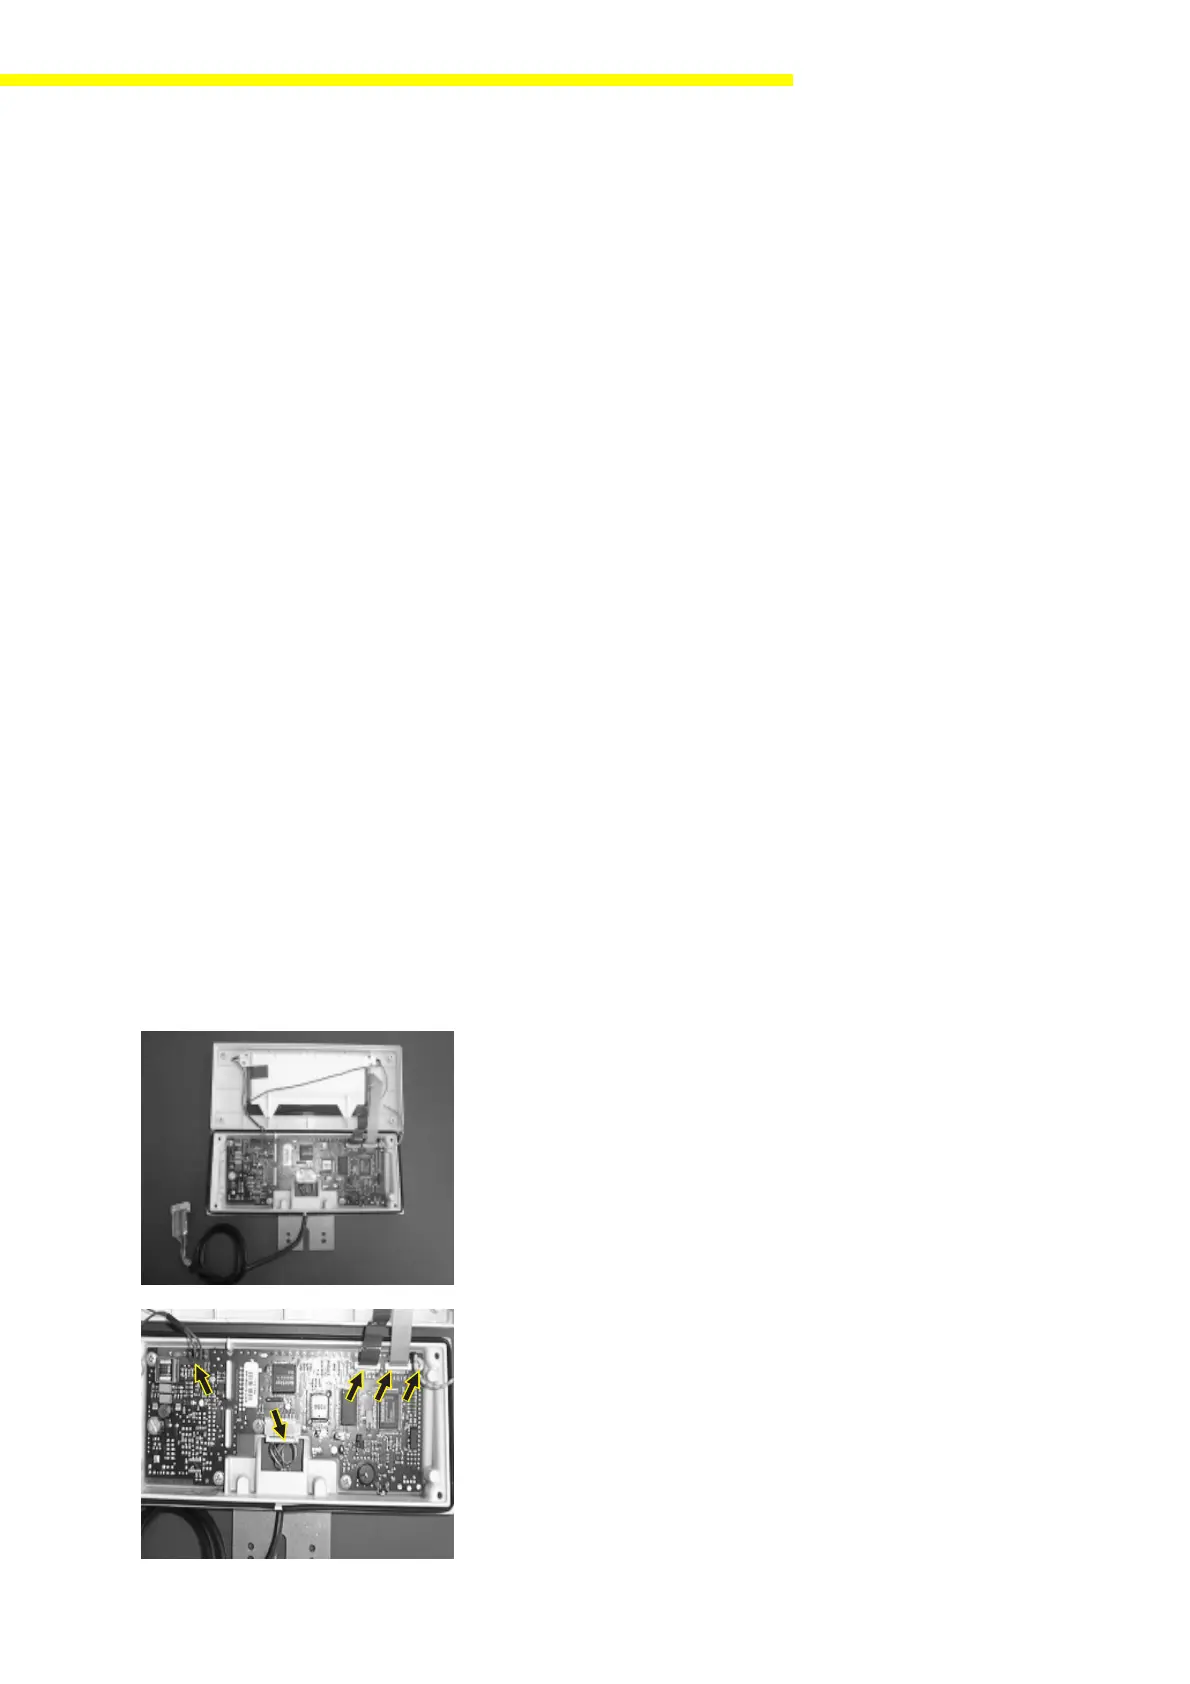
– Disconnect the wires to the keypad overlay, the display, the ground con-
nection and the display backlighting and remove the entire front panel and
place it to one side.
– Disconnect the weighing cell cable.
– Remove the 5 fastening screws and remove the defective PCB.
– If possible (if it is not defective), copy the operating menu from the old PCB
to the new one. To do this:
– Carefully remove the operating menu EEPROM from its socket.
– Plug it into the corresponding socket on the new PCB.
Anzkop1a.TIF
Anzkop-2.TIF