Use this section to set up the USB camera.
i. Setting up Camera A (Similar with Camera B)
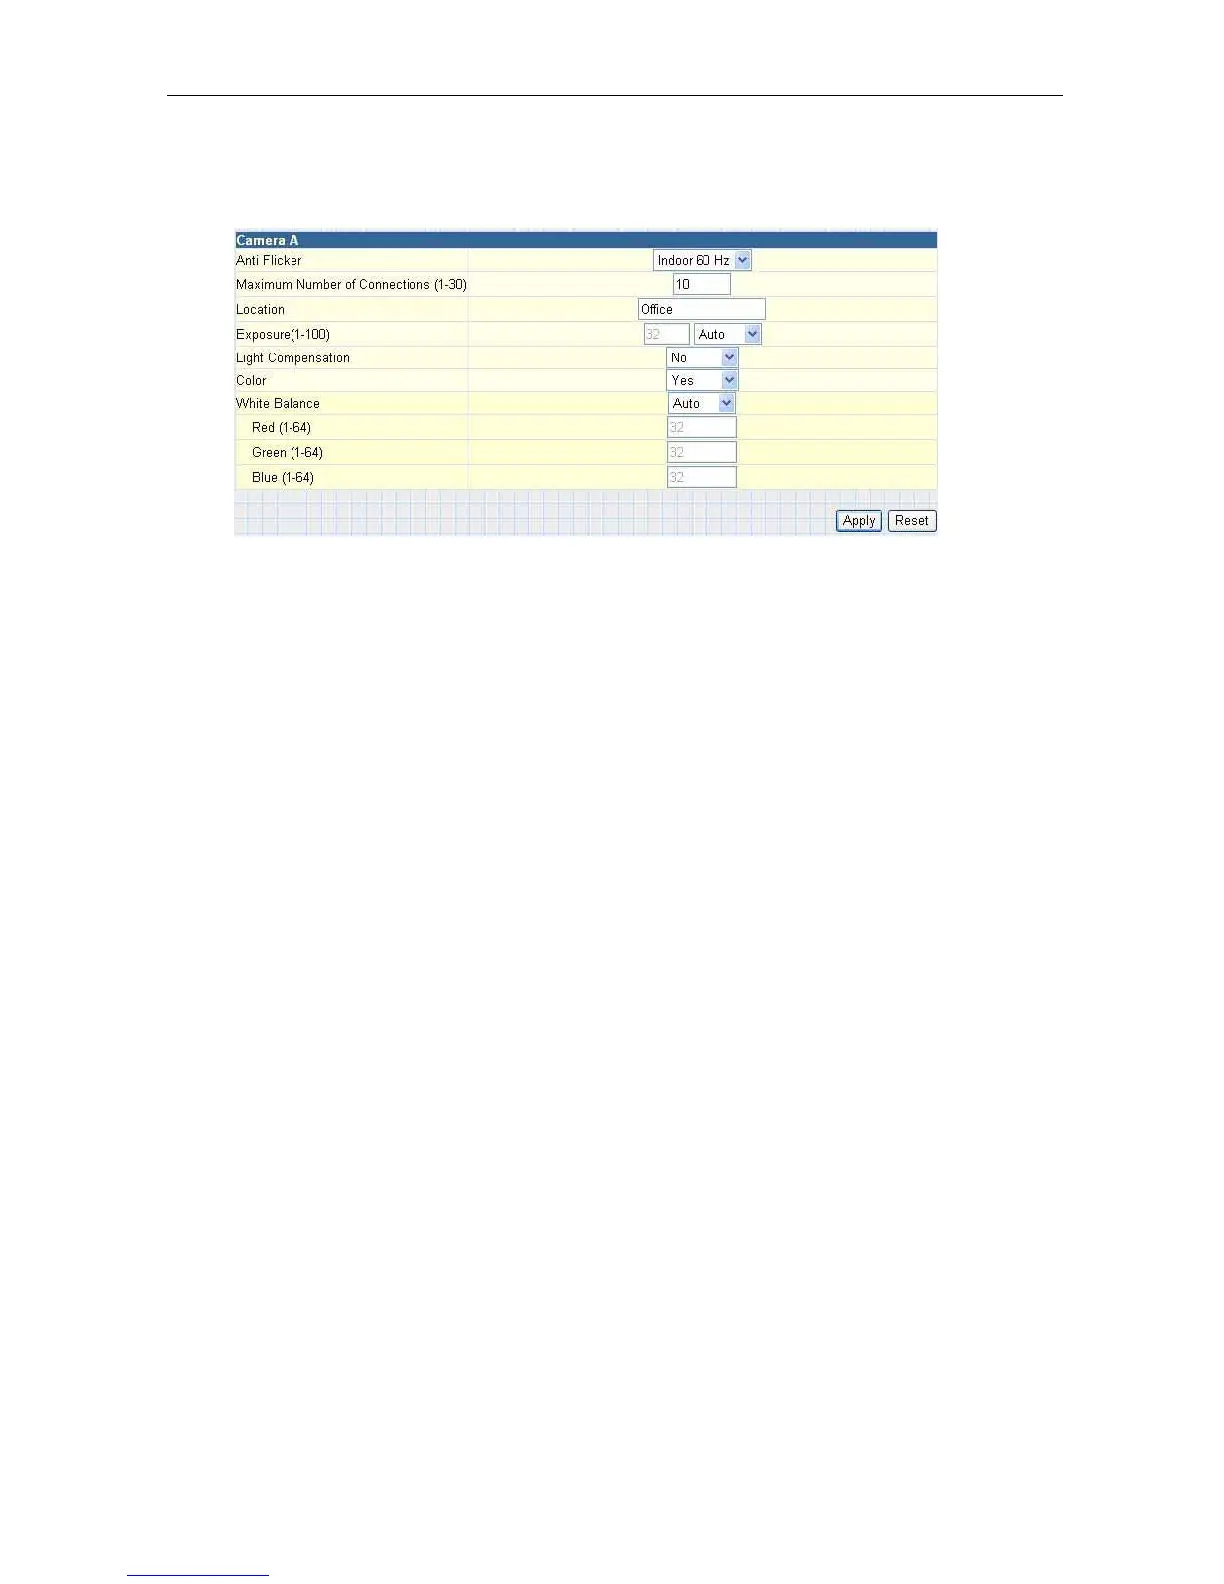
Fig.20 Individual Camera Configuration
“Anti Flicker”
Choose between 50Hz, 60Hz or Outdoors. Note: If you do not choose the right
frequency, the image will flicker or lines will appear on the images.
“Maximum Number
of Connections
(1-30)”
Use this to limit the number of users
that can connect to this
camera.
“Location”
Enter a suitable location / name for the camera.
“Exposure
(1-100)”
Set this to “Auto”, or Click “Manual”
to fix the exposure.
“Light
Compensation”
Choose “Yes” and the IP Camera will increase the brightness of the image. This
is useful when monitoring indoors.
Choose “No” if you do not want the IP Camera
to adjust the light and prefer to
view
the images as is.
“Color”
Choose “Yes” for color and “No” for black and white display.
“White
Balance”
Choose “Auto” to let the IP Camera
make
auto adjustments. To adjust this
manually, select “Manual” from the drop down menu, and then enter a suitable
number for Red, Green
and Blue.
Click “Apply” to save changes.
Otherwise, all
changes will be lost.
2.3.2 Network
This option
determines the IP Camera Network settings.
i. IP Address
These items were all setup earlier in Setup
Wizard.
Enter new addresses and
click “Apply” to change.
IP Camera Manual 23