WARNING: Before replacing fuses of the SDM, disconnect the
device from the AC power.
CAUTION: Follow ESD (Electrostatic discharge) precautions
when working with the SDM, especially when disassembling and
reassembling the SDM and when handling any of the
components. Use an ESD protective wrist-strap and table-mat
connected to Earth while working with the electronics.
5.1 Prior to Repair
1. Prior to repair all components of the SDMS must be cleaned and disinfected as
described in the corresponding section of the
Technical Manual for the SDM
.
Check that the sender completed and enclosed the
"Disinfection Certificate"
(
see
section 8.7
).
2. If necessary, clean and disinfect the device as described in the corresponding
section of the
Technical Manual for the SDM
.
3. Set the ON/OFF Switch of the SDM to OFF.
4. Disconnect all connections on the rear panel of the device.
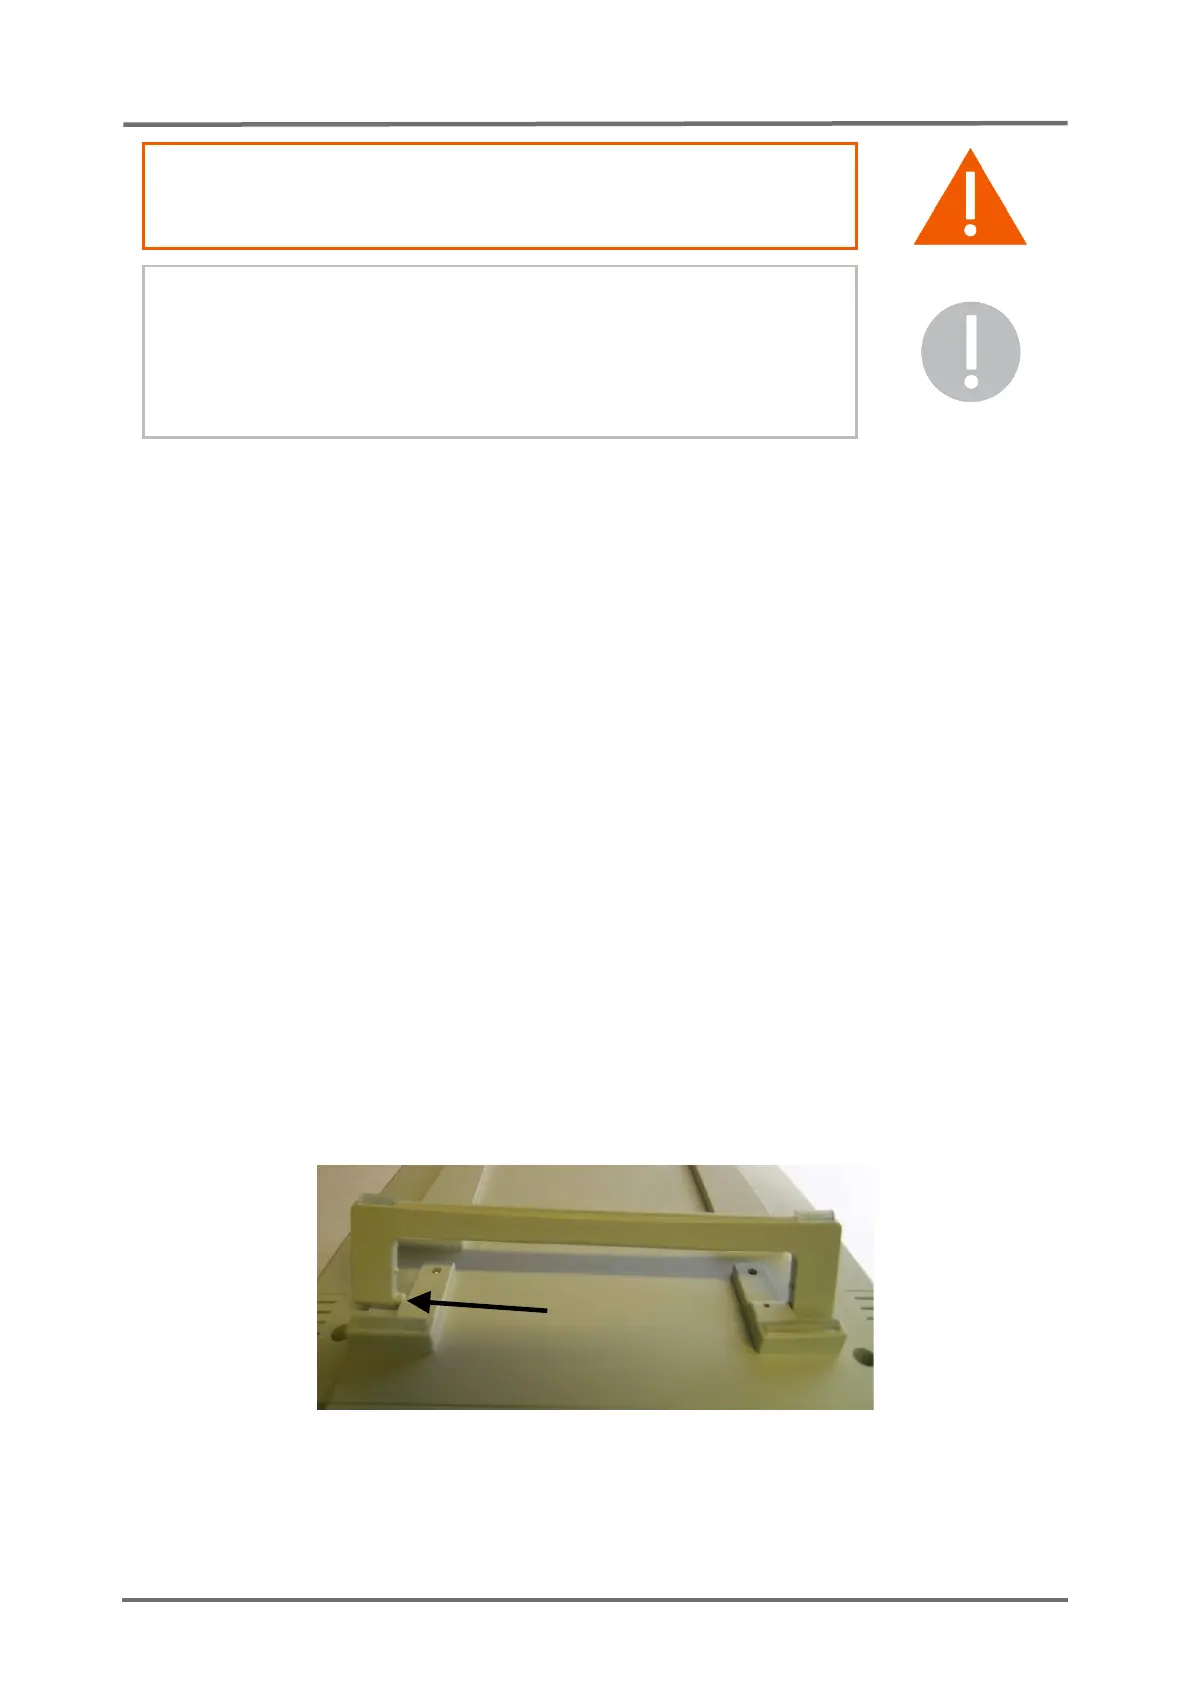
5.2 Replacement, Tip-up Foot
1. Follow the procedure described in section 5.1 "Prior to Repair".
2. Fold out the tip-up foot. Expand it on one side to release the first pin from the
positioning hole. Then remove the whole Tip-up foot.
3. Fix the new tip-up foot (see
section 8.2 “Testing Accessories and Spare Parts”
)
by inserting one pin into the positioning hole on one side. Enlarge the tip-up foot
and engage the second pin on the other side.