Digital Still Camera
Features
76
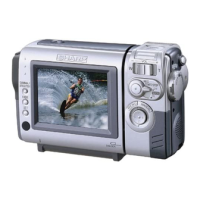
Selecting Flash Mode
Flash mode options
AUTO: Flash automatically fires when in a dark
location (“LIGHT” is displayed on the screen)
each time you press the STILL button.
ON: Flash fires every time you press the STILL
button.
1 Mount the IR & Flash Light to the
camcorder and then set the Power
switch on the IR & Flash Light to
FLASH.
2 In CARD-CAMERA mode, display the
menu screen.
3 Select W, then press SET. Press a or
s to select “FLASH”, then press SET.
4 Press a or s to select “AUTO” or “ON”,
then press SET.
5 Press the MENU/DISPLAY button until
the menu screen turns off.
• The indicator is displayed.
Caution:
• You should never use the flash with the
camcorder close to another person.
Notes:
• The indicator flashes while the flash is being
charged.
• If you press the STILL button while the
indicator is flashing, flash does not fire but a still
image of the subject is recorded.
Using the Flash Light
(Optional Accessory)
Available mode: CARD-CAMERA
Using the flash function of the optional IR &
Flash Light VR-3VIF enables you to record
good-quality still images even in dark locations.
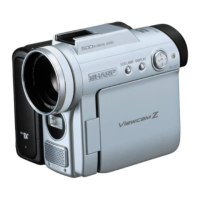
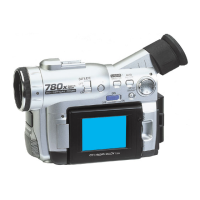
Mounting the IR & Flash Light
1 Hold the IR & Flash Light as shown in
the figure, and mount it to the accessory
shoe by sliding it in the direction of the
arrow until it locks into place.
2 Turn the screw in the direction of the
arrow to secure the IR & Flash Light.
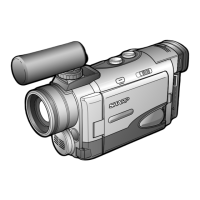
Removing the IR & Flash Light
Turn the screw in the opposite direction than
when mounting, and then pull off the IR & Flash
Light.
Caution:
• Do not pick up the camcorder by the IR & Flash
Light, as this may cause the camcorder or IR &
Flash Light to break down.
Notes:
• Using the optional IR & Flash Light will shorten
the continuous camera recording time with the
battery pack.
• For details, see the operation manual of the
optional IR & Flash Light.
• The IR light cannot be used, even if the VR-3VIF
is mounted on the camcorder.
Accessory shoe
Screw
FLASH
AUTO
Flash indicator