Shure Incorporated
11/37
•
•
•
•
1.
2.
3.
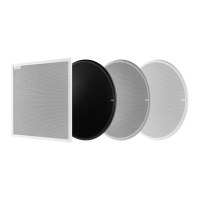
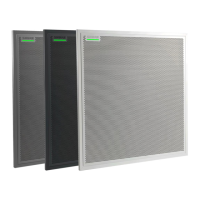
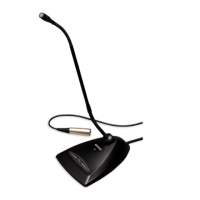
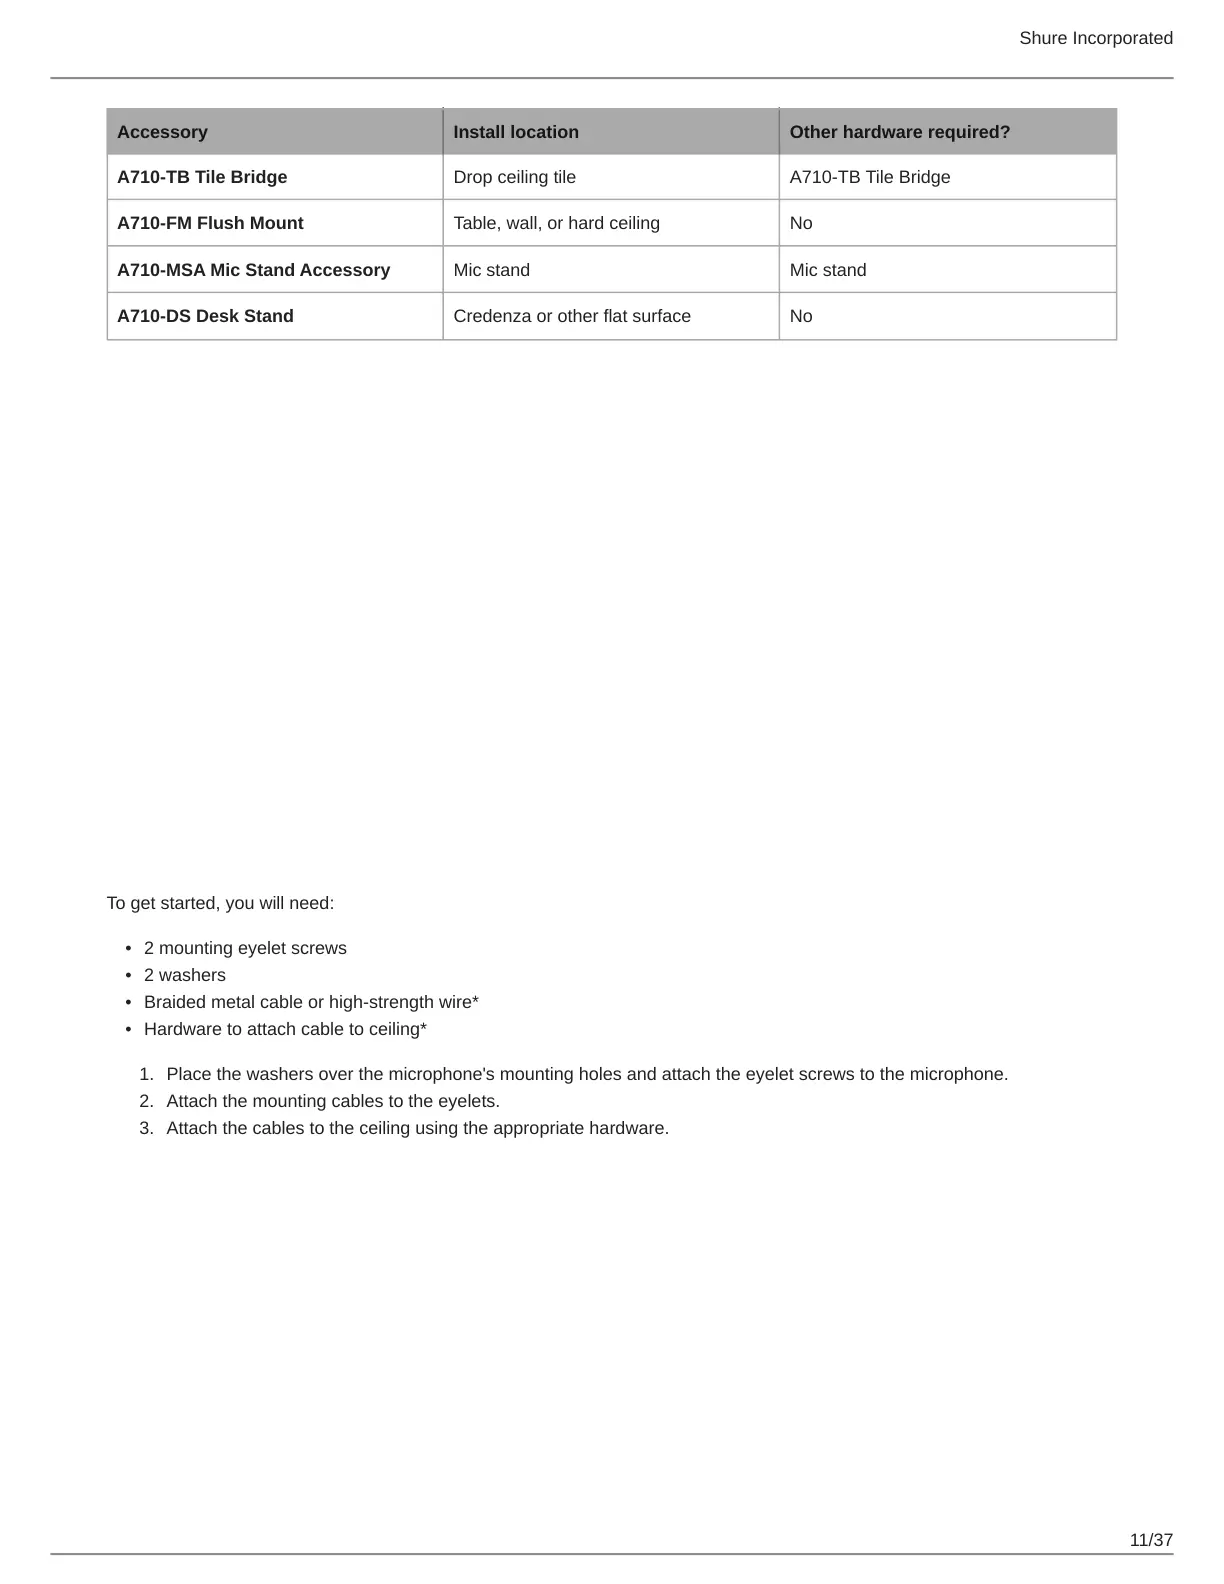
Accessory Install location Other hardware required?
A710-TB Tile Bridge Drop ceiling tile A710-TB Tile Bridge
A710-FM Flush Mount Table, wall, or hard ceiling No
A710-MSA Mic Stand Accessory Mic stand Mic stand
A710-DS Desk Stand Credenza or other flat surface No
Suspending the Microphone from the Ceiling
To get started, you will need:
2 mounting eyelet screws
2 washers
Braided metal cable or high-strength wire*
Hardware to attach cable to ceiling*
Place the washers over the microphone's mounting holes and attach the eyelet screws to the microphone.
Attach the mounting cables to the eyelets.
Attach the cables to the ceiling using the appropriate hardware.
 Loading...