Shure Incorporated
9/37
1.
2.
3.
Cable Requirements
Always use Cat5E cable or higher.
What's in the Box
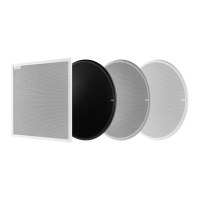
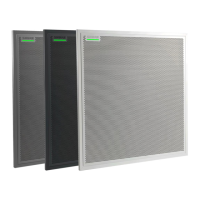
2-foot or 4-foot linear array microphone MXA710-2FT or MXA710-4FT
Wall-mounting bracket (2 or 4-foot) RPM710-2M or RPM710-4M
Hardware kit with:
Wall cover plate and screws (US and UK versions)
Mounting eyelet screws (2)
Washers for eyelet screws (2)
Cable ties (2)
RPM710-H
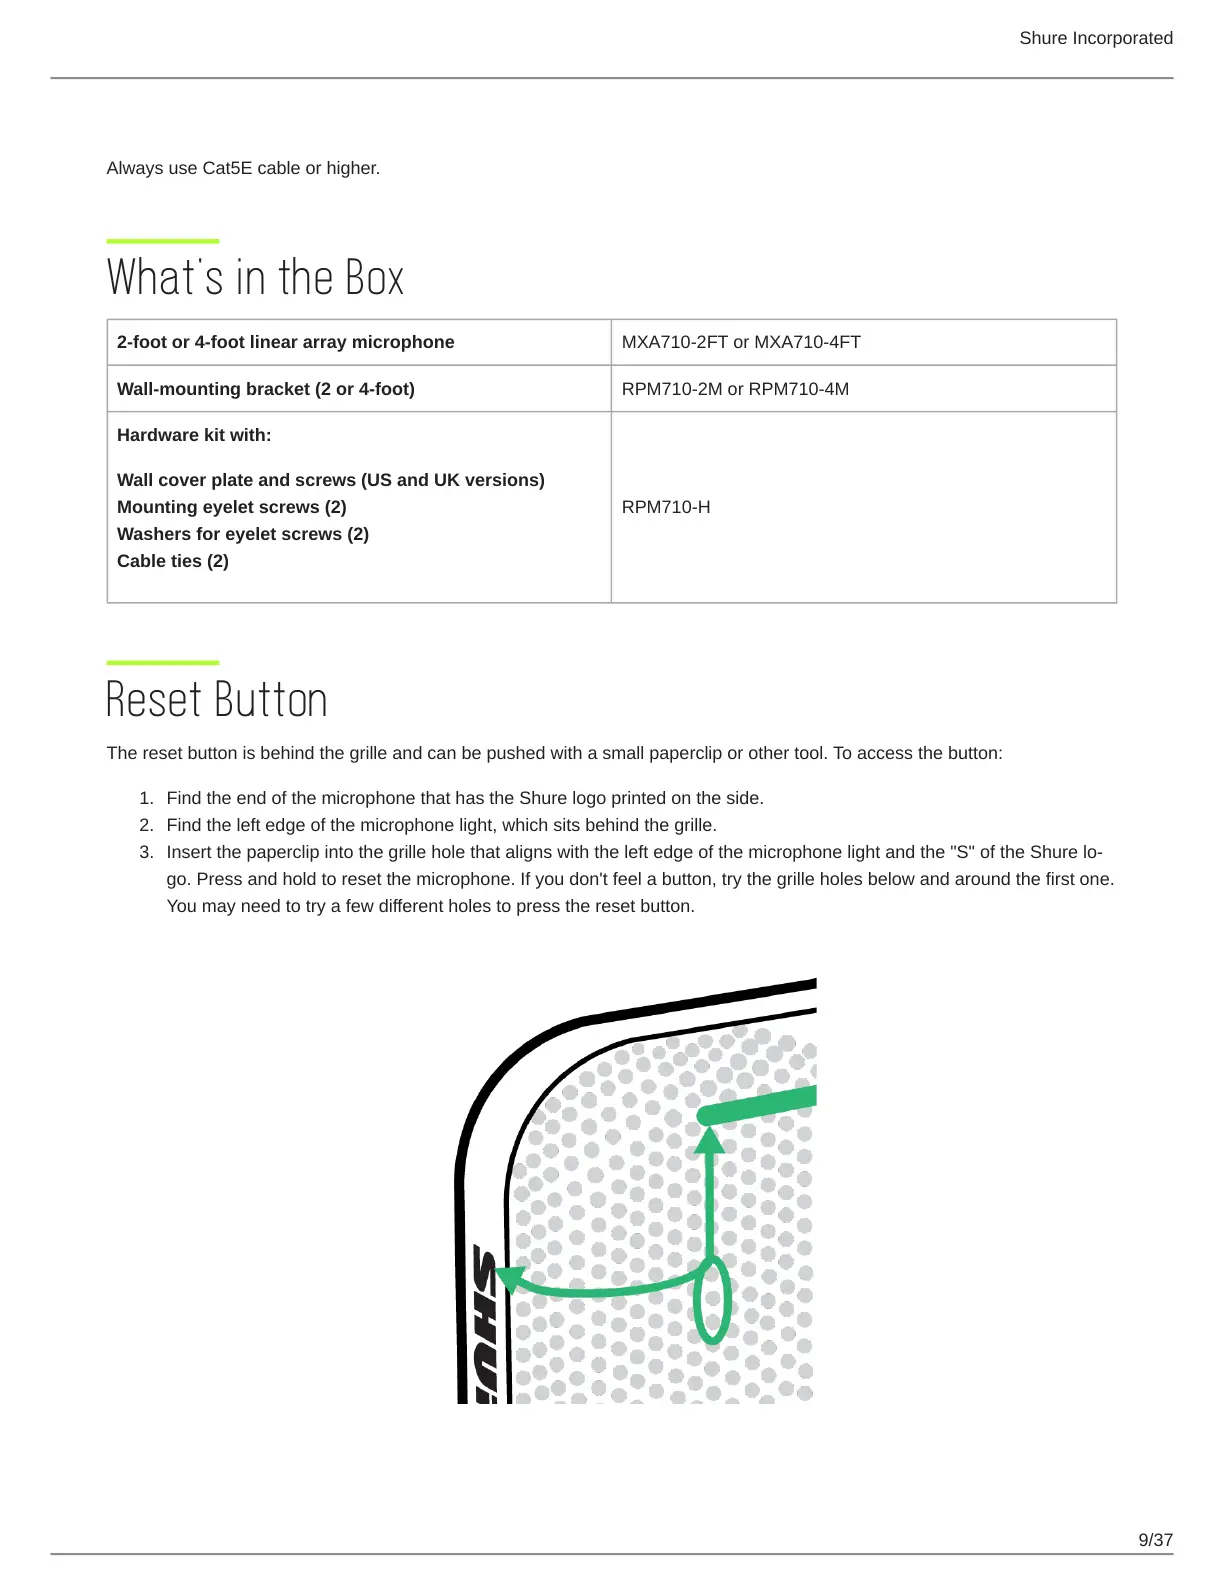
Reset Button
The reset button is behind the grille and can be pushed with a small paperclip or other tool. To access the button:
Find the end of the microphone that has the Shure logo printed on the side.
Find the left edge of the microphone light, which sits behind the grille.
Insert the paperclip into the grille hole that aligns with the left edge of the microphone light and the "S" of the Shure lo
go. Press and hold to reset the microphone. If you don't feel a button, try the grille holes below and around the first one.
You may need to try a few different holes to press the reset button.
 Loading...