29
Setting Up the System
Link
Power
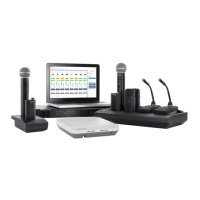
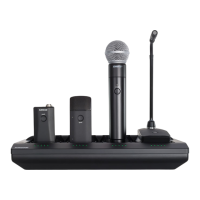
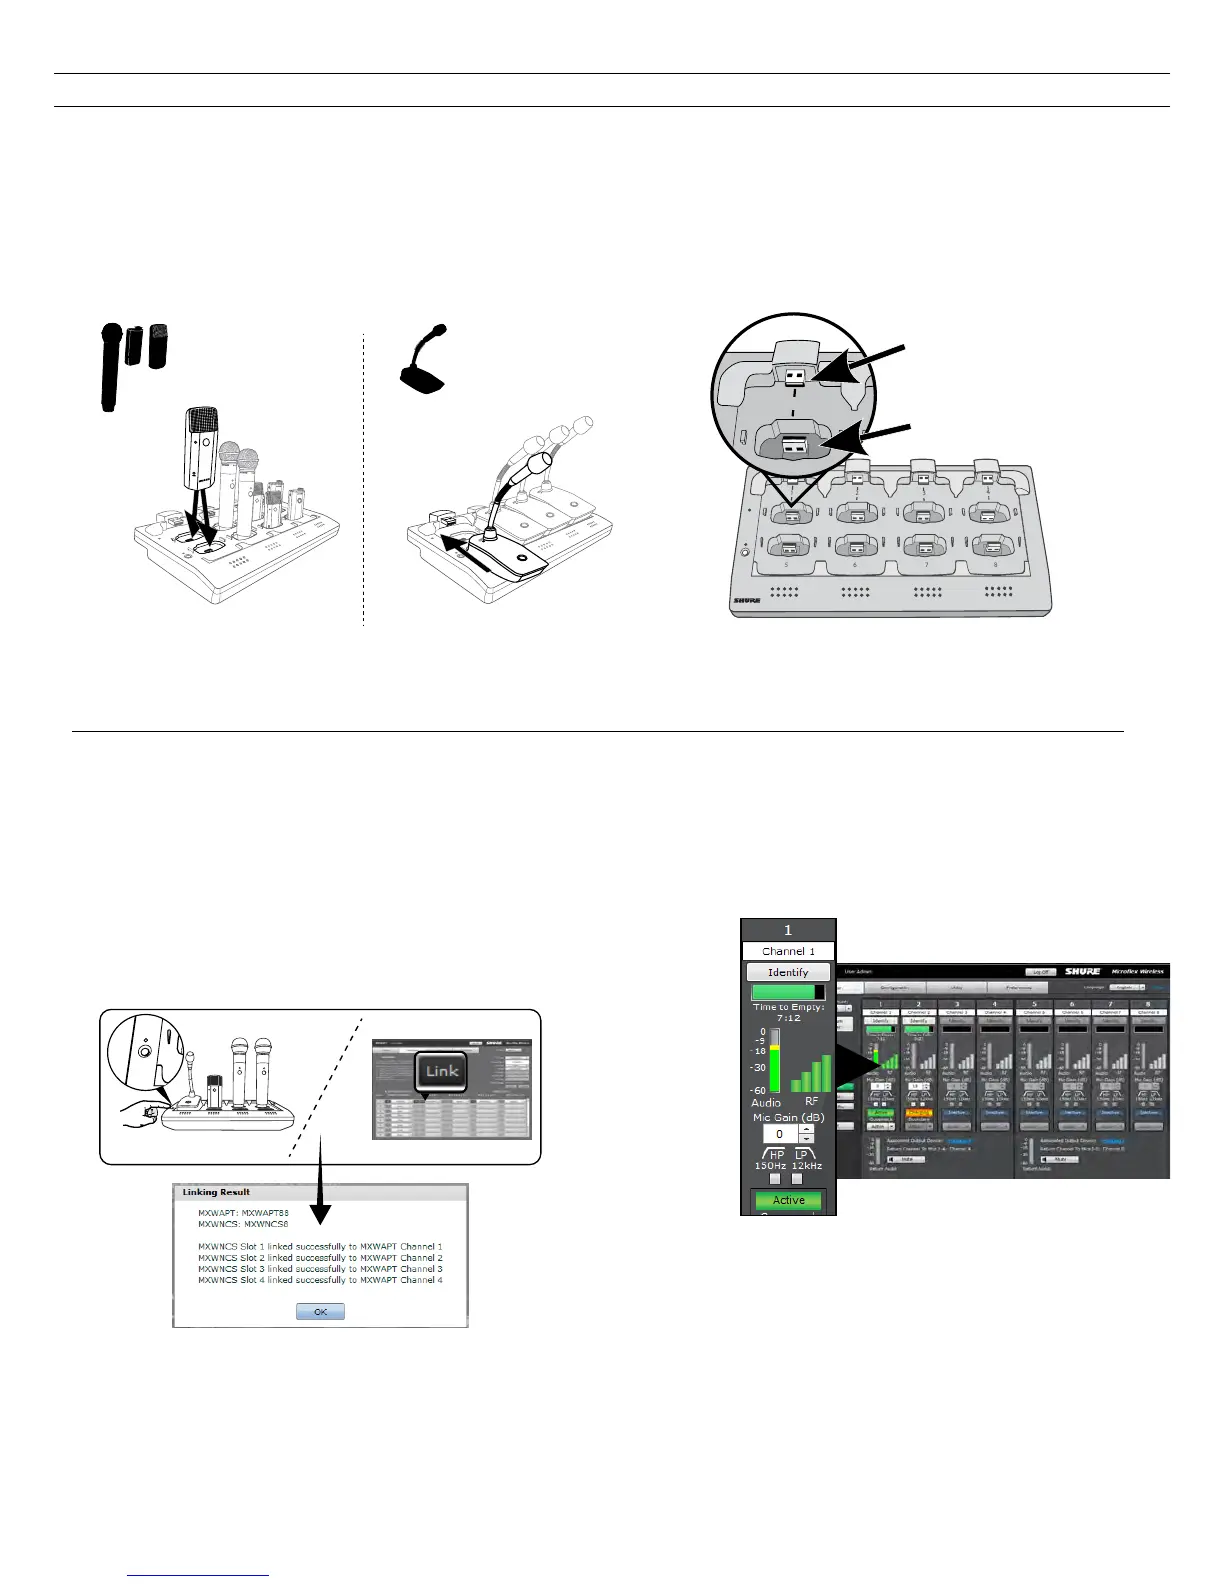
Linking Microphones
Use the Networked Charging Station (NCS) to Link microphones to Access Point channels. Slots in the charger are mapped to the APT according to the
Group setup from the Configuration tab. Once the Link procedure is complete, audio will route to the corresponding channel in the Group.
Linking will map any microphone placed in the charging station to the APT channels. This replaces any prior microphone Link for that channel. If a slot is
empty during the Link procedure, there will be no impact on that channel.
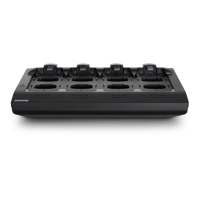
1. Arrange microphones in the charger.
Microphones are Linked to access point channels according to the arrangement in the charger.
Connecting the Microphone to the Charger Slot
For gooseneck mics
For bodypacks, handhelds
and boundary mics.
2. Link the microphones to channels.
Use the control software or the charging station to Link the microphones
to APT channels. If desired, this feature can be disabled on the charging
station so that Linking can only be performed from the control software:
• Control Software: From the Configuration page, press the Link
button for each charger in the Group.
• Charging Station: Press and hold the Link button for 6 seconds. The
LEDs flash during the process and turn solid green once the Link is
successful.
3. Remove Mics and Test the Audio
Test the audio for each microphone and adjust mic gain if necessary from
the Monitor tab of the control software. The gain should be set at a level
where the audio is registering (green/yellow) on the signal indicator but not
clipping (red).
Signal
indicator
Gain
adjustment
Monitor Tab