656 234 2010-11-22| Sicam srl società unipersonale
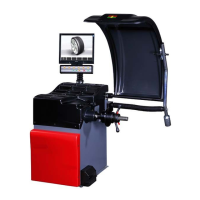
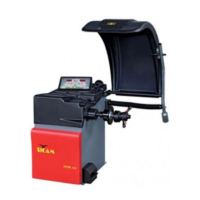
44 | SBM V655 | Maintenanceen
11. Maintenance
11.1 Cleaning and servicing
! Before cleaning and servicing, switch off SBM V655
and disconnect mains plug.
! Do not use any solvent-based cleaning agents. Use
alcohol or similar cleaning agents for plastic parts.
The following work is essential to ensure proper opera-
tion and high performance of the SBM V655:
Servicing
Weekly
Clean moving mechanical parts, treat with spray oil or ke-
rosene and lubricate with engine oil or a suitable grease. x
11.2 Spare and wearing parts
The manufacturer cannot accept any liability for
damage arising from the use of non-genuine replace-
ment parts.
Designation Order number
Standard centering flange 602 400
Quick-action clamping nut 616 200
Centering cone 42 - 64,5 mm 632 500
Centering cone 54 - 79,5 mm 652 862
Centering cone 74 - 111,5 mm 605 600
Weight pliers 606 500
Manual vernier caliper 629 400
Test clip 602 700
Calibration weight 654 377
Calibration weight (calibrated) 654 376
Voltage sticker 100 789
Direction of wheel rotation sticker 653 878
Tab. 2: Spare and wearing parts
11.3 Calibration
i
As part of service and upkeep (every six months),
on flange replacement or in the event of measure-
ment inaccuracies, it is advisable to calibrate the
SBM V655 in the following sequence:
1. Flange calibration.
2. Vernier caliper and gauge arm calibration.
3. SBM V655 calibration.
4. Perform reference measurement.
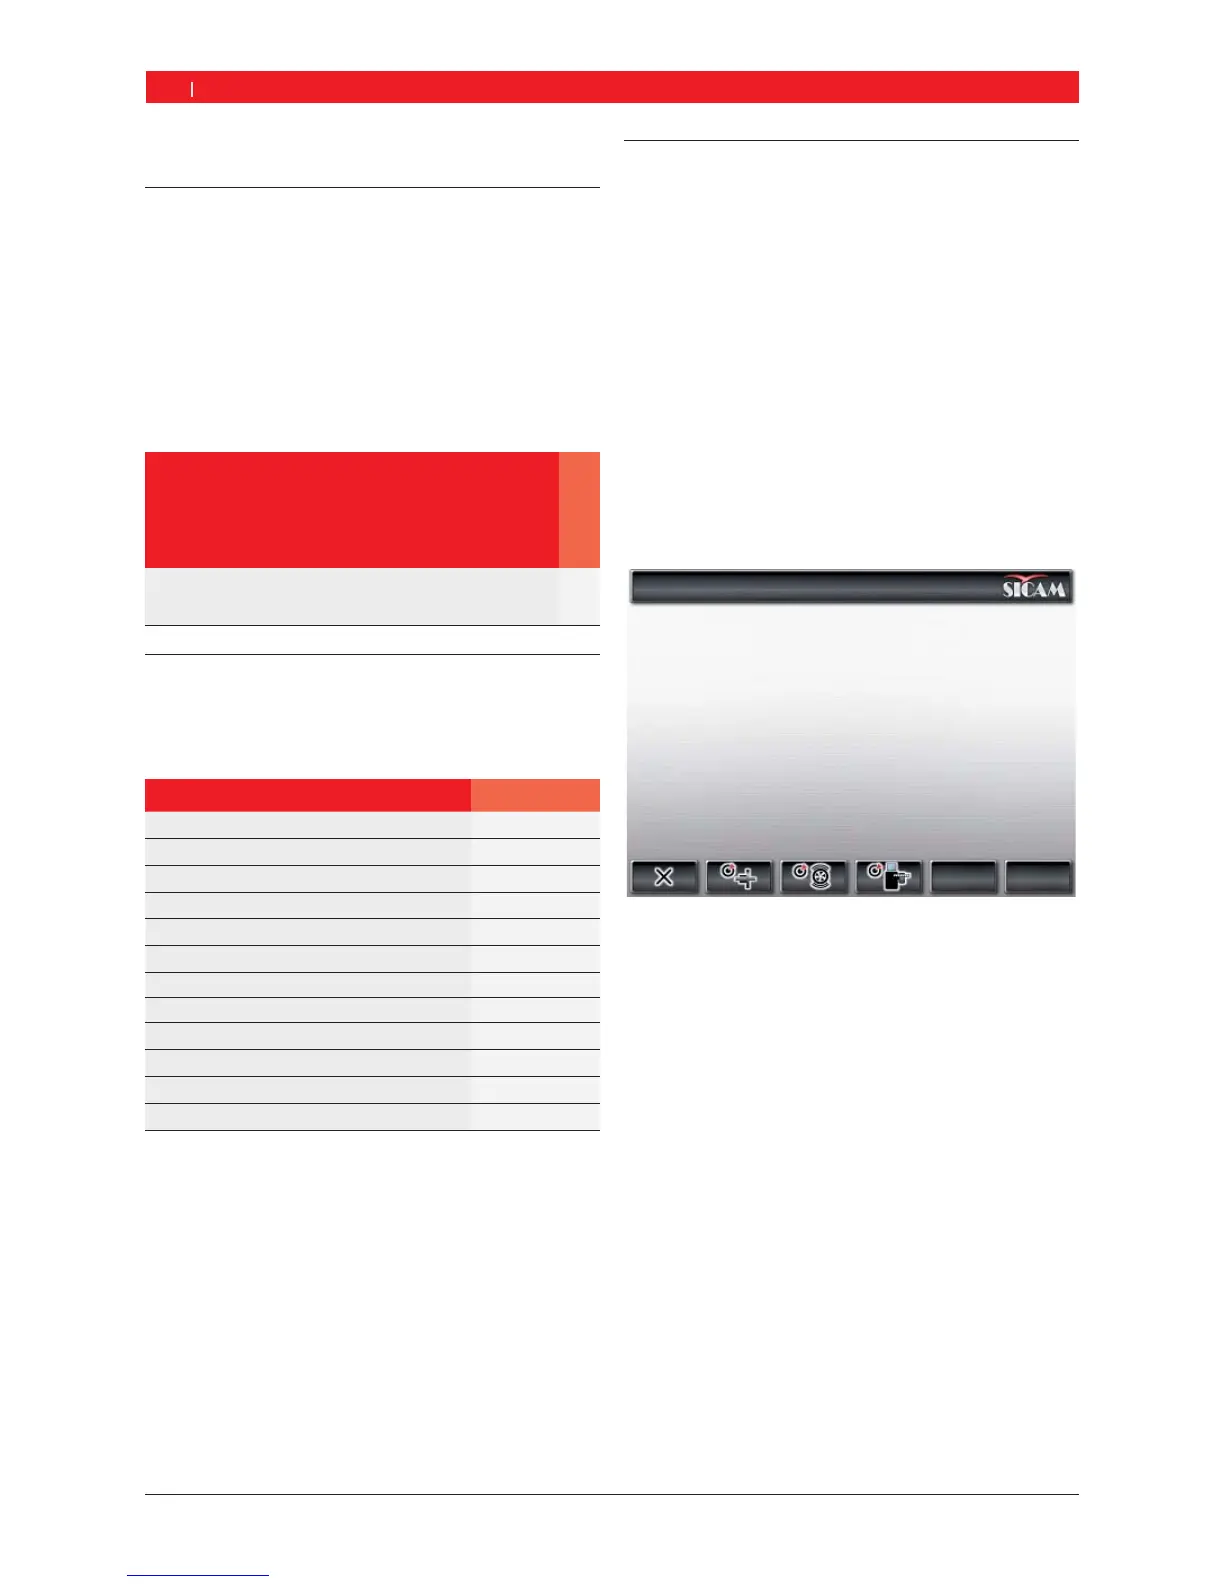
11.3.1 Call-up of calibration menu
1. The menu is called up from the main page with <F5>
and then <F2>.
2. Enter the password: <F2> <F5> <F3>.
"The calibration menu is displayed.
i Press <F1> to exit from the calibration menu.
11.3.2 Flange unbalance correction
i Follow the instructions shown on the monitor.
1. Fit the flange (refer to Section 5).
i Do not clamp the wheel, do not use any clamping
tools.
2. Start flange calibration in the calibration menu.
Press <F2> and <OK>.
3. Close the wheel guard.
Measurement commences.
"Flange calibration completed.
"Unbalance set to "0".