5-8 ACUSON Freestyle User Manual
Scanning
Overview of the Scanning Process
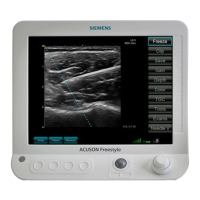
Scanning is controlled using the Soft Keys, real-time Control Bar, and Rotary knobs.
Basic steps to complete a scan and save it to the Study List:
1. Press the console power button to turn the system on and allow it to boot up.
2. To enter a new Patient Name and create a new Patient Study, press the PATIENT Soft
Key or SETUP / NEW PATIENT STUDY, then use the on-screen keyboard or an external
keyboard to enter the patient Name, ID, etc (see “Creating New Patient Studies” on page
4-5).
3. Select an Exam Type (see “Study Exam Types” on page 4-6).
4. Press the SETUP / SCAN Soft Key to go to scanning mode and start imaging.
5. Make sure your probe is connected (either cabled or wirelessly) and turned on. To turn a
probe on for wireless operation, press the probe Plus and Minus keys continuously until
you hear the probe beep.
6. Make any adjustments using the real-time Control Bar Soft Keys.
7. Press the Freeze key to freeze an image.
8. Press Save to save frames or clips.
9. If desired, press the MEASURE Soft Key to make measurements (see “Measurements” on
page 5-16).
10. Press the VIEW Soft Key to view saved frames or loops.
11. To export studies to an external drive or system, see “Exporting Patient Studies” on page
4-11.
12. To view a list of completed studies press SETUP / STUDY LIST (see “The Study List” on
page 4-9).
 Loading...

