Maintaining the System Page 3-29
Replacing the Pre-heater Tube
BIOHAZARD: See Appendix A, Protecting Yourself from Biohazards.
Equipment: Pre-heater tube kit (Cat. 673256); cross-headed
screwdriver; disinfectant (for example, Cat. 673390).
1. Use the Disinfect routine and then stop the 248 system, Page 3-8.
2. Remove the probe and probe housing, Page 3-24, steps 2 to 6.
3. Remove the pO
2
and pCO
2
sensors, Page 3-17, steps 3 and 4.
4. Disconnect the reagent manifold connector.
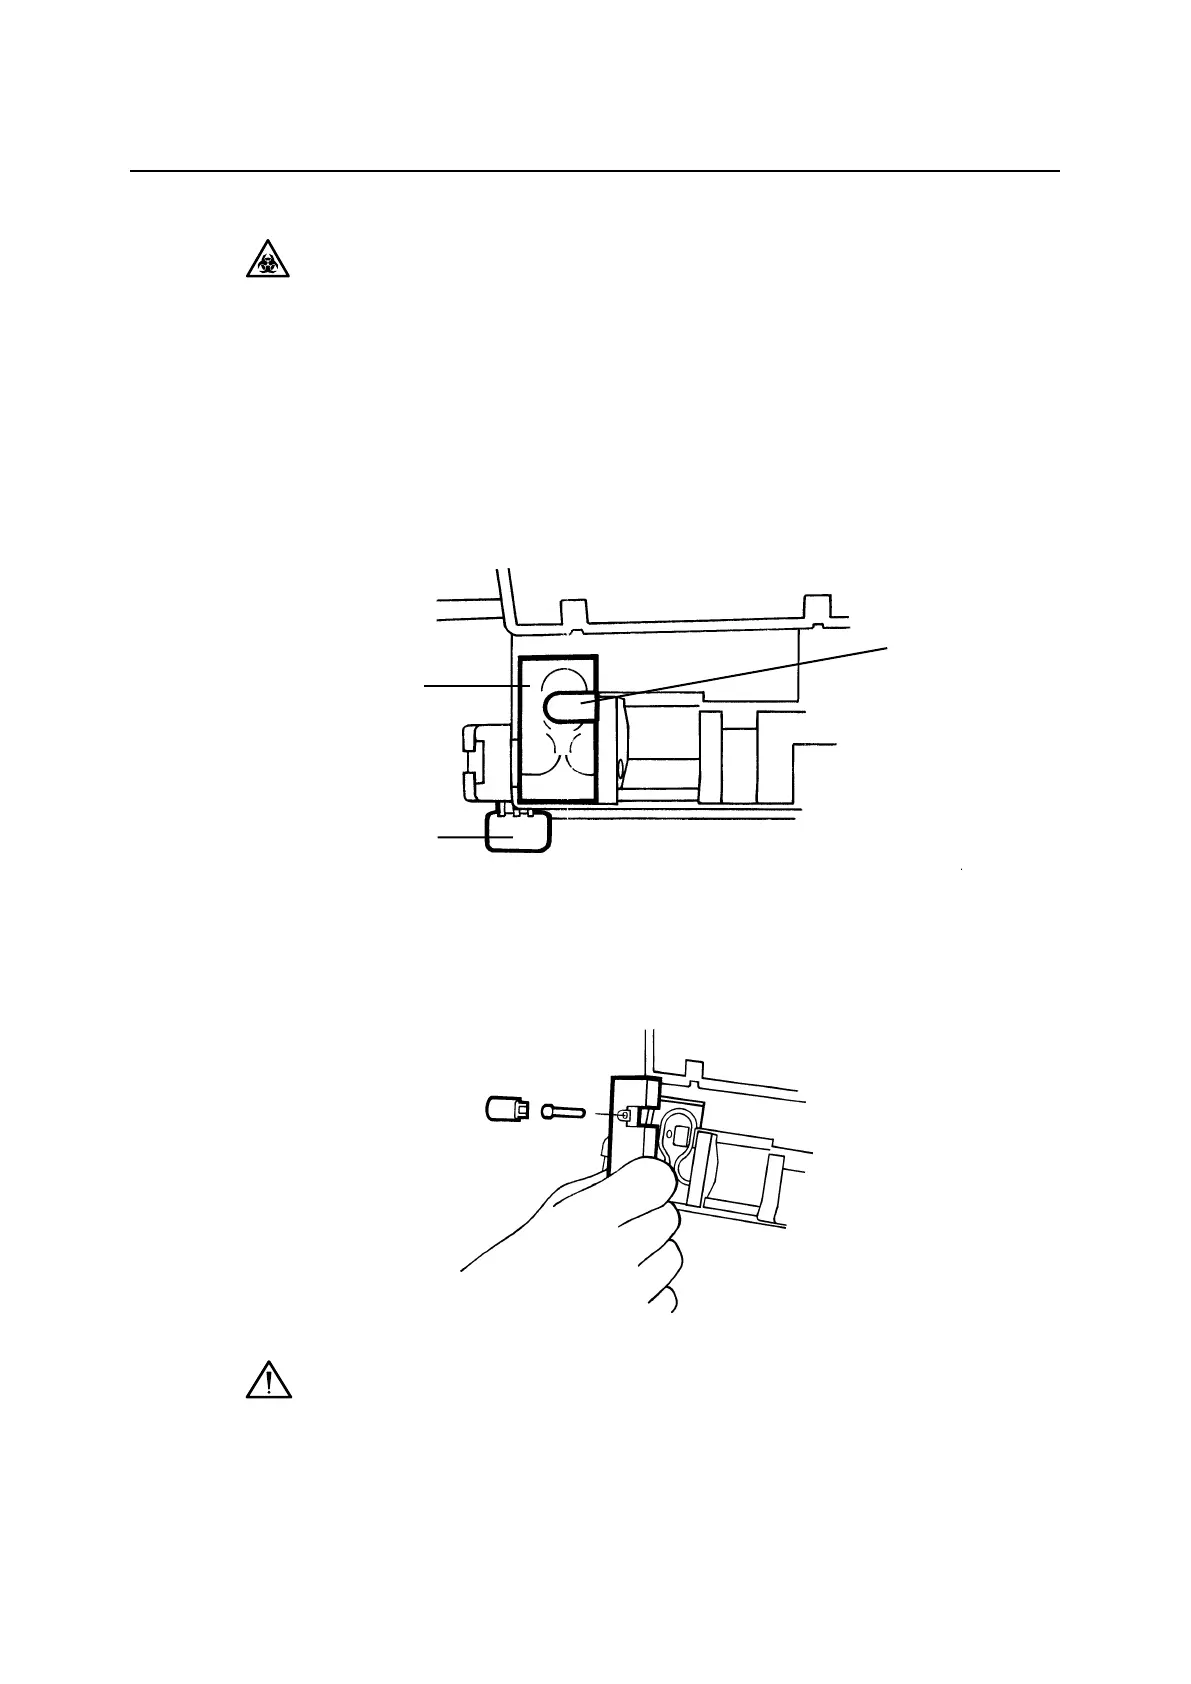
Figure 3-39. Pre-heater Components
5. Remove the sample detector cover.
6. Remove the screw from the pre-heater cover and remove the cover.
Figure 3-40. Removing the Sample Detector Cover
CAUTION: Handle the pre-heater tube carefully as it is quite fragile and
can easily be kinked.
7. Slide the reagent inlet connector towards you. Ease the pre-heater
tube from the groove in the pre-heater.
8. Carefully push the tube towards the measurement block to free the
block connector.
Pre-heater
Cover
Reagent Manifold
Connector
Sample Detector
Cover