CP 341 Point-to-Point Communication, Installation and Parameter Assignment
Manual, 09/2008, A5E02191071-01 221
Connecting cables
B
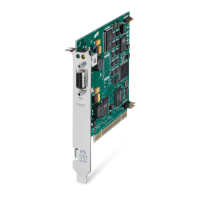
B.1 RS 232C Interface of the CP 341-RS 232C
Pin assignment
The table below shows the pin assignment for the 9-pin sub D male connector in the front
panel of the CP 341-RS 232C (compatible with the 9-pin COM port (PC/programming
device).
Table B- 1 Pin assignment for the sub D male connector of the integrated interface of the CP 341-RS 232C
Male Connector
on CP 341-
RS 232C
*
Pin Designation Input/output Meaning
1 DCD1 Received Detector Input Received signal level
2 RXD Received Data Input Receive data
3 TXD Transmitted Data Output Transmit data
4 DTR Data Terminal Ready Output Data terminal ready
5 GND Ground - Functional ground (GND
int
)
6 DSR Data Set Ready Input Data set ready
7 RTS Request To Send Output Request to send
8 CTS Clear To Send Input Clear to send
1
2
3
4
5
9
8
7
6
9 RI Ring Indicator Input Incoming call
* View from the front
Connecting cables
If you make your own connecting cables you must remember that unconnected inputs at the
communication partner may have to be connected to open-circuit potential.
Please note that you must only use shielded connector casings. A large surface area of both
sides of the cable shield must be in contact with the connector casing. You are advised to
use Siemens V42 254 shielded connector casings.
CAUTION
Never connect the cable shield with the GND, as this could destroy the interfaces. GND
must always be connected on both sides (pin 5), otherwise the interface modules could be
destroyed.
On the following pages you will find examples of connecting cables for a point-to-point
connection between the CP 341-RS 232C and S7 modules or SIMATIC S5.
该文档是极速PDF编辑器生成,
如果想去掉该提示,请访问并下载:
http://www.jisupdfeditor.com/
 Loading...