2
Operation 10.04
2.6 Measurin
work
iece zero
2
Siemens AG, 2004. All rights reserved
2-70 SINUMERIK 840D/840Di/810D Operation/Programming ShopMill (BAS) – 10.04 Edition
Aligning an edge
automatically
1. Attach a 3D probe type tool to the spindle.
2. Prepare the measurement (as described under "Aligning the edge
manually", steps 2 to 9).
3. Move the tool up close to the workpiece edge along which you
want to measure.
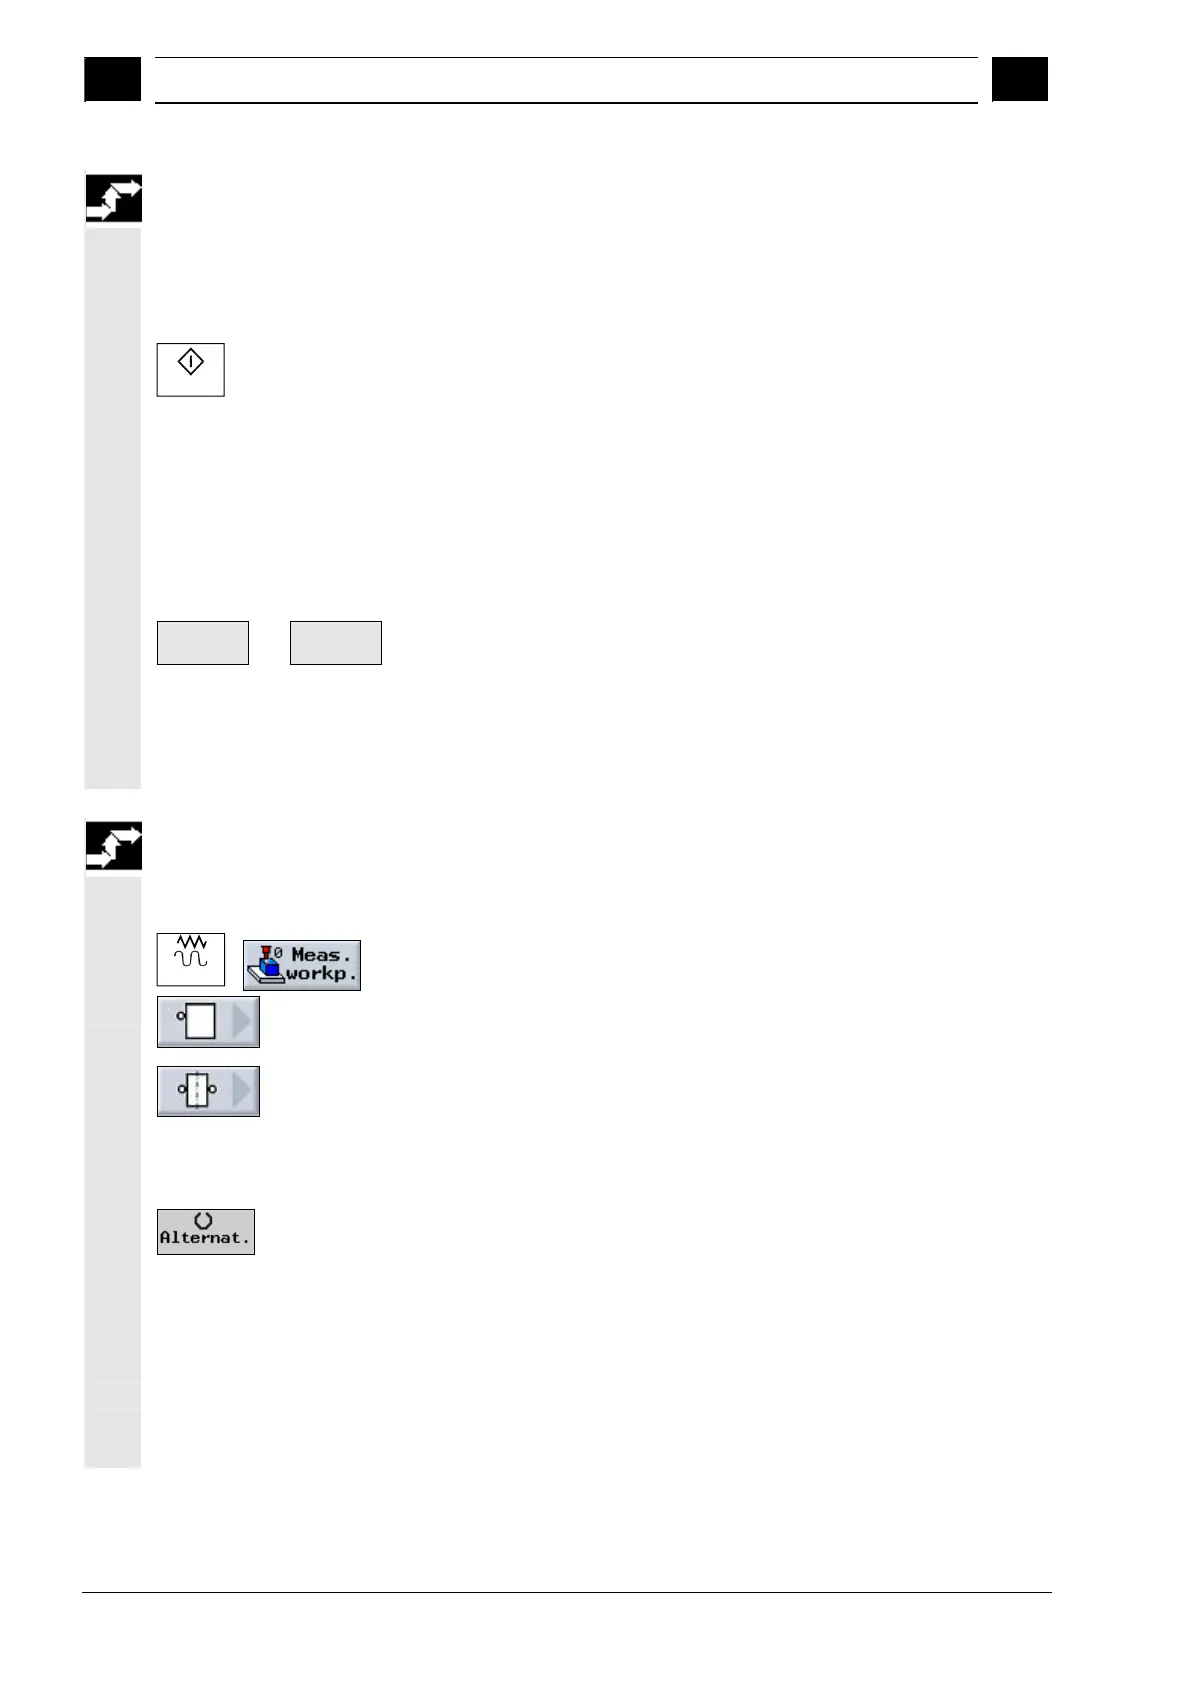
Cycle Start
4. Press the "Cycle Start" key.
This starts the automatic measuring process. The position of
measuring point 1 is measured and stored.
The "P1 stored" softkey becomes active".
5. Repeat the measurement procedure (steps 3 to 4) to measure the
second point.
The position of measuring point 2 is measured and stored.
The "P2 stored" softkey becomes active".
Set WO
-or-
Calculate
6. Press the "Set WO" or "Calculate" softkey.
The angle between the workpiece edge and reference axis is
calculated and displayed.
With "Set WO", the workpiece edge now corresponds to the setpoint
angle. The calculated rotation is stored in the work offset.
Measuring the distance
between two edges
manually
1. Attach any tool for scratching to the spindle.
Jog
2. In "Machine Manual" mode, select the "Meas. workp." softkey.
3. Press the "Edge" softkey.
The "Edge" window opens with new vertical softkeys.
4. Press the "Distance between 2 edges" softkey.
5. Specify whether you want "Measurement only" or in which work
offset you want to store the zero point (as described under "Setting
the edge manually", step 5).
6. In "Measuring direction P1", select the measuring direction (+ or -)
and the measuring axis in which you first want to approach the
workpiece.
7. In "Measuring direction P2" select the measuring direction (+ or -)
for the 2nd measuring point.
The axis selected in "Measuring direction P1" is displayed.
8. Specify the setpoint position of the center line between the two
workpiece edges.
9. Traverse the tool to the first measuring point.
 Loading...