Mounting and dismantling
3.4 Connecting the 3RW5 HMI
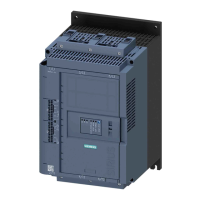
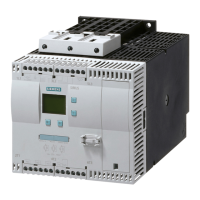
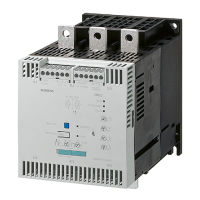
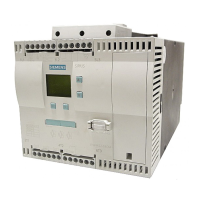
SIRIUS 3RW50 soft starter
Manual, 09/2019, A5E35628455002A/RS-AA/001
63
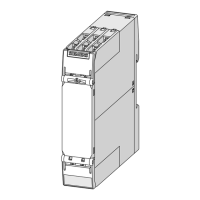
● Make sure that the locking switch on the rear of the 3RW5 HMI Standard is in the
required position.
For more information, see Chapter 3RW5 HMI Standard (Page 141).
● Insert the push-in lugs into each side of the enclosure until you hear them engage
① and
fix the 3RW5 HMI Standard on the wall
② / ③.
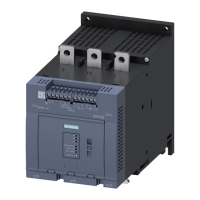
3.4.5 Installing the High Feature 3RW5 HMI on a flat surface
Requirements
● Note the mounting positions, minimum clearances and ambient conditions stated on the
data sheet.
● 3RW5 HMI High Feature (accessories)
● Level surface, e.g. sufficiently strong mounting plate
● 2 properly executed drill holes with thread or plugs on the level surface. Refer to the
drilling pattern (Page 197).
● 2 head screws M4 x 12 DIN ISO 7045 to fit the drill-holes
● Screwdriver (depending on the drive of the screws)
● 2 push-in lugs (accessories) for wall mounting
● HMI connecting cable (accessory) of suitable length connected to the soft starter
(Page 55)
 Loading...