EN
6. Basic Setup
29
Basic Setup
6.
6.6
Tank configuration
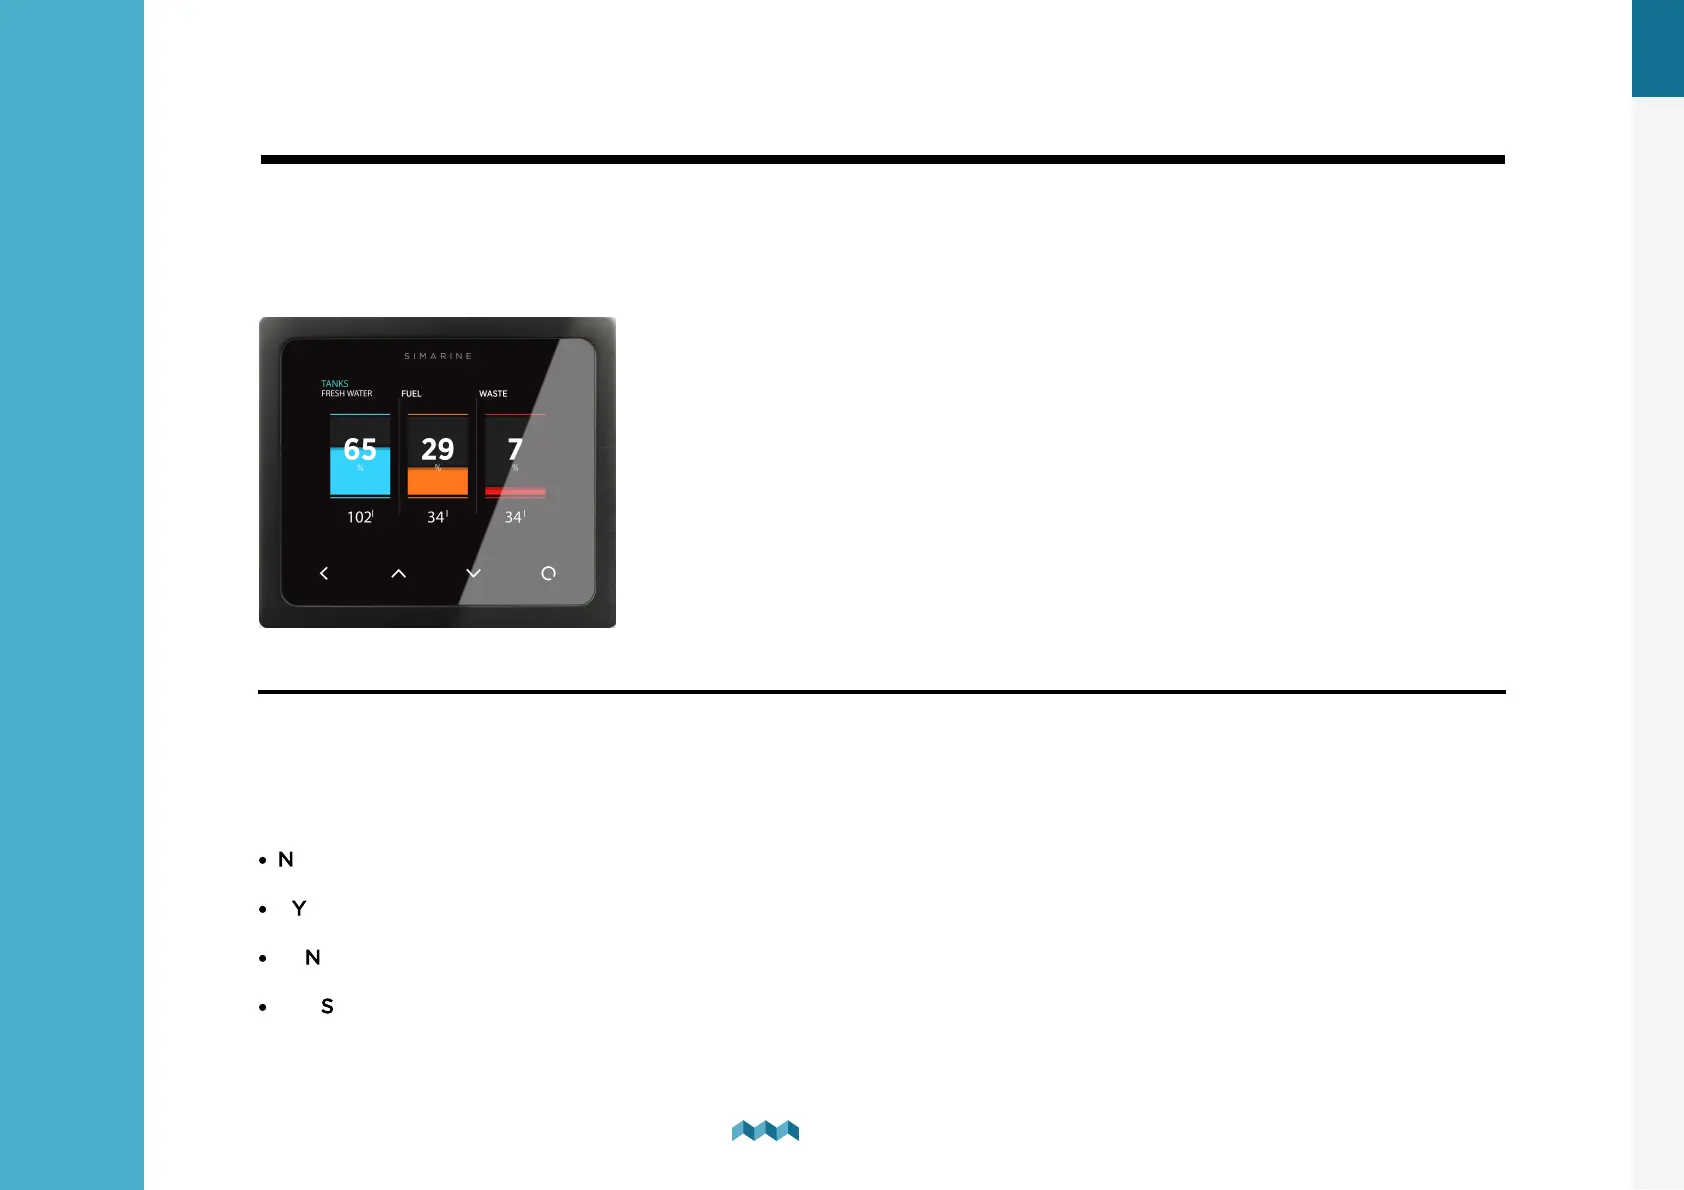
PICO shows all properly configured Tanks.
Each configured Tank will automatically show up on PICO. The following section describes how to set
up a tank on PICO.
Below is an example image of how the tank screen looks like on PICO.
6.6.1
Adding a new tank
After connecting a tank sensor to an appropriate module (ST107, SC303/503, SCQ25T) input, you can configure the tank by
following these steps:
In the settings menu, navigate to DEVICES > TANKS.
Select "Add new" and fill in the requested data:
·
NAME - Name the tank accordingly
·
TYPE - Select the tank type (WATER, FUEL, WASTEWATER), which defines the color of the tank on Pico’s screen.
·
SENSOR TYPE - Select the used sensor's type (RESISTANCE or VOLTAGE)
·
SENSOR - Select the used sensor input from the Only resistance/voltage inputs that are not already used elsewhere in the
configurations will be displayed on the screen.