34 |
Software setup | NSO evo2 Installation Manual
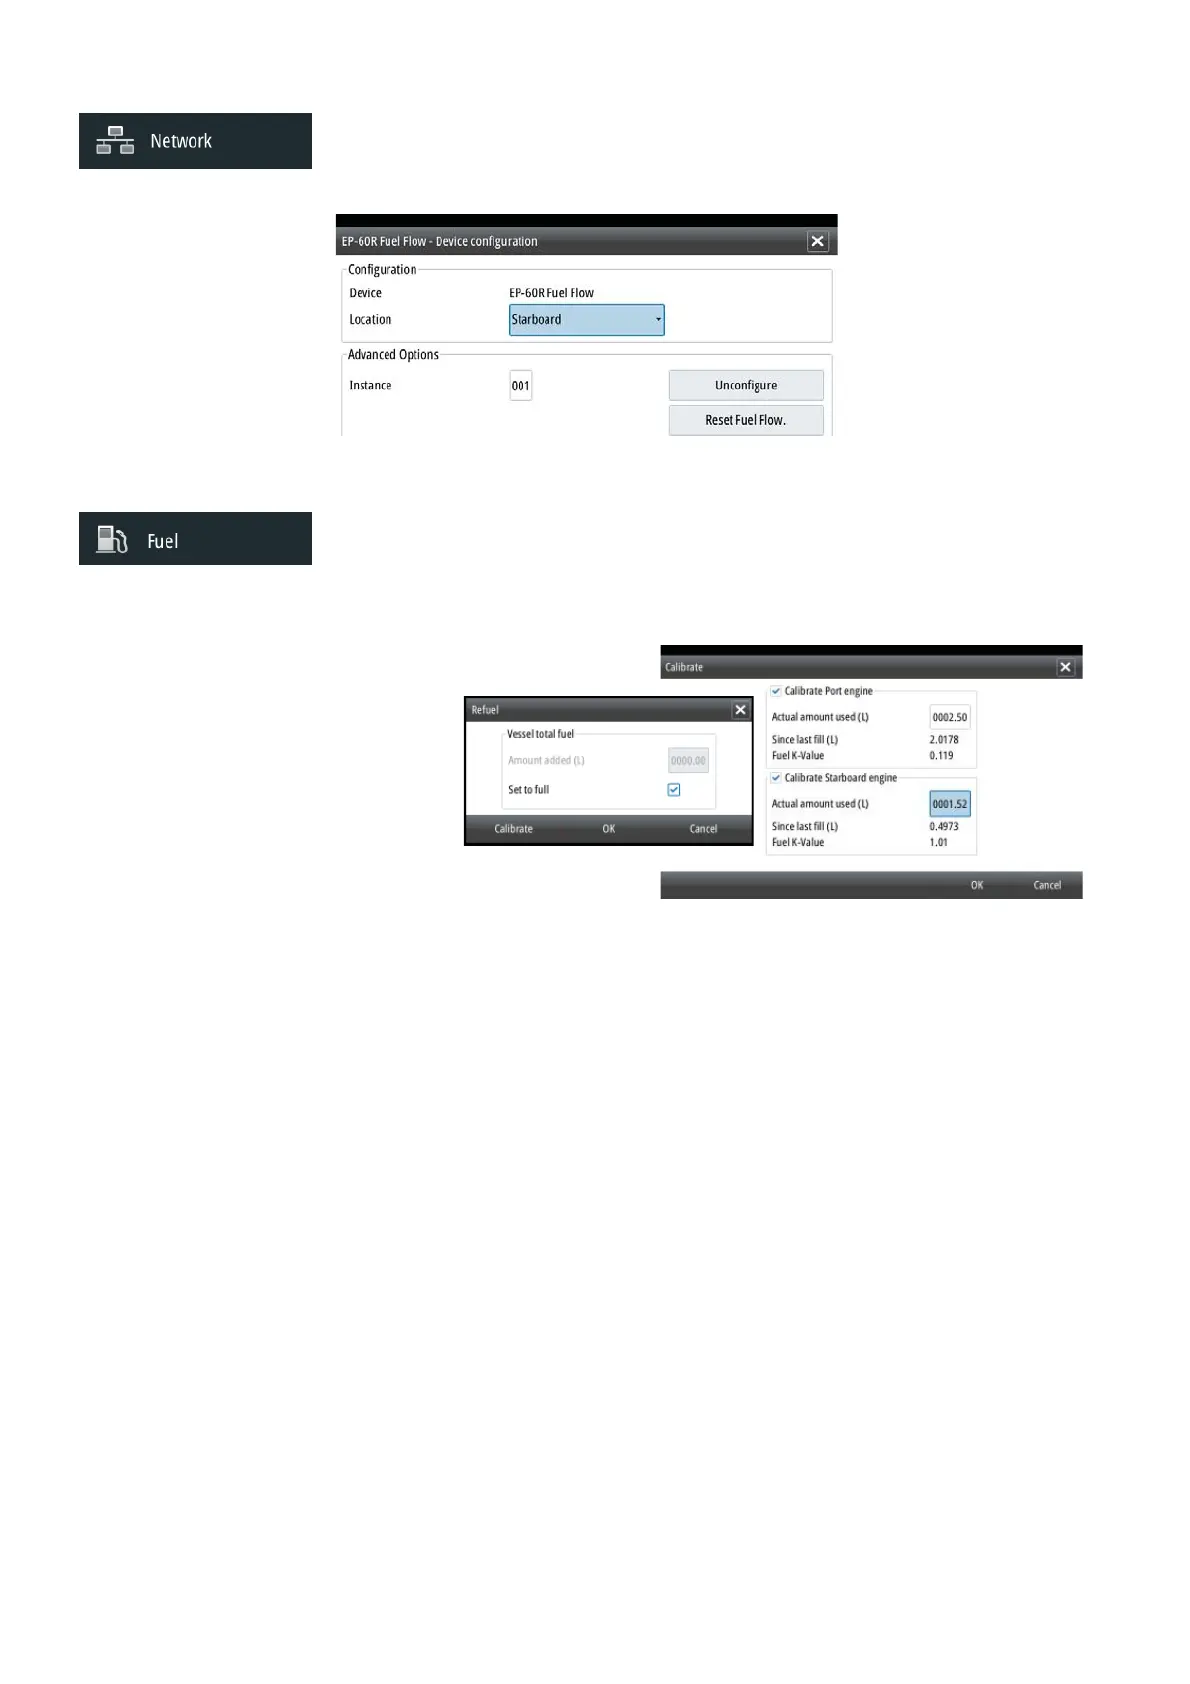
Fuel ow con guration
Once the number of engines are set, it’s required to set which fuel fl ow sensor is connected to
which engine. Under ‘Device list’ on the Network page, view the ‘Device Confi guration’ page
for each sensor, and set ‘Location’ to match the engine the device is connected to.
‘Unconfi gure’ is for defaulting the device clearing all user settings, and ‘Reset Fuel Flow’ will
restore only the ‘Fuel K-Value’ setting, if set in ‘Calibrate’. Only Navico devices can be reset.
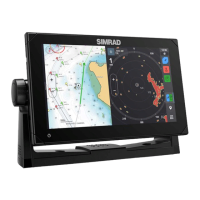
Calibrate
Calibration may be required to accurately match measured fl ow with actual fuel fl ow. Access
calibration from the ‘Refuel’ dialog. Calibration is only possible on Navico’s Fuel Flow sensor.
Start with a full tank and run the engine as it would normally be operated.
1. After at least several litres (a few gallons) have been used, the tank should be fully refi lled, and
the ‘Set to full’ option selected.
2. Select the ‘Calibrate’ option.
3. Set the ‘actual amount used’ based on amount of fuel added to tank.
4. Select OK to save settings. The ‘Fuel K-Value’ should now show a new value.
¼ Note: To calibrate multiple engines repeat the steps above, one engine at a time. Alterna-
tively, run all engines simultaneously, and divide the ‘Actual amount used’ by the number of
engines. This assumes reasonably even fuel consumption on all engines.
¼ Note: Calibrate option is only available when ‘Set to full’ is selected, and a Fuel Flow is con-
nected and set up as a source.
¼ Note: A maximum of 8 engines is supported using Fuel Flow sensors.
Fuel Level
With the use of a Navico Fluid Level device connected to a suitable tank level sensor, it is
possible to measure the amount of fuel remaining in any equiped tank. The number of tanks
must be set in ‘Vessel Confi guration’ to allow discrete tank assignment of the Fluid Level
devices. Under ‘Device list’ on the Network page, view the ‘Device Confi guration’ page for each
sensor, and set Tank location, Fluid type, and Tank size.