12 |
Wiring | NSO evo2 Installation Manual
Connecting monitors
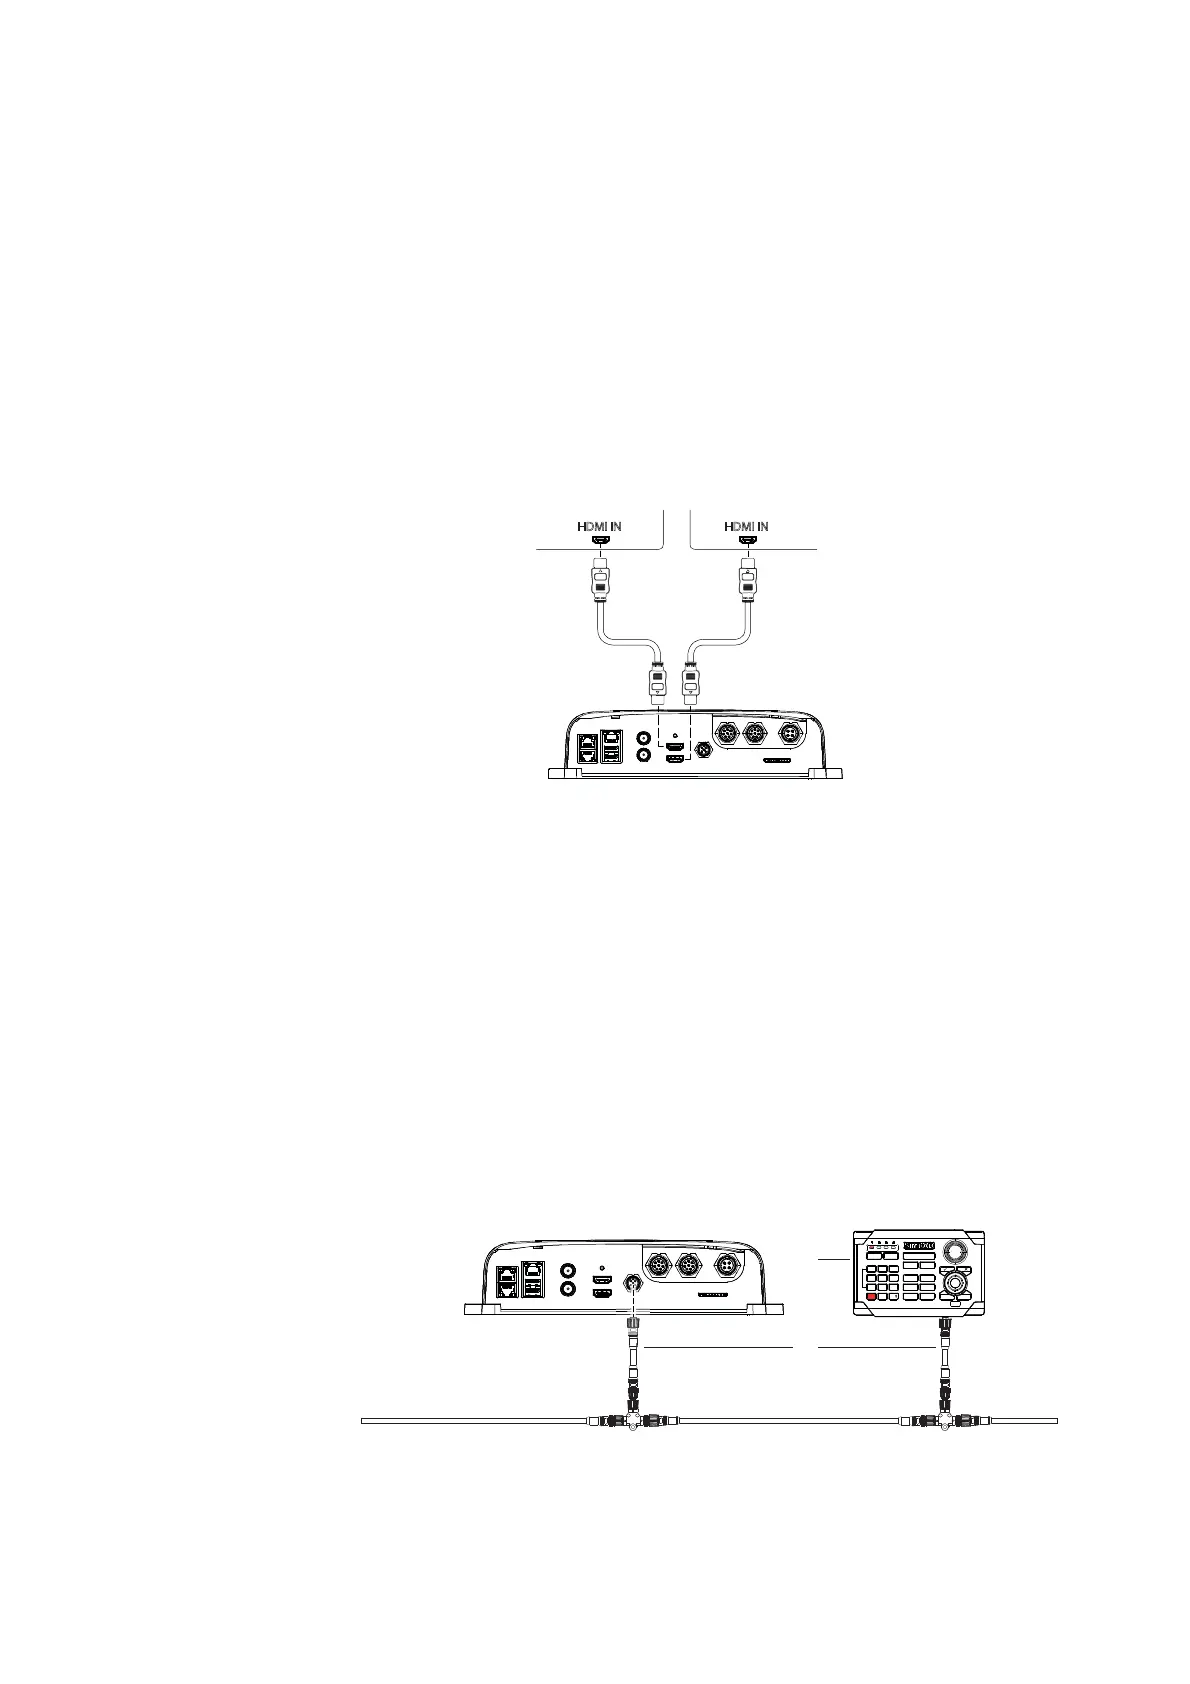
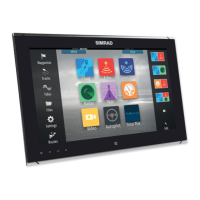
Up to two displays may be connected to the NSO evo2 via the HDMI ports.
Currently supported monitors, are the Simrad DI-15, MO-L 15/17/19, MO16/19/24 (T&P),
legacy MO-19, B&G ZM series, and KEPMGB-15T.
It is possible to use third party monitors, however these should conform to the supported
resolution and refresh rates defi ned in "Specifi cations" on page 47.
¼ Note: LCD monitors intended for home/offi ce use are not designed to operate in areas
exposed to direct sunlight, and will appear dark and diffi cult to read. Also, unless carefully
ventilated and protected from moisture, their service life will be greatly compromised in the
marine environment.
Monitors with an HDMI input may be directly connected to. Where monitors have DVI inputs
only, an HDMI-DVI adaptor cable or regular HDMI cable and DVI adaptor plug should be
used. Adaption will not degrade video quality, as both formats use a digital signal, however
brightness control driven by the NSO evo2 is not supported over DVI.
HDMI INHDMI IN
MO24-P
¼ Note: While the HDMI standard does not state maximum cable length, signal may be com-
promised on long runs. Only use Navico or other high quality HDMI certifi ed cables. 3rd party
cables should be tested before installation. On runs over 10 m it may be required to add an
HDMI amplifi er or use HDMI-CAT6 adaptors.
¼ Note: some HDMI TV displays may apply over-scan, which will in eff ect crop the image pos-
sibly causing loss of important content. Check the display manual for an option to disable
overscan or adjust scaling.
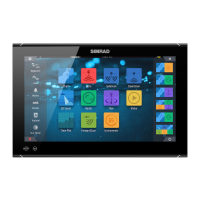
Connecting control devices
The NSO evo2 can be controlled with a proprietary remote controller, a USB keyboard and
mouse, or by 1 or 2 Touch screens. If a mixed system is run, with one touch and one non-
touch screen, a remote controller or mouse and keyboard will also be required to control
the display without touch. The remote controller can control either screen by pressing the
DISPLAY key, the keyboard by double press of the CTRL key(s).
keypad control
MARK
VESSEL
STBY
AUTO
PWR
MOB
PLOT GO TO
MENU WIN
1
3
6
7
PQRS
8
TUV
9
WXYZ
MNO
5
JKL
2
ABC DEF
GHI
4
0
STBY
AUTO
OUT
IN
RADARCHART
ECHO NAV
INFO PAGES
DISPLAY
1
3
2
1 Remote controller
2 Micro-C drop cable (must be ≤ 6 m (19.7’))
3 Micro-C backbone for NMEA 2000 data