46
STRAIGHT STITCHING
6WUDLJKWVWLWFKLVPRVWIUHTXHQWO\XVHGIRUDOOW\SHVRIVHZLQJ
/HW¶VEHJLQE\IROORZLQJWKHVWHSVEHORZ
6(77,1*6
3UHVVHUIRRW*HQHUDO3XUSRVH)RRW
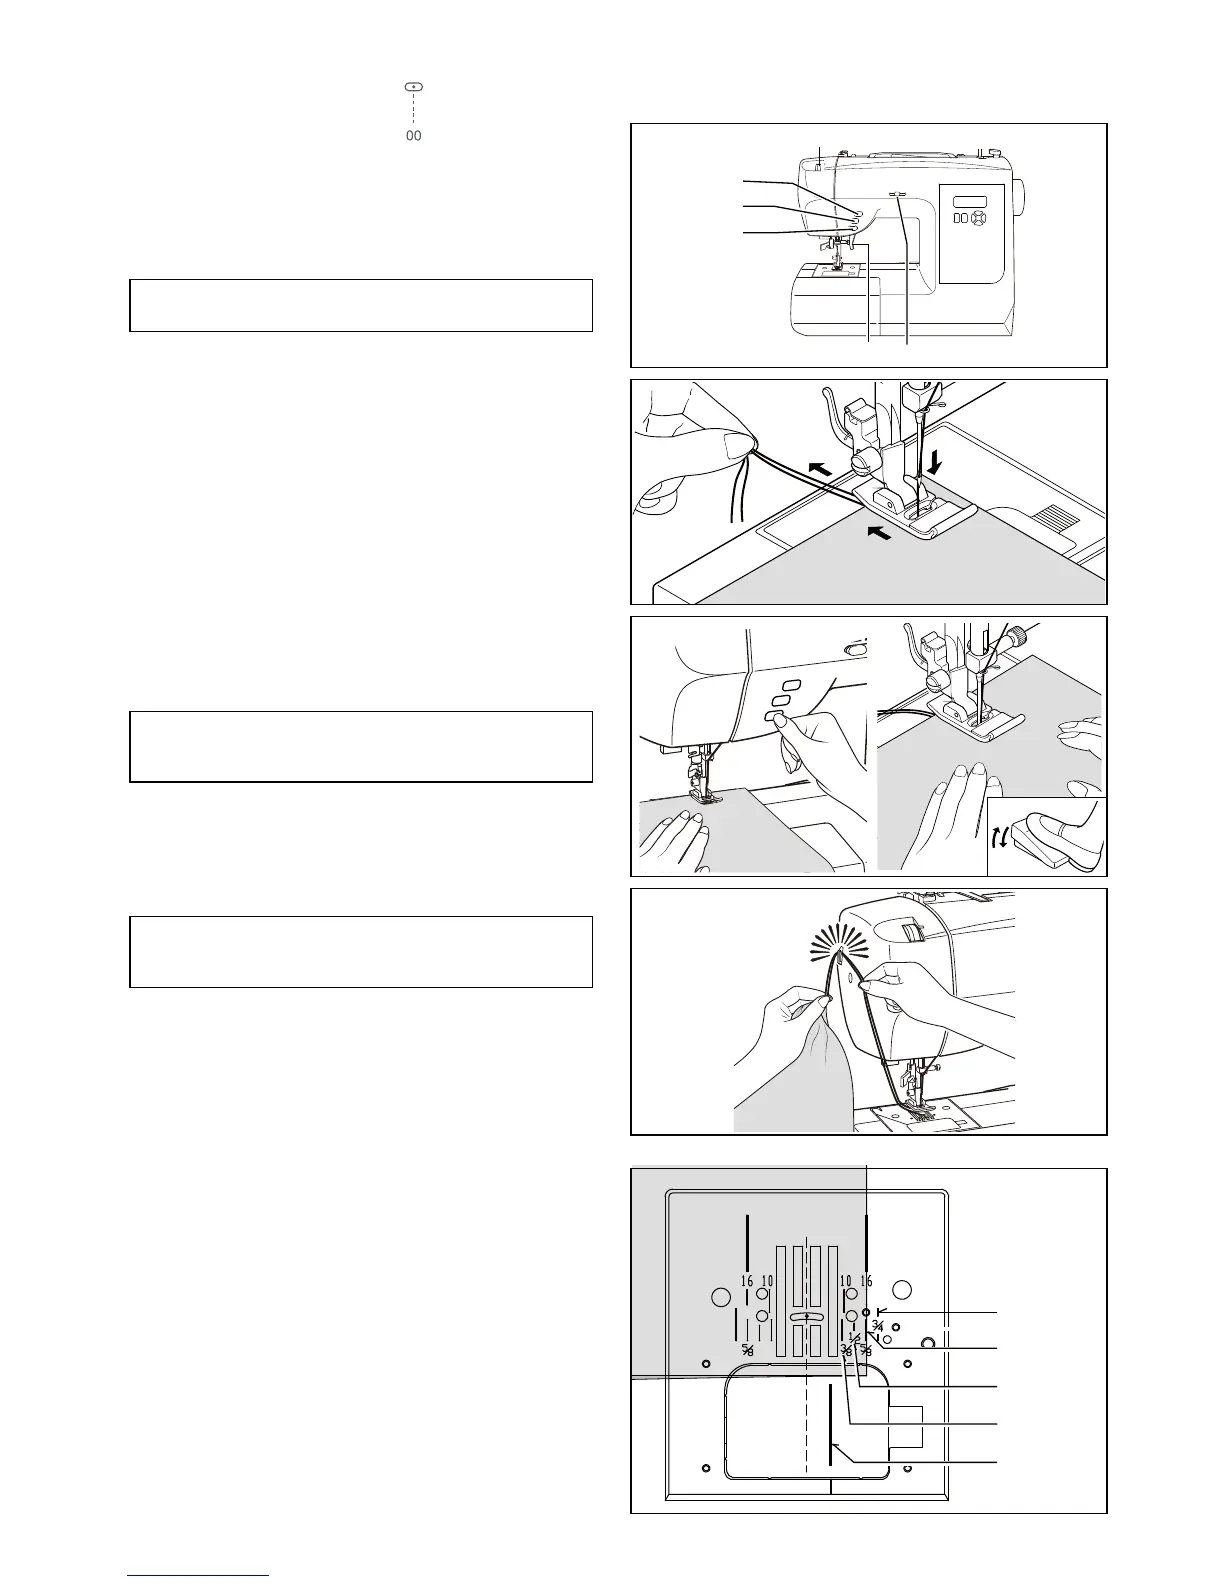
7KUHDGWHQVLRQFRQWURO$872
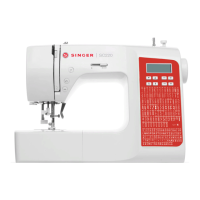
$7KUHDGWHQVLRQFRQWURO
B. Reverse stitch button
C. Programmable needle up/down button
'6WDUWVWRSEXWWRQ
E. Presser foot lifter
)6HZLQJVSHHGFRQWURO
2. Pull both threads under the presser foot toward the back of
WKHPDFKLQHOHDYLQJDERXW´FPFOHDU
3. Place the fabric under the presser foot and lower the
presser foot lifter.
7XUQ WKH KDQG ZKHHO WRZDUG \RX FRXQWHUFORFNZLVH XQWLO
the needle enters the fabric.
6WDUWWKHPDFKLQH*XLGHWKHIDEULFJHQWO\ZLWK\RXUKDQGV
When reaching the edge of the material, stop the sewing
machine.
)LUVWWXUQ WKHKDQGZKHHO WRZDUG\RXFRXQWHUFORFNZLVH
until the needle is at its highest position. Raise the presser
foot, draw materials to the rear and cut off excess thread
with the thread cutter located on the bottom of face cover
as shown.
.((3,1*6($06675$,*+7
To keep the seam straight, use one of the numbered guide
lines on the needle plate. The numbers indicate distance from
the needle at its center position.
7KHJXLGHOLQHRQWKHEREELQFRYHUSODWHLVPPVHDP
JXLGHOLQHZKLFKLV XVHG IRU SLHFLQJTXLOWEORFNVDQGDOVR IRU
narrow seams.
127(7RVHFXUHWKHVWLWFKLQJDQGDYRLGUDYHOLQJ
SUHVVWKHUHYHUVHVWLWFKVZLWFKDQGVHZDIHZ
VWLWFKHVDWWKHVWDUWDQGHQGRIWKHVHDP
127(7KH1HHGOH3ODWHKDVERWK 0HWULF DQG ,QFK
0DUNLQJVDVDQDLGIRUJXLGLQJ\RXUIDEULFZKHQ
VHZLQJDVHDP
127( %DVHG XSRQ WKH ZHLJKW RI WKH IDEULF VOLJKW
³¿QHWXQLQJ´RIWKHWHQVLRQPD\EHGHVLUHG
EF
A
B
C
D
1
6
5
2
3
4
mm
mm
mm
mm
mm