62
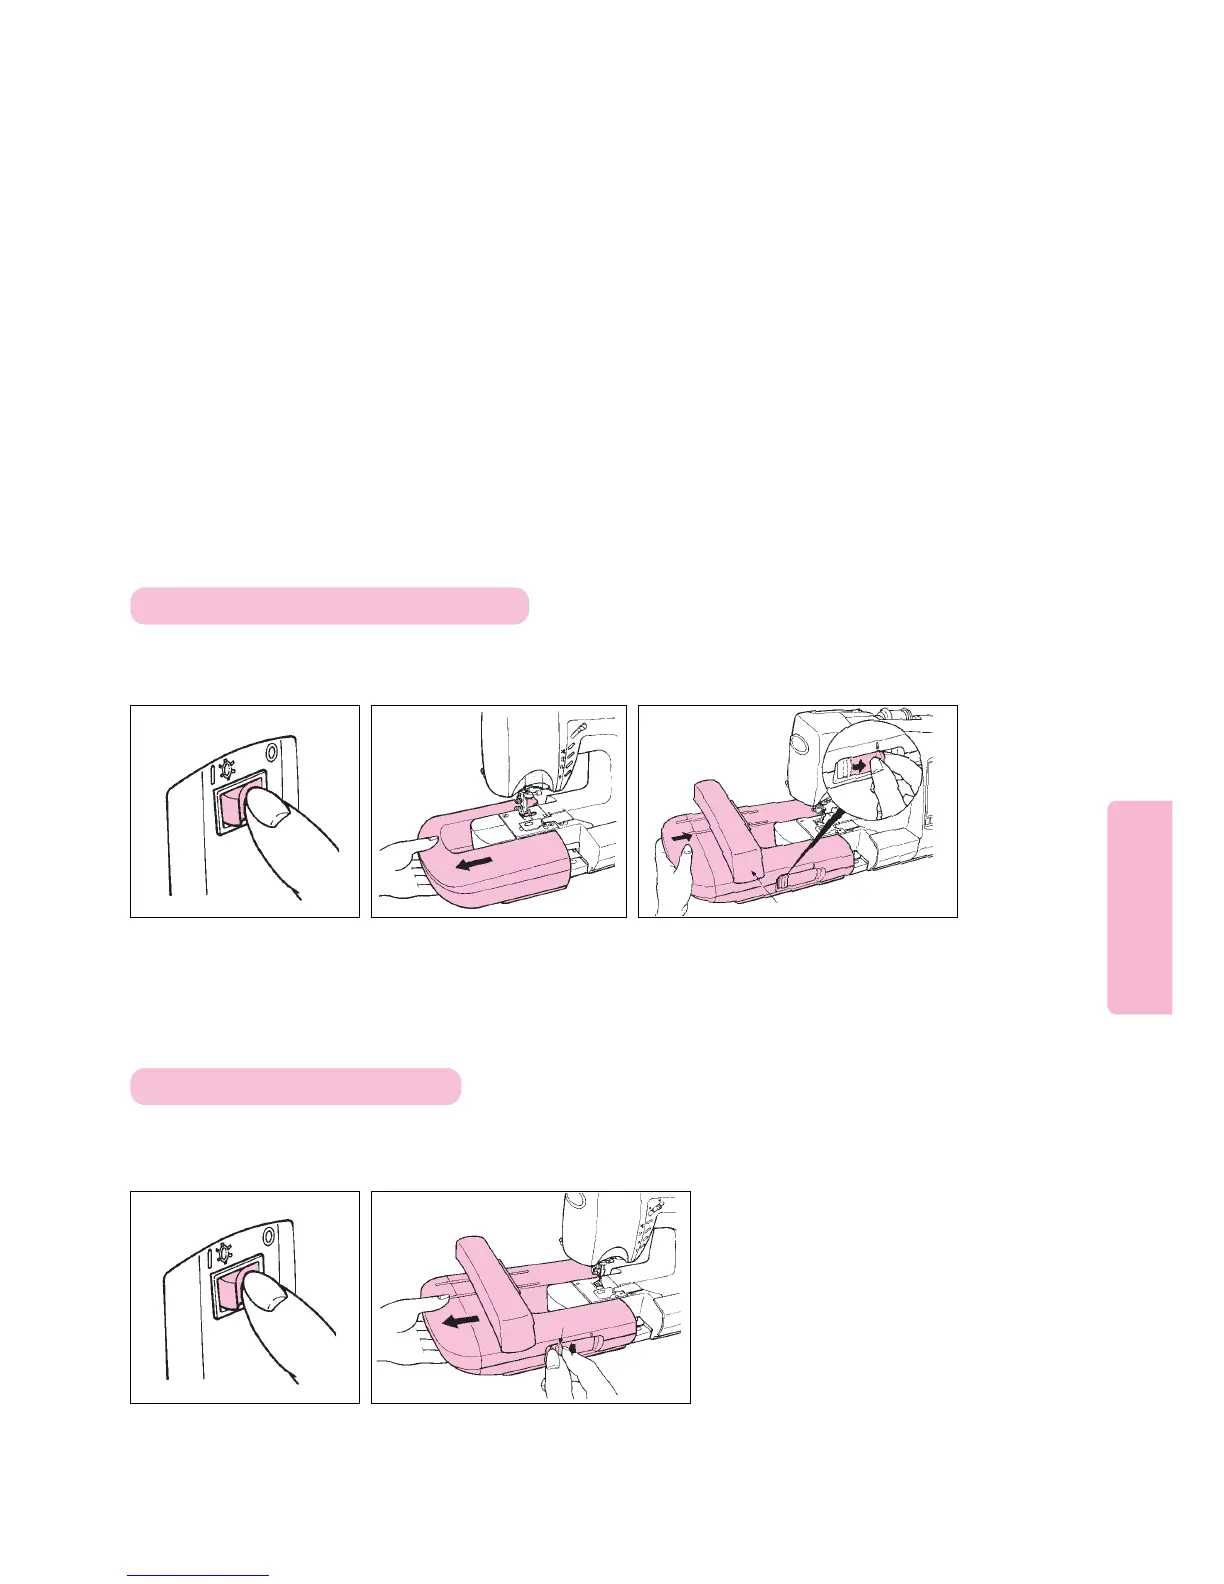
Turn power off. Remove Auxiliary Bed.
Slide Embroidery Unit over machine
arm. Press lever to rightmost position
until it clicks.
Slide the lever of the Embroidery Unit to the
leftmost position. Then, slide Embroidery Unit
to the left until it comes off sewing machine.
Caution: Do not attach Embroidery Unit by holding the carrage.
12 3
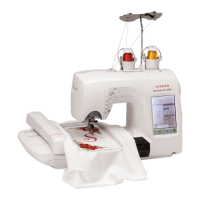
Place Computer Sewing Machine on a sturdy level surface.
Attach Embroidery Unit by sliding it into place. If any gap
exists between Embroidery Unit and Sewing Machine,
embroidery patterns may be sewn incorrectly. Be sure to
fully push Embroidery Unit onto sewing machine and then
lock it in place.
Caution: Do not remove Embroidery Unit by holding its carriage.
12
Attaching embroidery Unit to Machine
Removing Embroidery Unit
Carriage
Lever
Turn power off.