51
Twin Needle Sewing
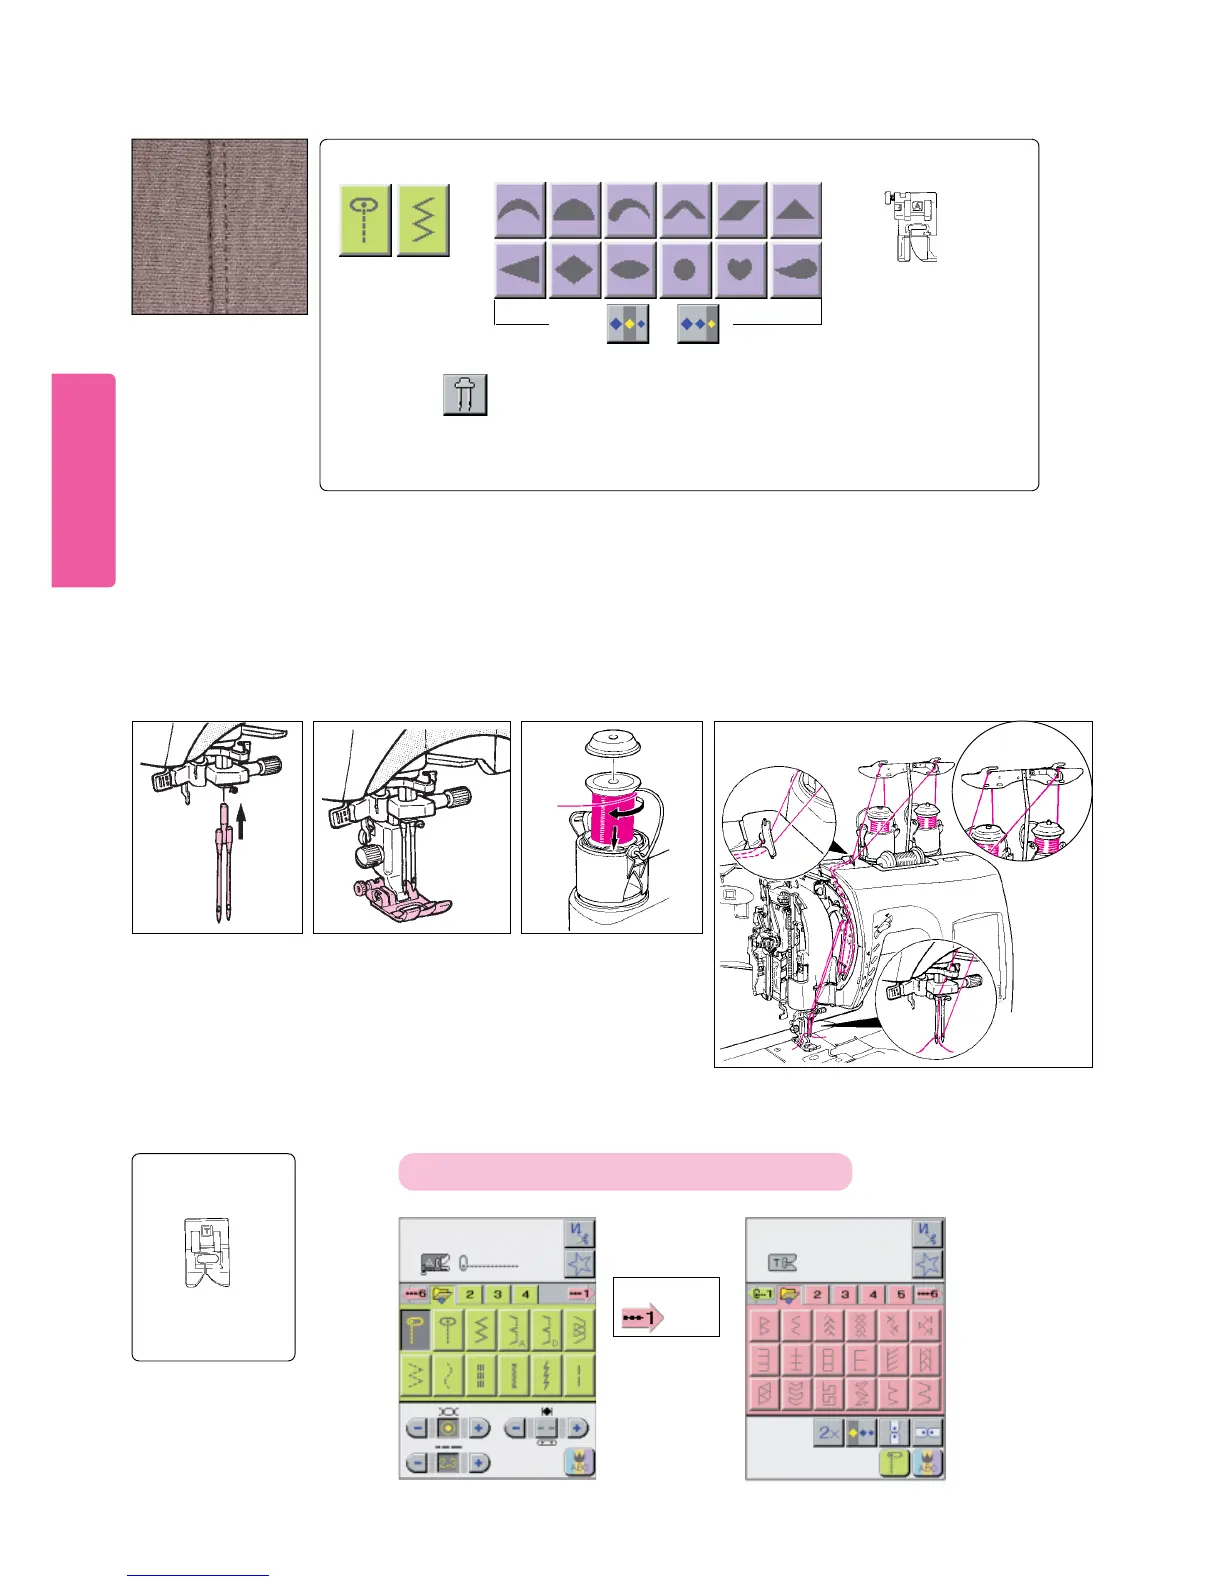
Twin needle sewing
produces two parallel
line of closely-spaced
stitching.
Stitch pattern to be selected
Presser foot to
be selected
Standard presser
foot (A)
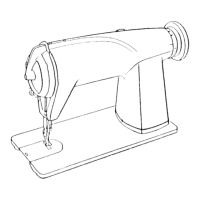
* With machine turned off, insert twin needle into needle clamp.
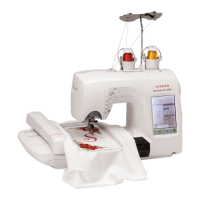
* Place the first spool of thread on the left Thread Exchanger Spool Pin A. Place the second spool of thread on the right Thread
Exchanger Spool Pin B.
*Thread the machine manually with Spool A threaded through the left needle and Spool B through the right needle.
NOTE: * Automatic needle threader and automatic thread cutter cannot be used.
* Two colors sewing cannot be performed with twinneedle sewing.
IMPORTANT: Use only Singer branded twin needle style #2025.
Attaching twin
needle. Thread machine.Set spools in place.
1 3
How to Select Continuous / Functional Patterns (color coded rose)
How to activate patterns on LCD screen
Press
picto.
Presser foot to
be selected
Decorative
stitch foot (T)
2
Use correct presser
foot.
4
Use standard presser foot
(A) or decorative stitch
foot (T).
Caution: * If sewing with twin needle, never press the elongate
or position key (because needle will hit the presser foot).
* Sew at low or medium sewing speed.
* Do not use reverse stitch.
Size is or .
Adjust stitch
width of
4.0mm or
less.
A quick method to set the proper width for twin needle sewing is to simply press the
twin needle pictogram before selecting the desired stitch patterns.