16 POLYLUX Fiber Optic Light Handpiece Sirona Dental Systems GmbH
41 63 189 D 3311
42
D 3311.201.01.10.02
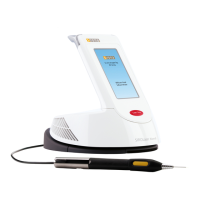
16
POLYLUX
Fiber Optic Light Handpiece
16.1 POLYLUX
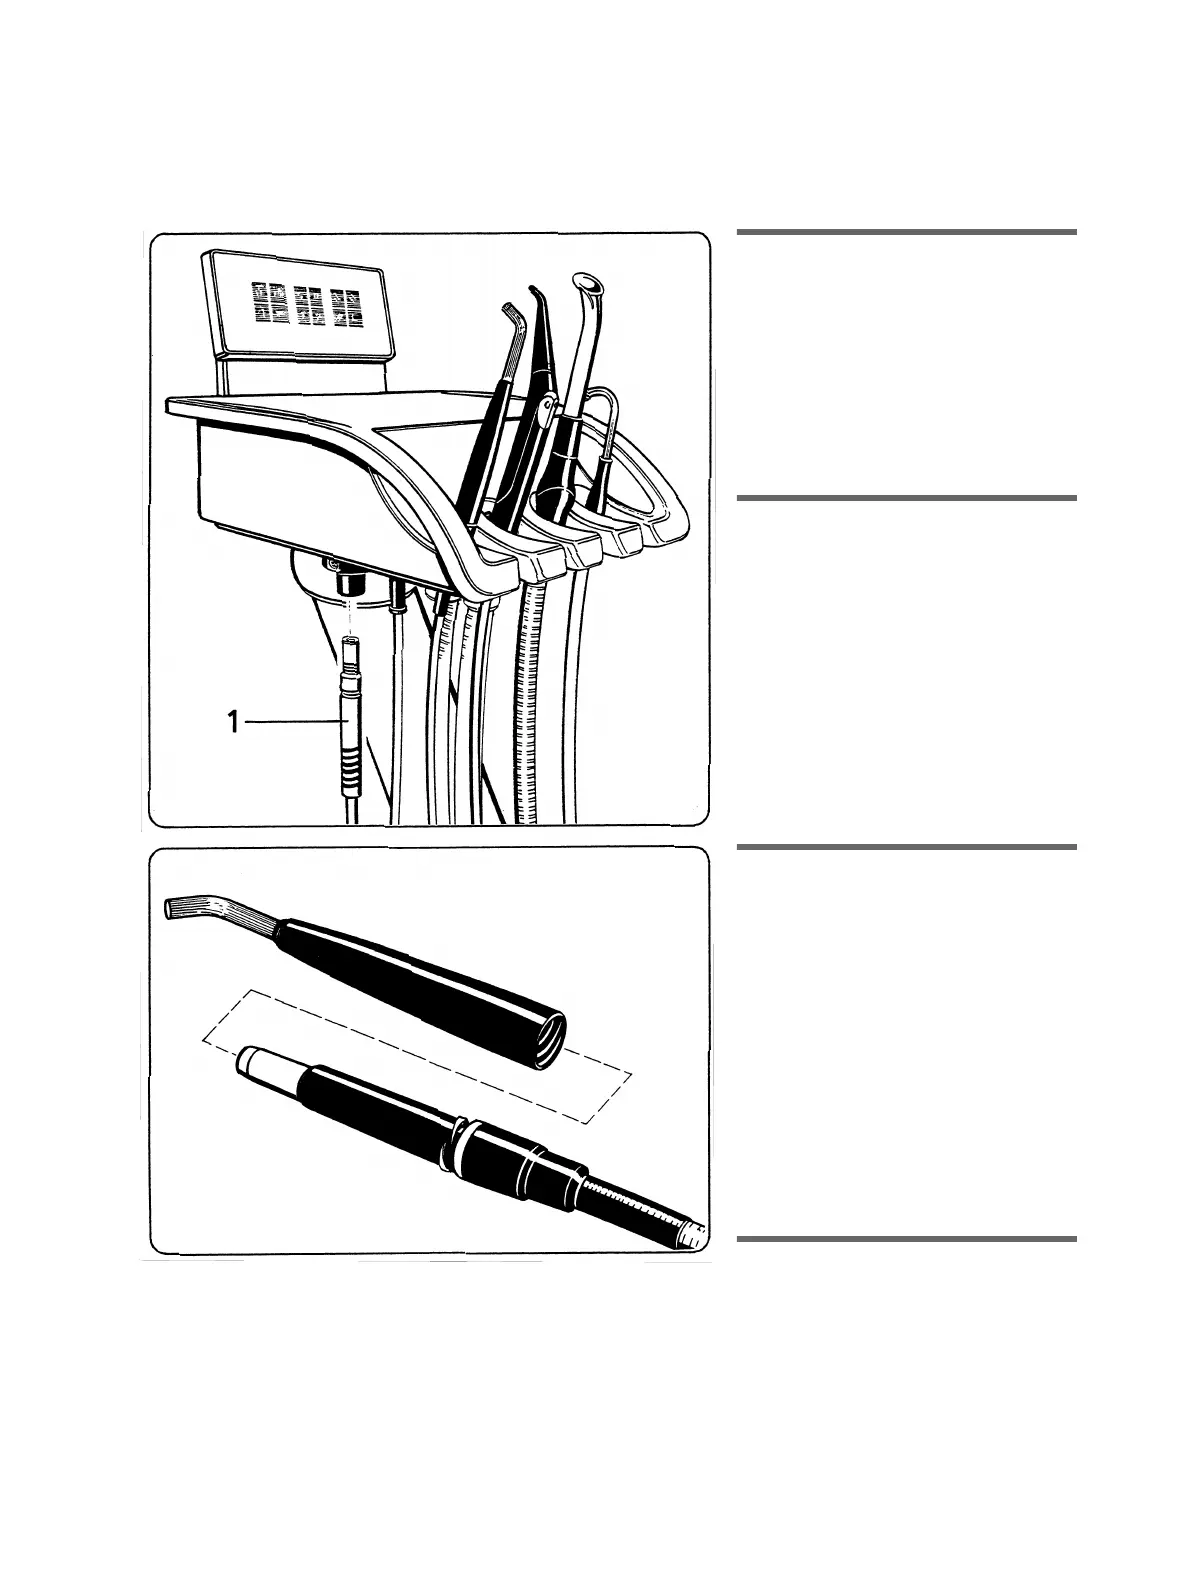
The POLYLUX light can be installed either
in the assistant or in the dentist unit.
Insert the light guide into the receptacle on
the bottom of the assistant or dentist
unit
until it engages
.
CAUTION: Always grasp the light guide by its
anti-kink sleeve (1), never by its tubing!
Do not squeeze, twist or kink the light guide!
Observe a minimum bending radius of 80 mm.
16.2 The Handpiece
Screw the handle sheath with fiber-optic rod
onto the handpiece clockwise.
The handpiece can be turned.
Before making a composite filling
,
please
reduce the brightness
of the work-
ing area light to prevent premature harden-
ing of the filling material.
This is done by pressing the
L
key when
all instruments are deposited.
If the
L
key is pressed longer than 3 sec.,
the
OPERATING LIGHT
setting dialog
appears. Reduce the brightness to
20%
with the
–
key (p. 30).
16.3 Switching ON the POLYLUX
at the assistant unit.
Press the
L
key on the assistant unit control
panel with a handpiece removed.
An acoustic signal then sounds every 20 sec.
over a period of 3 min.
The lamp is automatically switched off when
the 3 min. have elapsed.
The lamp can also be switched off before the
3 min. have elapsed by pressing the key
again or returning the POLYLUX to its
receptacle.
In addition the POLYLUX light in the assistant
unit can also be switched on or off by
actuating the chair intermediate foot switch in
an arbitrary direction.
16.4
Switching ON the POLYLUX
at the dentist unit.
Always use the foot switch!
The POLYLUX can be switched off by
actuating the foot switch repeatedly or
returning the POLYLUX to its receptacle
before the 3 min. have elapsed. The
cooling fan continues running for a while
after the POLYLUX is switched off.