Imaging
6-1
Chapter 6
Imaging
6.1 Preparation
6.1.1 Tools
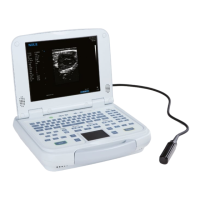
a) Connect the probe to the probe socket (please pay attention to the assembly
orientation of probe connector) and fix the probe firmly;
b) Check the battery;
c) Connect the external special power if necessary;
d) Unfold the front panel;
e) Ultrasound Coupling Gel: to be applied directly to the patient’s body parts to be
examined and the acoustic lens surface of the probe head;
f) Tissue Paper: to be used to remove ultrasound coupling gel away from the patient
skin and the probe after examination;
g) Video Printer or Printer: to record diagnostic images or files.
6.1.2 Operation Procedure
Power On: Press the main unit power switch button on the operation panel and the
power indicator will be on. The system will enter normal operation state after logging on
the operation interface completely.
【Note】: Press the main unit power switch button on the operation panel again
and the system will be shut off. Before shutting off the system, please
disconnect all the USB devices connected to the system.
6.2 Selecting Probe Frequency and Exam Type
6.2.1 Selecting Probe Frequency