Section 07 REAR SUSPENSION
Subsection 06 (TRACK)
07-06-1
TRACK 5
TRACK TYPE APPLICATION
Refer to TECHNICAL DATA section 10-03.
GENERAL
This section gives guidelines for track removal.
Some components require more detailed disas-
sembly procedures. In these particular cases, re-
fer to the pertaining section in this manual.
INSPECTION
Visually inspect track for:
– cuts and abnormal wear
– broken rods
– broken or missing track cleats
If track is damaged or rods are broken, replace
track. For damaged or missing cleats, replace by
new ones, using cleat remover (P/N 529 0287 00).
Use small-cleat installer (P/N 529 0085 00).
REMOVAL
S-Series
Remove the following parts:
– speedometer cable
– muffler
– chaincase cover
– suspension
– drive axle seal
– end bearing housing
– sprockets and chain
– drive axle (toward end bearing housing)
– track
Skandic WT/SWT/WT LC
Remove the following parts:
– rear suspension
– muffler
Drain gearbox.
Remove drive axle then track.
INSTALLATION
All Models
Reverse the removal procedure.
NOTE:
When installing the track, respect rotation
direction indicated by an arrow on track thread.
Check sprocket/track alignment as described in
DRIVE AXLE 07-05.
Track Tension and Alignment
Track tension and alignment are inter-related. Do
not adjust one without checking the other. Track
tension procedure must be carried out prior to
track alignment.
Tension
Lift the rear of vehicle and support with a mechan-
ical stand. Allow the slide to extend normally.
Check the gap halfway between front and rear
idler wheels. Measure between slider shoe and
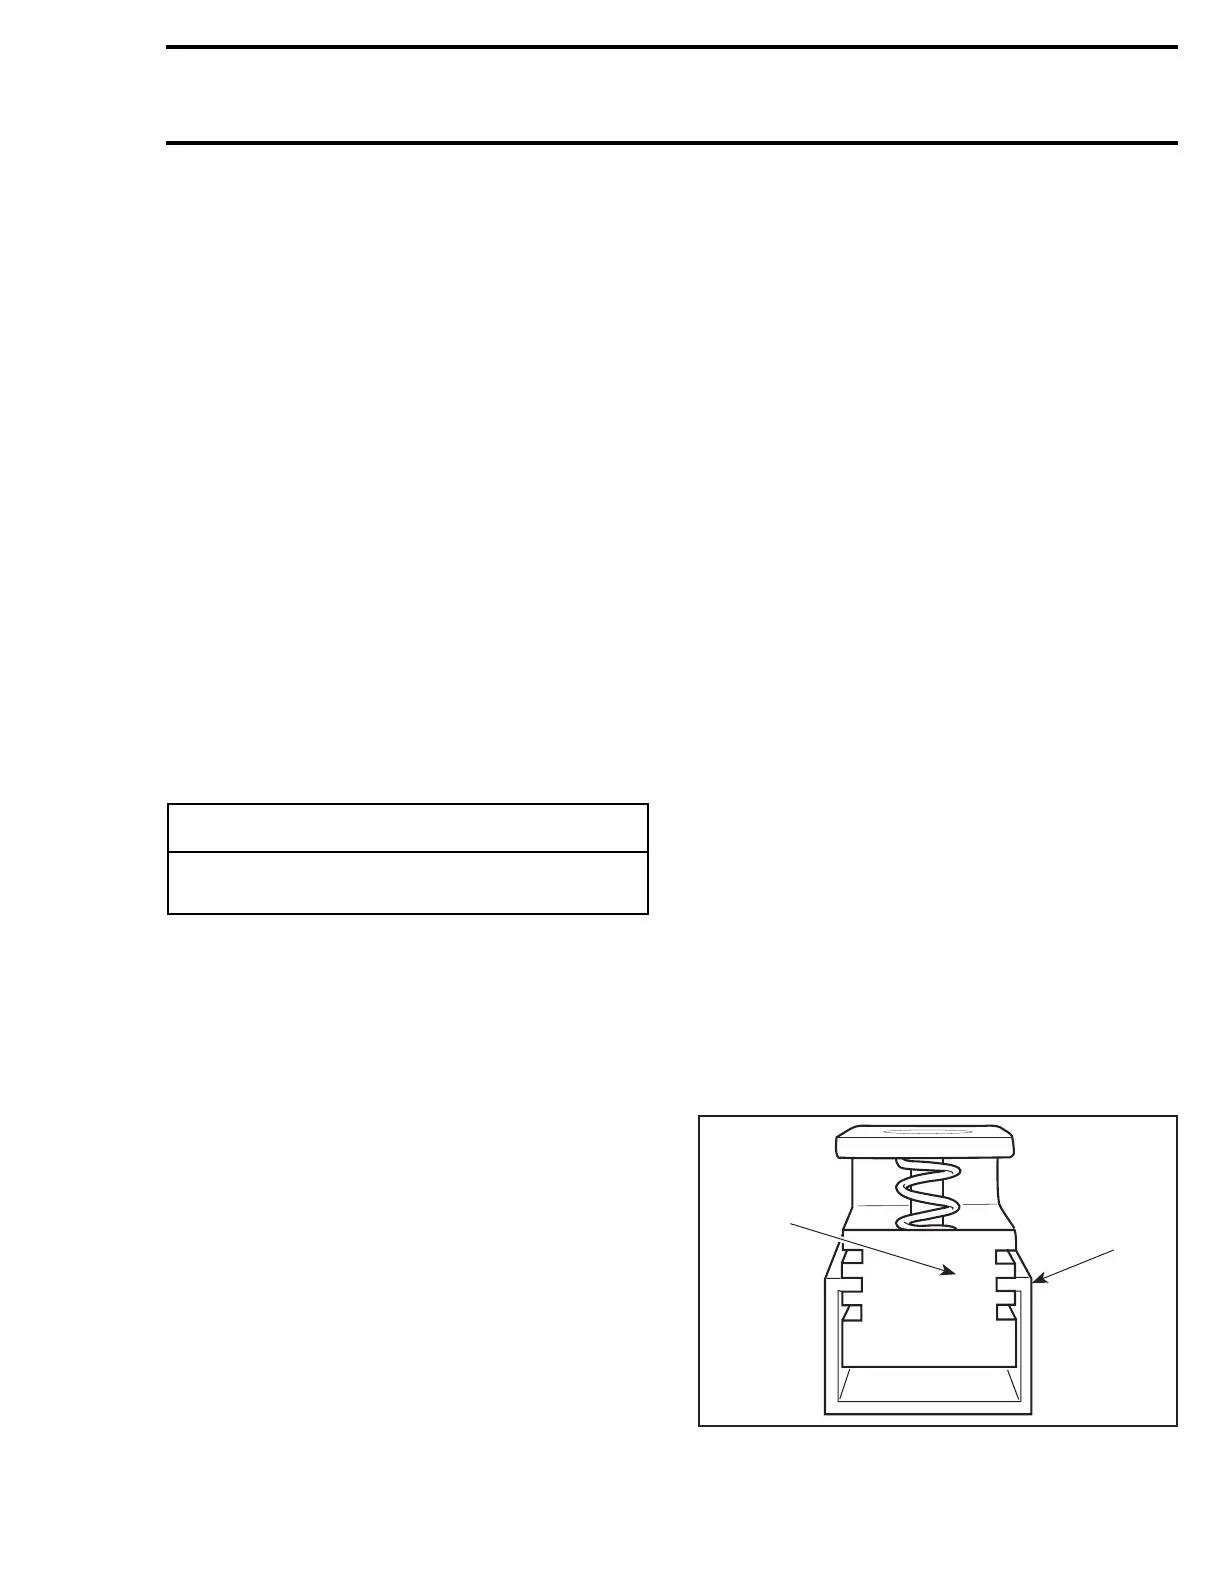
bottom inside of track.
When using the track tension gauge (P/N 529
0215 00), slide U-shape extrusion to proper de-
flection. Refer to TECHNICAL DATA 10.
1. Example: 45 mm
2. Extrusion
◆
WARNING
Do not operate a snowmobile with a cut,
torn or damaged track.
40
45
50
A01B4JA
1
2
 Loading...