SMA Solar Technology AG Mounting
Installation Guide SWebBox20-IEN110711 19
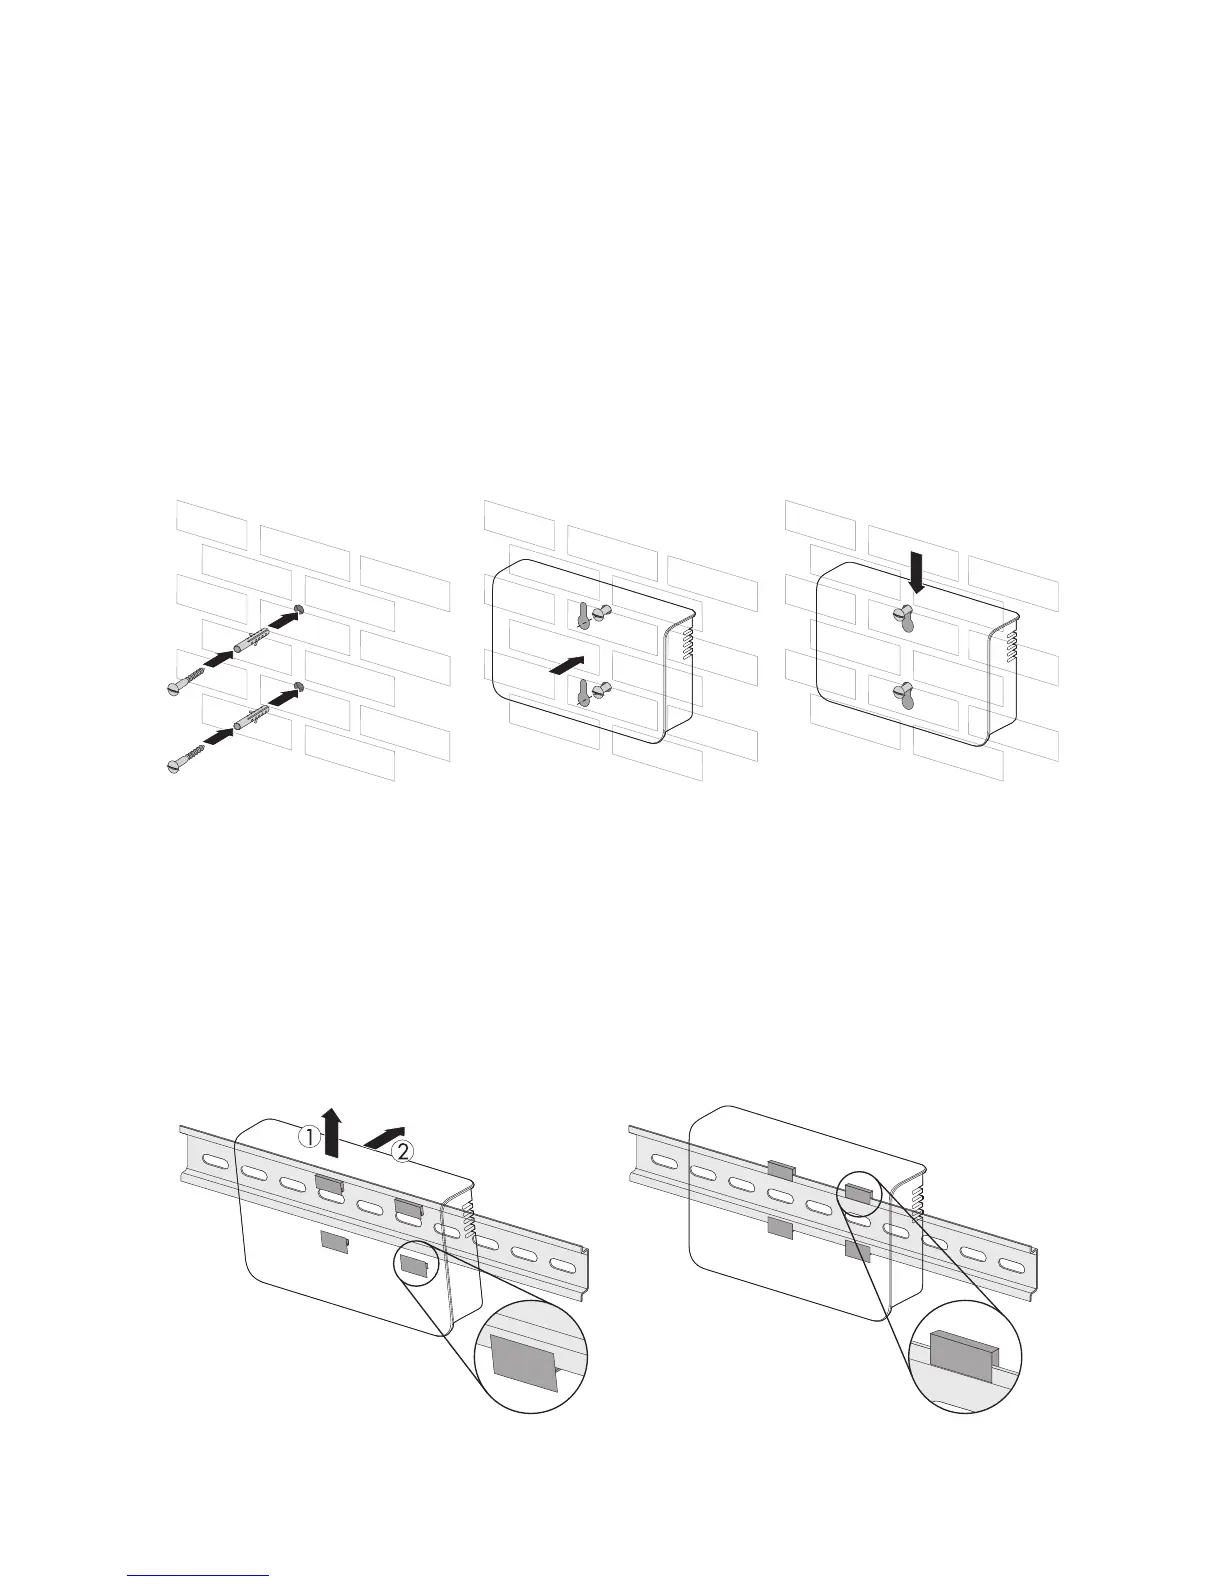
5.3 Mounting the Sunny WebBox onto the wall
1. Determine the mounting location taking into consideration the mounting / installation location
requirements.
2. Use the drilling template to determine the position of the Sunny WebBox and to mark the drilling
holes with a pen.
3. Drill holes with 6 mm diameter at the marked points and insert wall anchors.
4. Screw in the screws and leave a 6 mm clearance between the screw head and the wall.
5. Hang the Sunny WebBox onto the screws.
☑ The Sunny WebBox is now mounted on the wall.
5.4 Mounting the Sunny WebBox on the Top-Hat Rail
1. Determine the mounting location taking into consideration the mounting / installation location
requirements.
2. Hook the Sunny WebBox with both lower retainers into the lower edge of the top-hat rail.
3. Press the Sunny WebBox upwards and snap it into the upper brackets.
☑ The Sunny WebBox is now mounted on the top-hat rail.

 Loading...


