Commissioning SMA Solar Technology AG
28 SWebBox20-IEN110711 Installation Guide
6.6 Configuring Sunny WebBox for the Local Network
6.6.1 Information on Integrating the Sunny WebBox into a Local
Network.
The next sections describe how to integrate the Sunny WebBox via static network settings into your
local network with a router.
In rare cases, further network settings are necessary. Examples of further network settings include
integrating the Sunny WebBox via DHCP into your network, using a proxy server in the network or
making the Sunny WebBox accessible via the internet. If this is the case, contact your network
administrator and refer to section 7 "Extended Configuration" (page 31).
6.6.2 Applying Static Network Settings to the Sunny WebBox
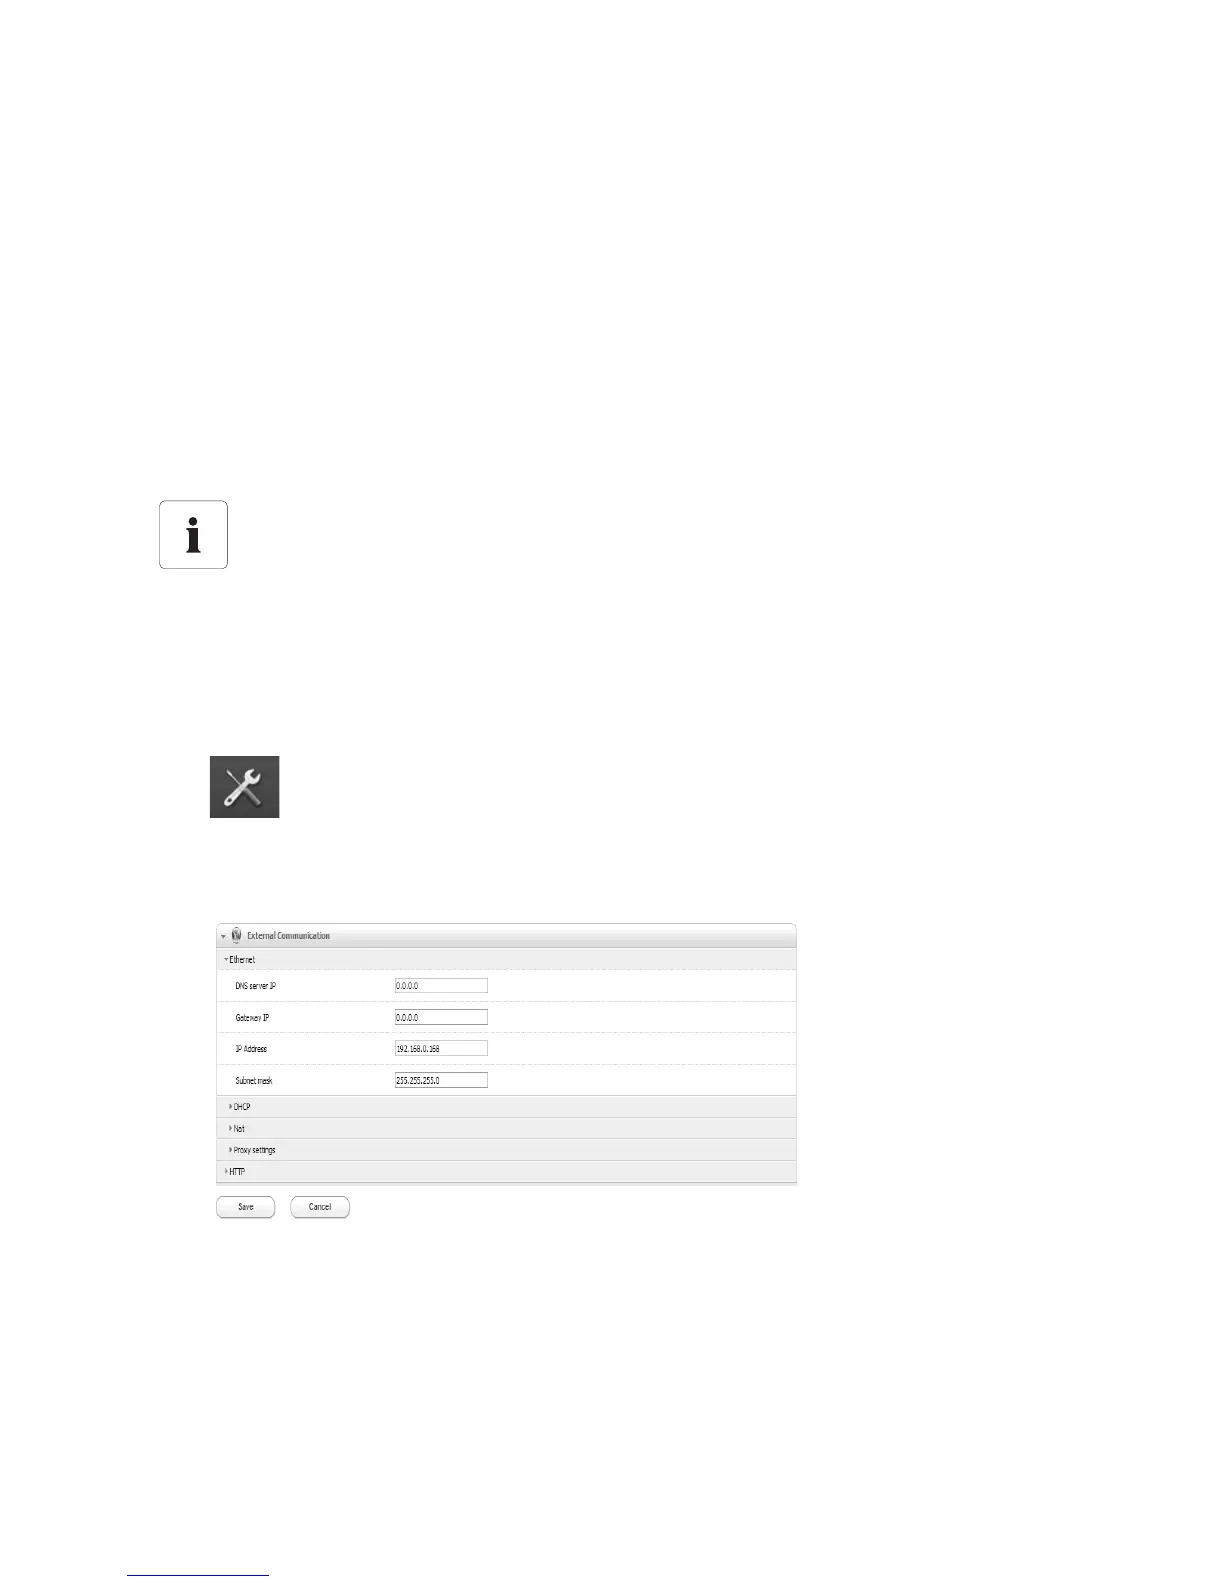
1. Select "Settings" on the toolbar.
2. Select the "External Communication > Ethernet" parameter group.
3. Select [Edit].
4. In the "DNS server IP" field enter the IP address of the DNS server (Domain Name System
Server). Usually, this is the IP address of the router.
5. Enter the Gateway IP address of your network into the "Gateway IP" field. Usually, this is the IP
address of the router.
Protecting the Ethernet network from external access
Protect your Ethernet network through suitable security measures such as via a firewall and
through the allocation of secure passwords (see the Sunny WebBox user manual). After
the first login to the Sunny WebBox please change the passwords for each user group.

 Loading...


