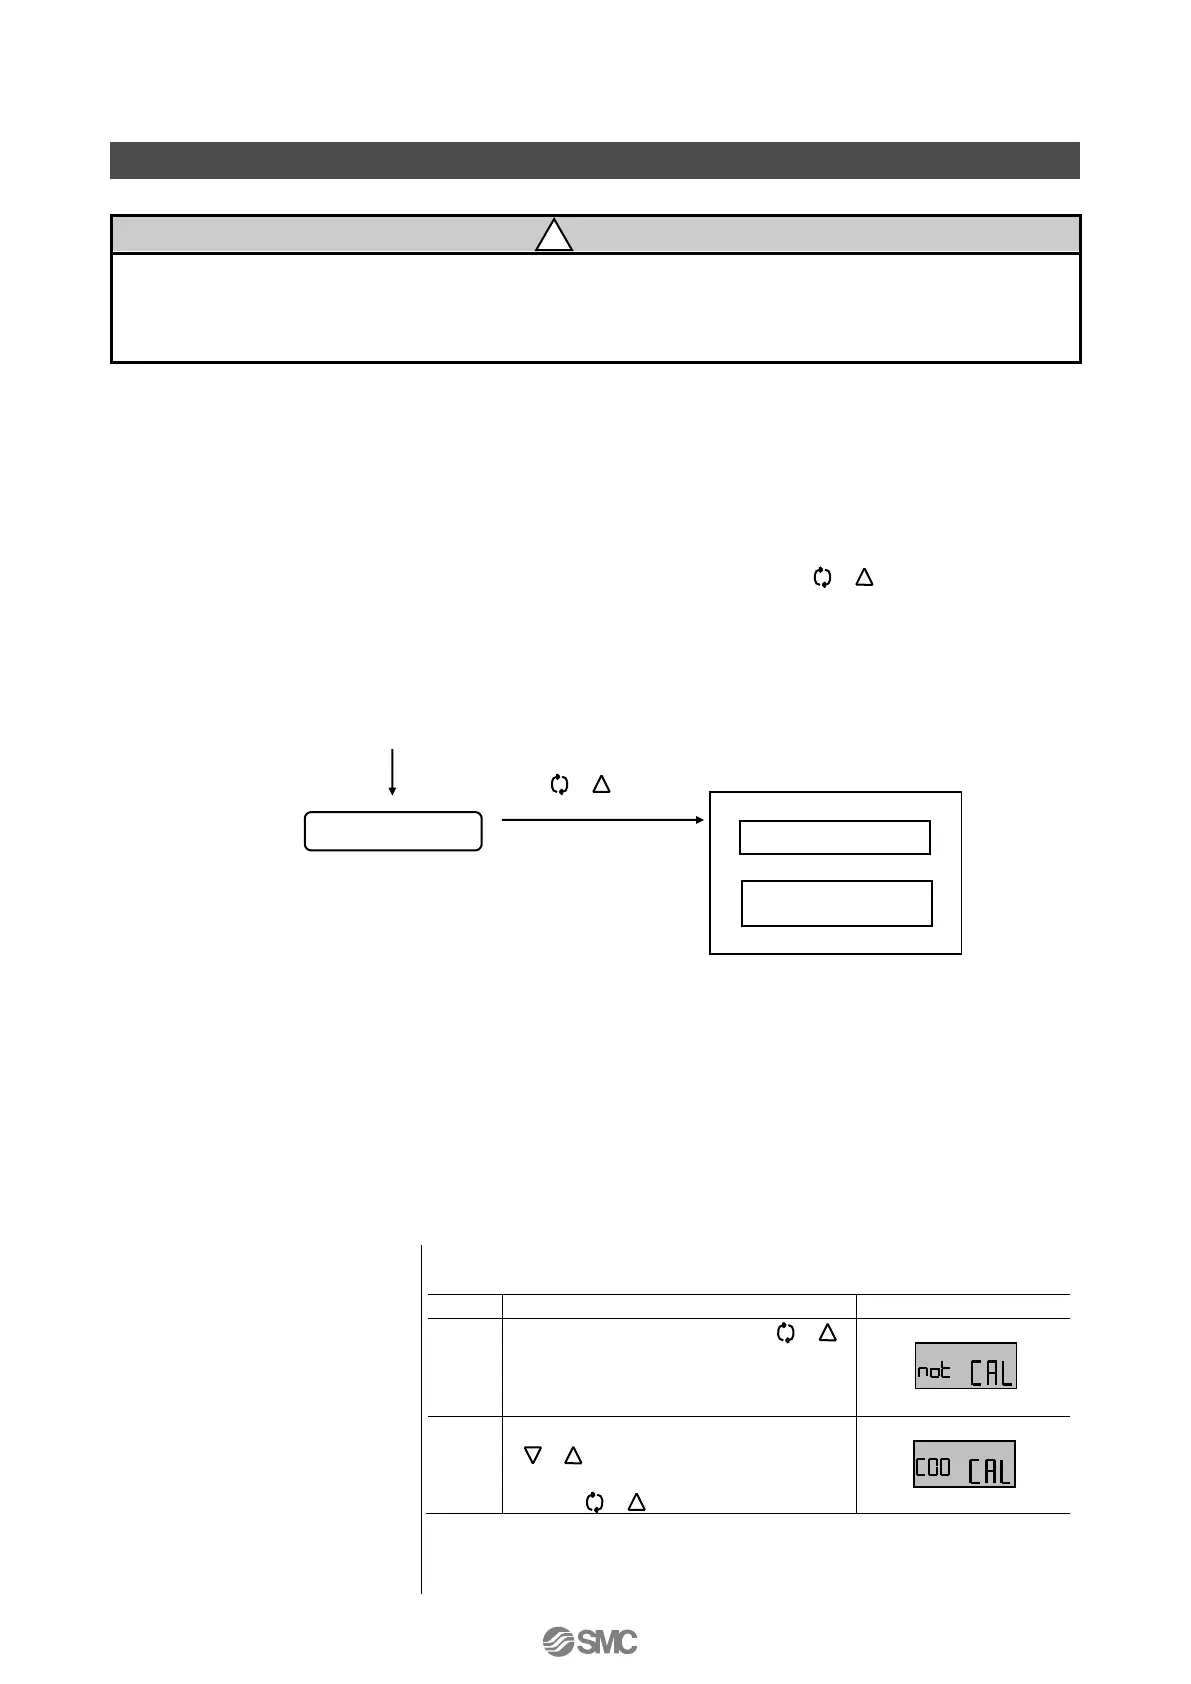
Initial Adjustment
Pay attention to your surroundings when performing the initial adjustment because it causes
the positioner to automatically move the actuator.
■Change of Parameters for Initial Operation
When an input current of 4 to 20mA DC is initially applied after purchasing
*
1
, the LCD shows “Not
calibrated” (not CAL) because no adjustment is performed after mounting and transferring to auto
mode is unavailable (Fig. 20)
*
2
. Perform the initial adjustment according to the following procedure.
The initial adjustment is performed by applying an optional input current of 4 to 20mA DC
*
3
. During
adjustment, errors may occur. In such cases, hold down the set button ( ) for 1sec. or longer
to return to the previous calibration mode, and then continue the adjustment referring to the “■Error
Code List”.
1: For the electric wiring, refer to “■Electrical Wiring”.
2: Until the initial adjustment is complete, the positioner can have each parameter setting, but cannot be
operated.
3: Do not change the input current during the parameter adjustment.
■Initial Adjustment
1. Selection of calibration
mode
Hold down the set button ( )
for 1sec. or longer to enter
parameter mode from the
uncalibrated state (not CAL).
Press the Down or Up button
( ) to select calibration (CAL)
and continue to hold down the set
button ( ).
 Loading...