39
CALIBRATION
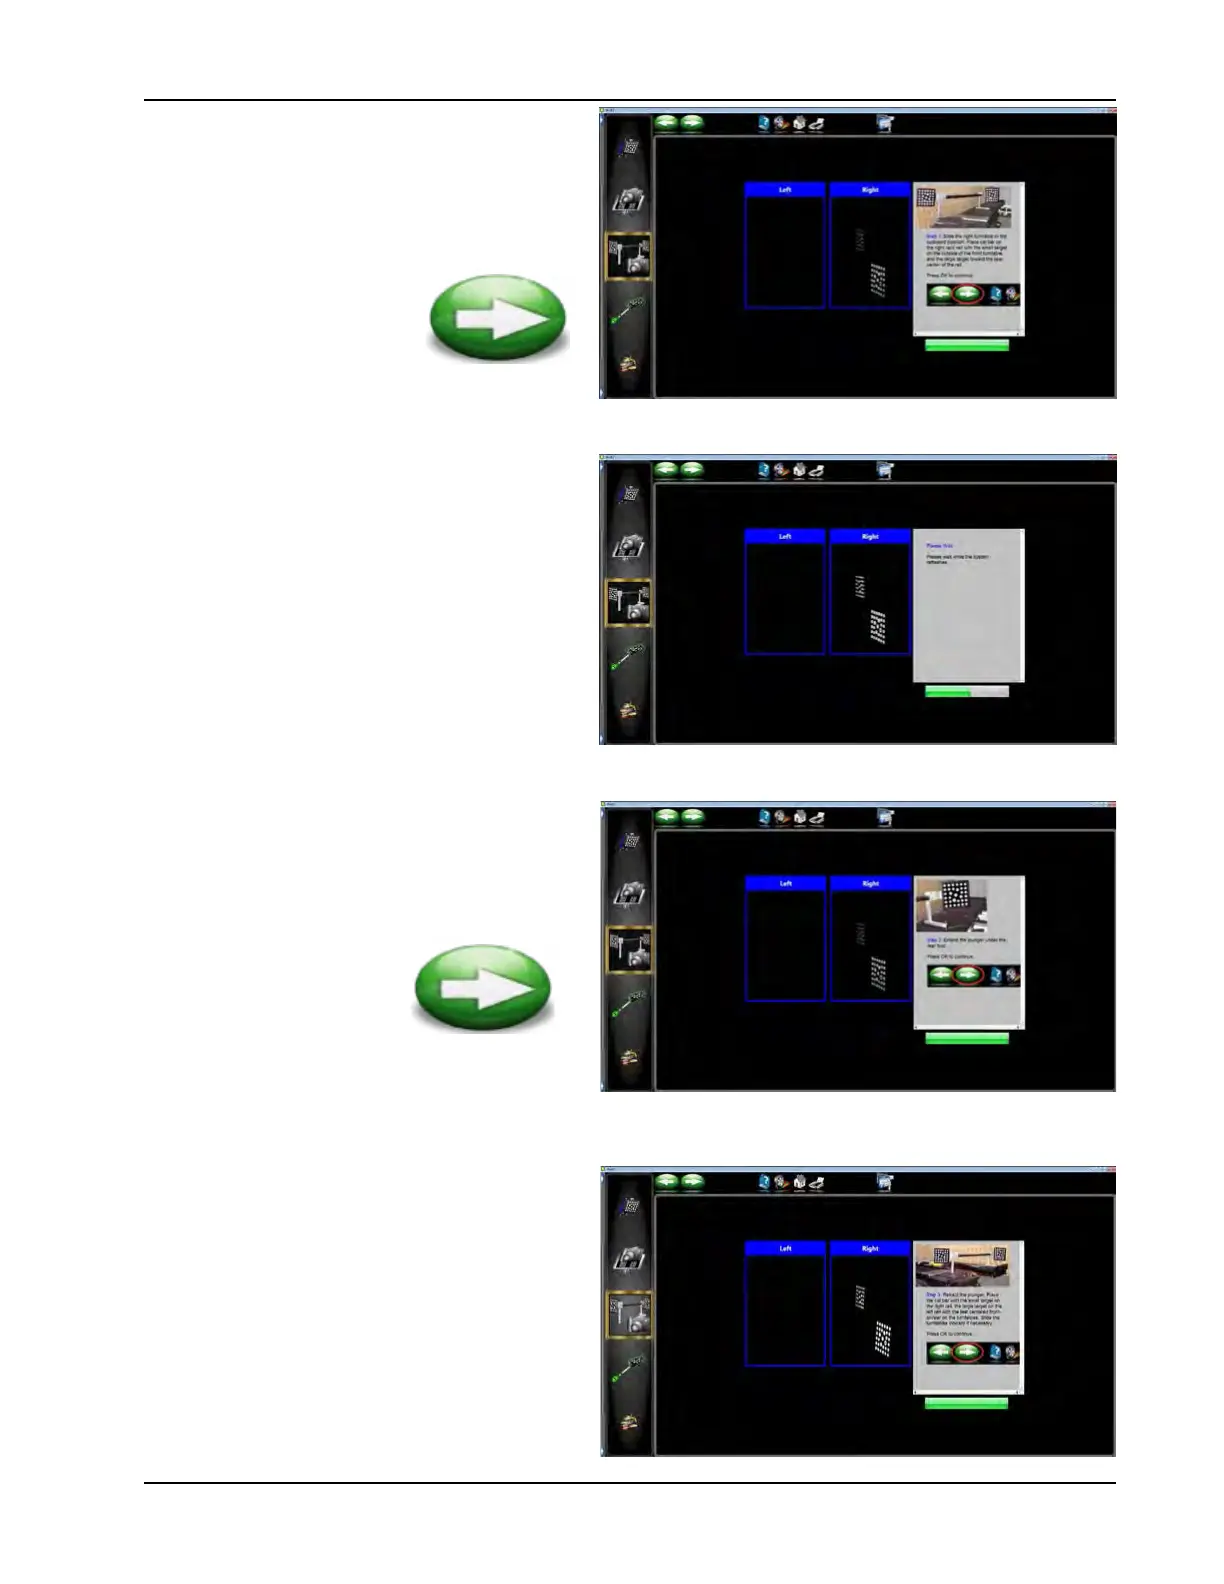
8. Two images should appear in the upper
left hand portion of the screen. The aligner
will sample the images and will automati-
cally prompt the technician for advance-
ment. Click on the <NEXT> button when
prompted.
9. The aligner will sample and process the im-
ages. Notice the progress bar in the lower
right hand corner.
10. After a period of time a message is dis-
played to raise the plunger on the double
leg bracket. This will cause the images to
rotate on the screen. Click on <NEXT>
when prompted.
11. Retract the 1.5” plunger. Place the cal bar
with the small target on the right rail, the
large target on the left rail with the feet cen-
tered front to rear on the turntables. Slide
the turntables inboard if necessary. Click on
<NEXT> when done.