41
CALIBRATION
16. Extend the plunger under the rear foot. Click
on <NEXT> when done.
Congratulations! You have successfully com-
pleted calibration.
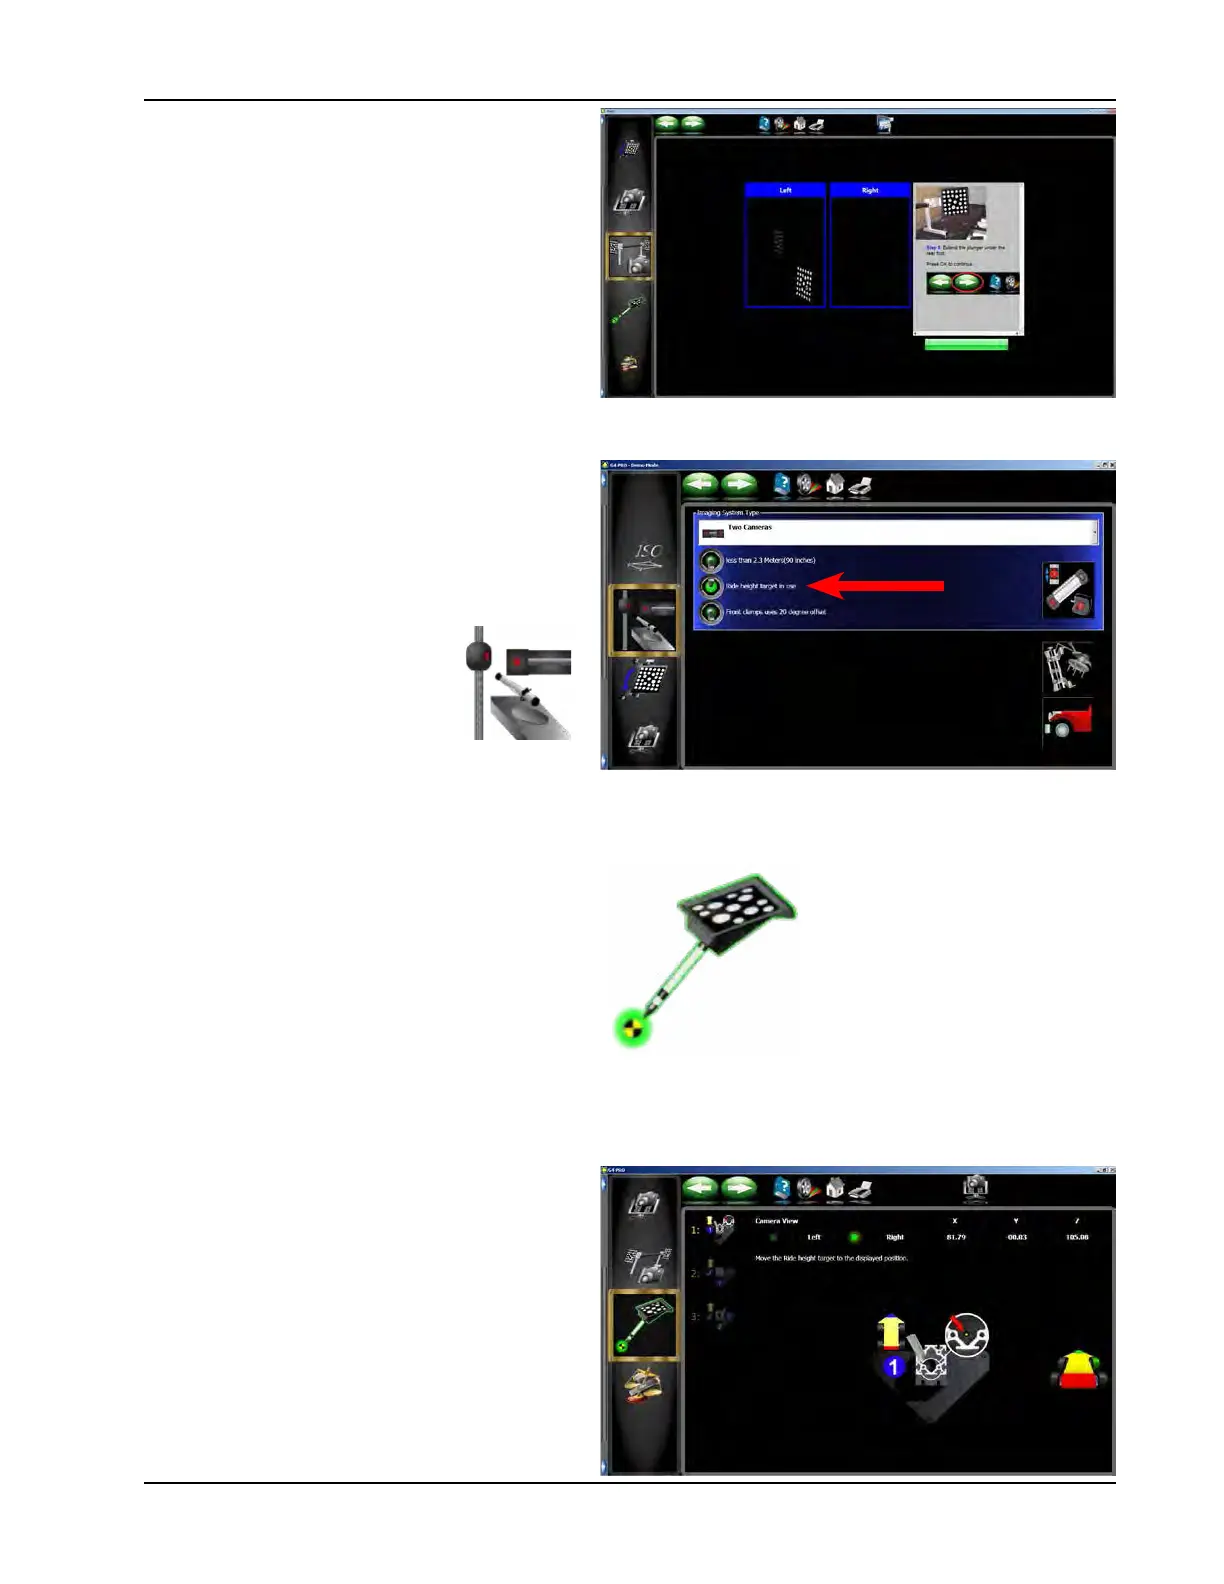
ACTIVATE AND CALIBRATE THE RIDE
HEIGHT MEASURING DEVICE
From the Calibration Menu, click on the System
Conguration icon and click on Ride Height
Target switch to activate the Ride Height Target
feature.
CALIBRATE
1. From the Calibration Menu, click on Ride
Height Target Calibration icon to begin the
calibration process.
2. Locate the Ride Height Calibration xture and
place the xture on one of the lift runways so
the straight edge is toward the camera.
3. Select the side of the rack you are to calibrate
from.
4. Place the tip of the target pointer into the hole
in the base of the calibration xture.
NOTE: THE POINTER TIP MUST
REMAIN IN THE HOLE DURING ALL
STEPS OF CALIBRATION.
5. Tilt the target to the rst position. The reec-
tive surface of the target should be facing the
camera. The target should be steady during
each step.