en
13
6 Conguration of MaxWeb xp
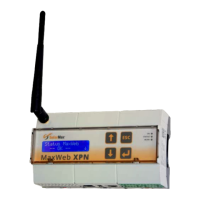
6�1 Switching on and off
Insert the round plug connector of the plug-in mains unit into the “+15 VDC” socket of the
MaxWeb xp. Then connect the plug-in mains unit to the power supply.
As soon as the power supply is connected, MaxWeb xp starts and the status LED comes
on. After approx. 30 seconds the device is accessible via the web browser.
Always switch MaxWeb xp off via the -button! Press and hold the key until the status
LED goes out and the device switches to standby mode. The power supply can now be
removed if required.
In order to start the device from standby mode, press and hold the -button until the
status LED comes on. A restart from standby mode is possible only after 30 seconds.
6�2 General
6�2�1 Connection cable
For a connection to the LAN, the DSL router or the hub/switch use the grey cable.
For a direct connection to the Ethernet interface of your PC use the red (crossover)
cable.
6�2�2 IP Address
MaxWeb xp requires a static IP address in your network. The automatic IP address
assignment using DHCP is not supported by MaxWeb xp.
The prexed IP address of MaxWeb xp is 192.168.1.234. If the prexed address of
MaxWeb xp is outside the address range (subnetwork mask) of your network or this
address has already been assign to another device, you must temporarily modify the
network conguration of your PC (see Section 6.2.3) and change the default setting
of MaxWeb xp. Otherwise you can create a connection to MaxWeb xp without any
further settings.