3. Set up each Base as described in Steps 1-5 of the Cheat Sheet. Once each Base is set up, you can either follow the
Pairing & Calibration procedure described in Step 4 below or setup and calibrate each Base one-by-one according to
the steps outlined in the Cheat Sheet.
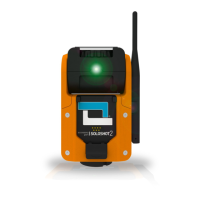
4. Perform the standard 50-100 step walkabout with your warm Tag. Press and hold the BUTTON on your Tag
towards the end of your walk and until LED1 turns GREEN. Continue pressing the BUTTON and, while holding
your Tag above your Camera TOP WHITE SIDE UP facing the sky, Press the BUTTON on your Base. The LEDs
on the Base will flash RED for a few seconds and LED3 on your Tag will blink RED. Once pairing AND calibration are
complete, the Tracking LED on the Base will blink GREEN. The Base will start tracking the Tag after you have moved
about 10 ft away from the Base. YOU DO NOT HAVE TO RETURN TO THE CENTERING OBJECT (STEP 9).
5. You may set up your next Base using either the standard method of the Stored Shared Centering Object.
TIP: You can switch between standard and Shared Centering Object Base
calibration as you see fit. Just press and hold the Tag + BUTTON whenever you
want to calibrate a base using the Shared Centering Object
45