Example: Manhole Cover
ADDING BASES - METHOD 2
Use Shared Centering Object
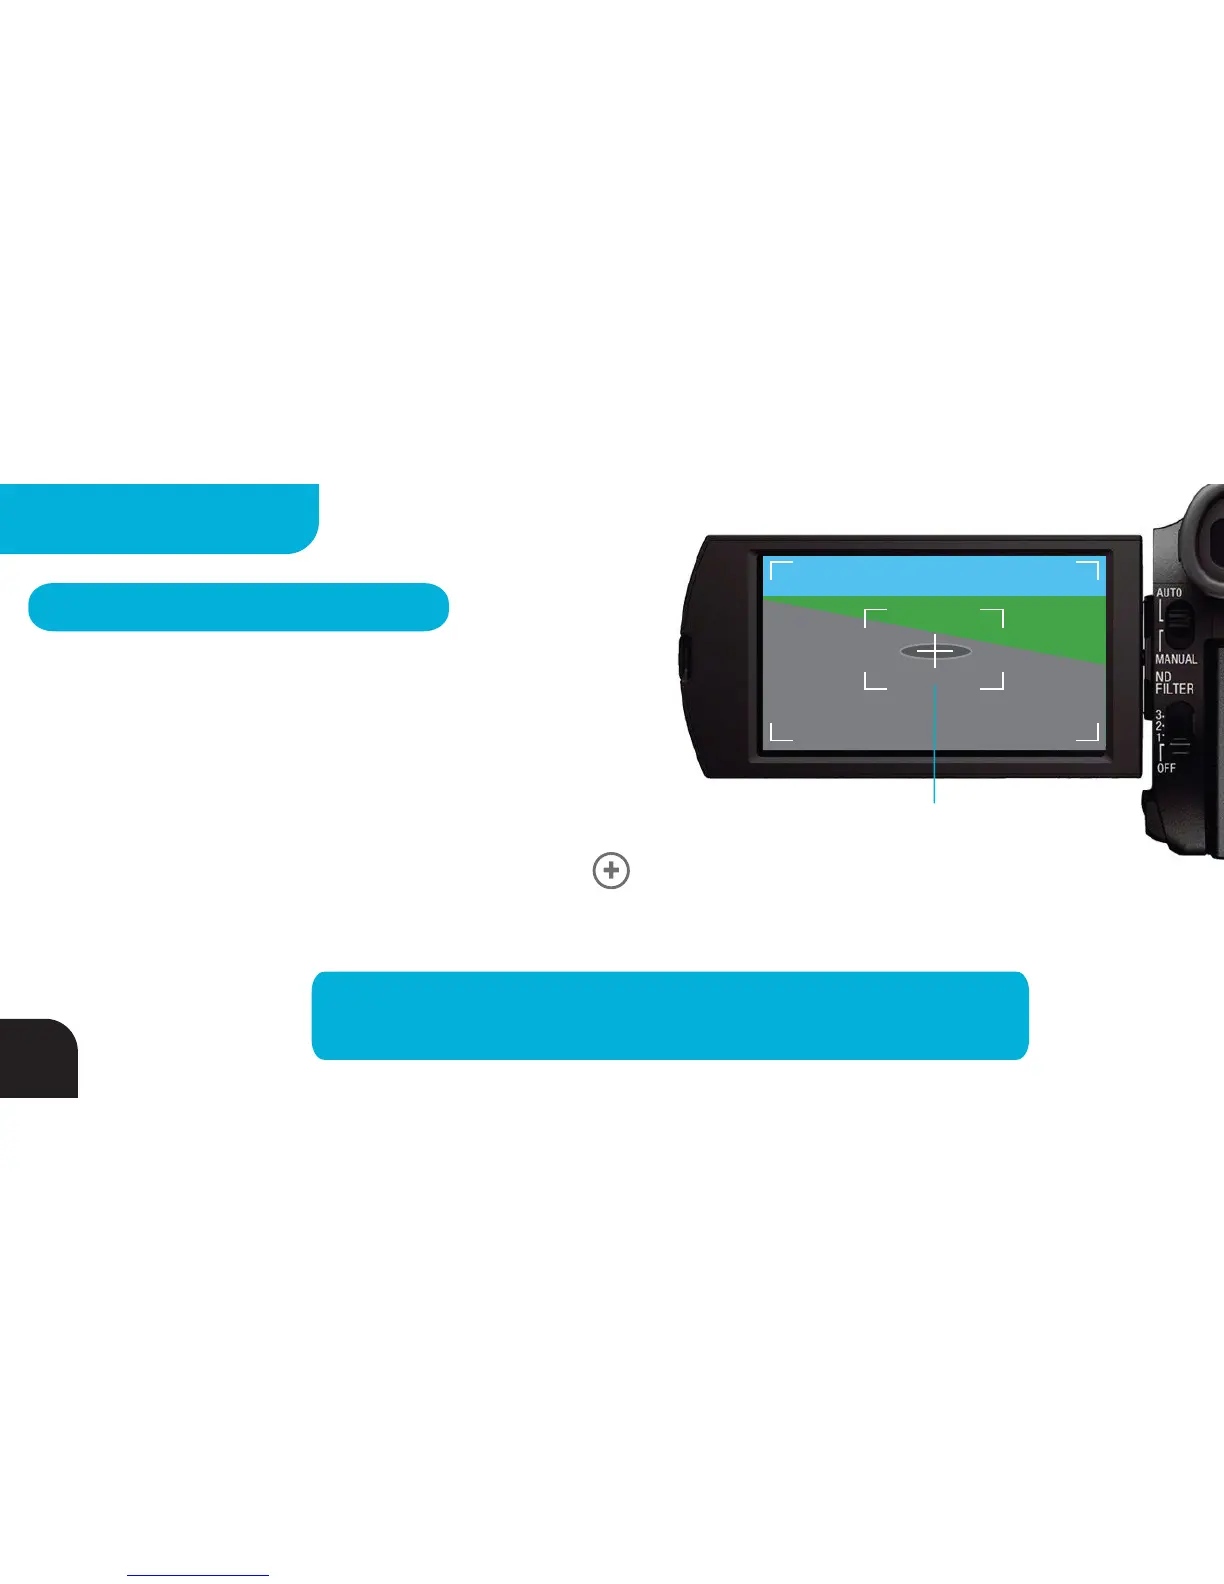
1. Identify a Centering Object that will be visible from all the
camera locations you wish to set up.
2. Walk over to the shared Centering Object with your warm Tag, TOP WHITE SIDE UP facing the sky, and,
after completing the 50 - 100 step walkabout, press the BUTTON 4 times as described on pg 22.
LEDs
1, 2 and 3 on your Tag will flash GREEN with each button press and remain GREEN for 2 seconds after the fourth
button press indicating you have stored the Centering Object’s location for later use.
TIP – Time your walk to the Centering Object so that you take
50-100 steps to ensure your Tag is warm and is ready for calibration.
44
MULTIPLE BASES