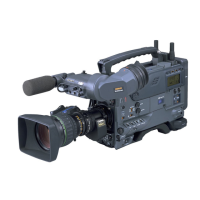
3-33 (E)
HDC-P1
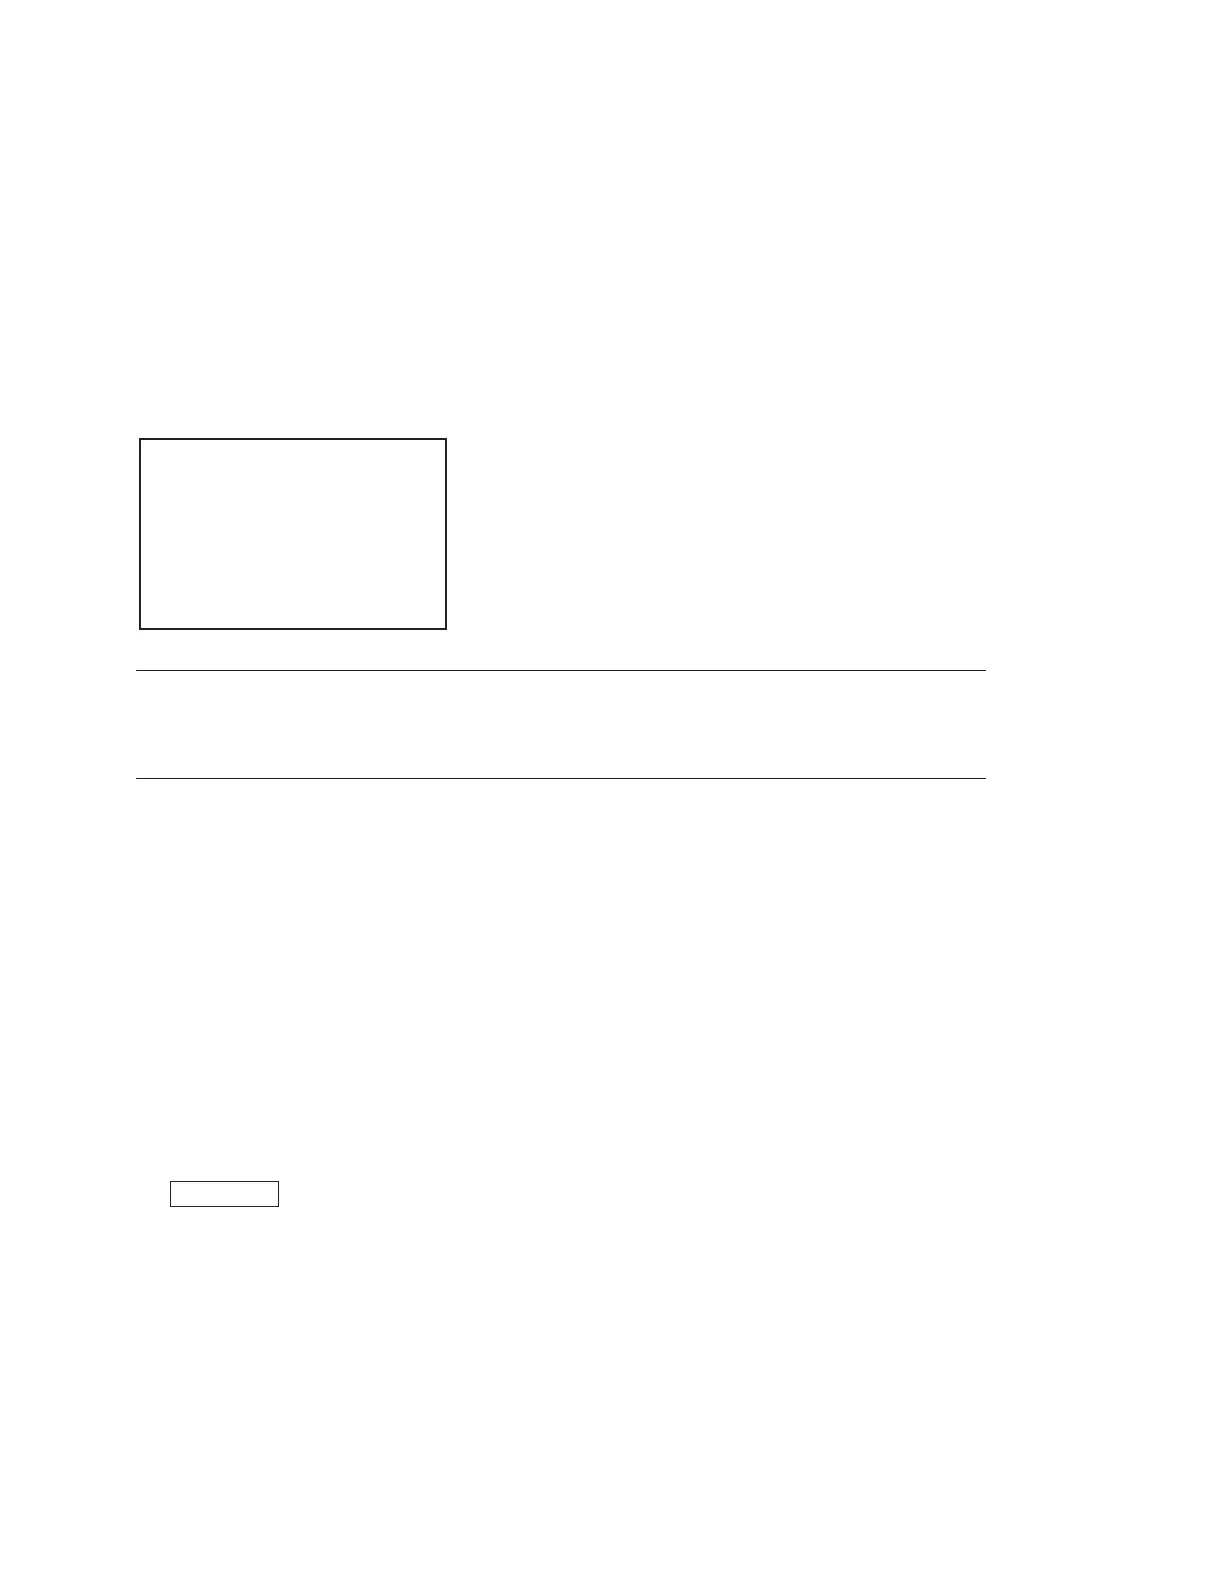
<V.LINE> S04 TOP
RPN CH SELECT : R
RPN CURSOR : OFF
CURSOR H POS : 1008
CURSOR V POS : 576
CURSOR JUMP : CURR
V.LINE LEVEL. : 127
RECORD V.LINE : EXEC
DELETE V.LINE : EXEC
3-7. Vertical Line Compensation
m
. Compensate the vertical line fi xed-pattern noise of the CCD using the following procedure.
. Such vertical lines cannot be well compensated even with adjustment in some cases. In that case, re-
place the CCD block.
Use the SERVICE menu for vertical line compensation.
For how to display the SERVICE menu, refer to Section 5-1.
Open the V.LINE [S04] page of the SERVICE menu.
Preparation
. Perform the automatic black balance adjustment.
Adjustment Procedure
n
An area of 11 lines right and left from the compensated vertical line cannot be compensated. If you at-
tempt to compensate a vertical line in the area, a message “ADJACENT PIXEL” appears on the screen.
1. Select a channel (R, G, or B) you want to compensate.
ITEM: RPN CH SELECT → R, G, B
2. Adjust the vertical cursor position to move the horizontal axis of the cross cursor to the vertical line
position where you want to start compensation.
ITEM: RPN CURSOR → ON
ITEM: CURSOR V POS
3. Then adjust the horizontal cursor position to align the vertical axis of the cross cursor with the verti-
cal line.
ITEM: CURSOR H POS
Reference
One click of the menu control knob is equivalent to one pixel shift.
On the other hand, the cursor moves by two clicks of the menu control knob because the cursor has a
size of two pixels.
 Loading...