34
Operation Using the Remote
Controller
This chapter describes how to operate the camera using
the optional remote controller.
When you make the settings of the camera using the
remote controller, see “Setting with the Remote
Controller” on page 40.
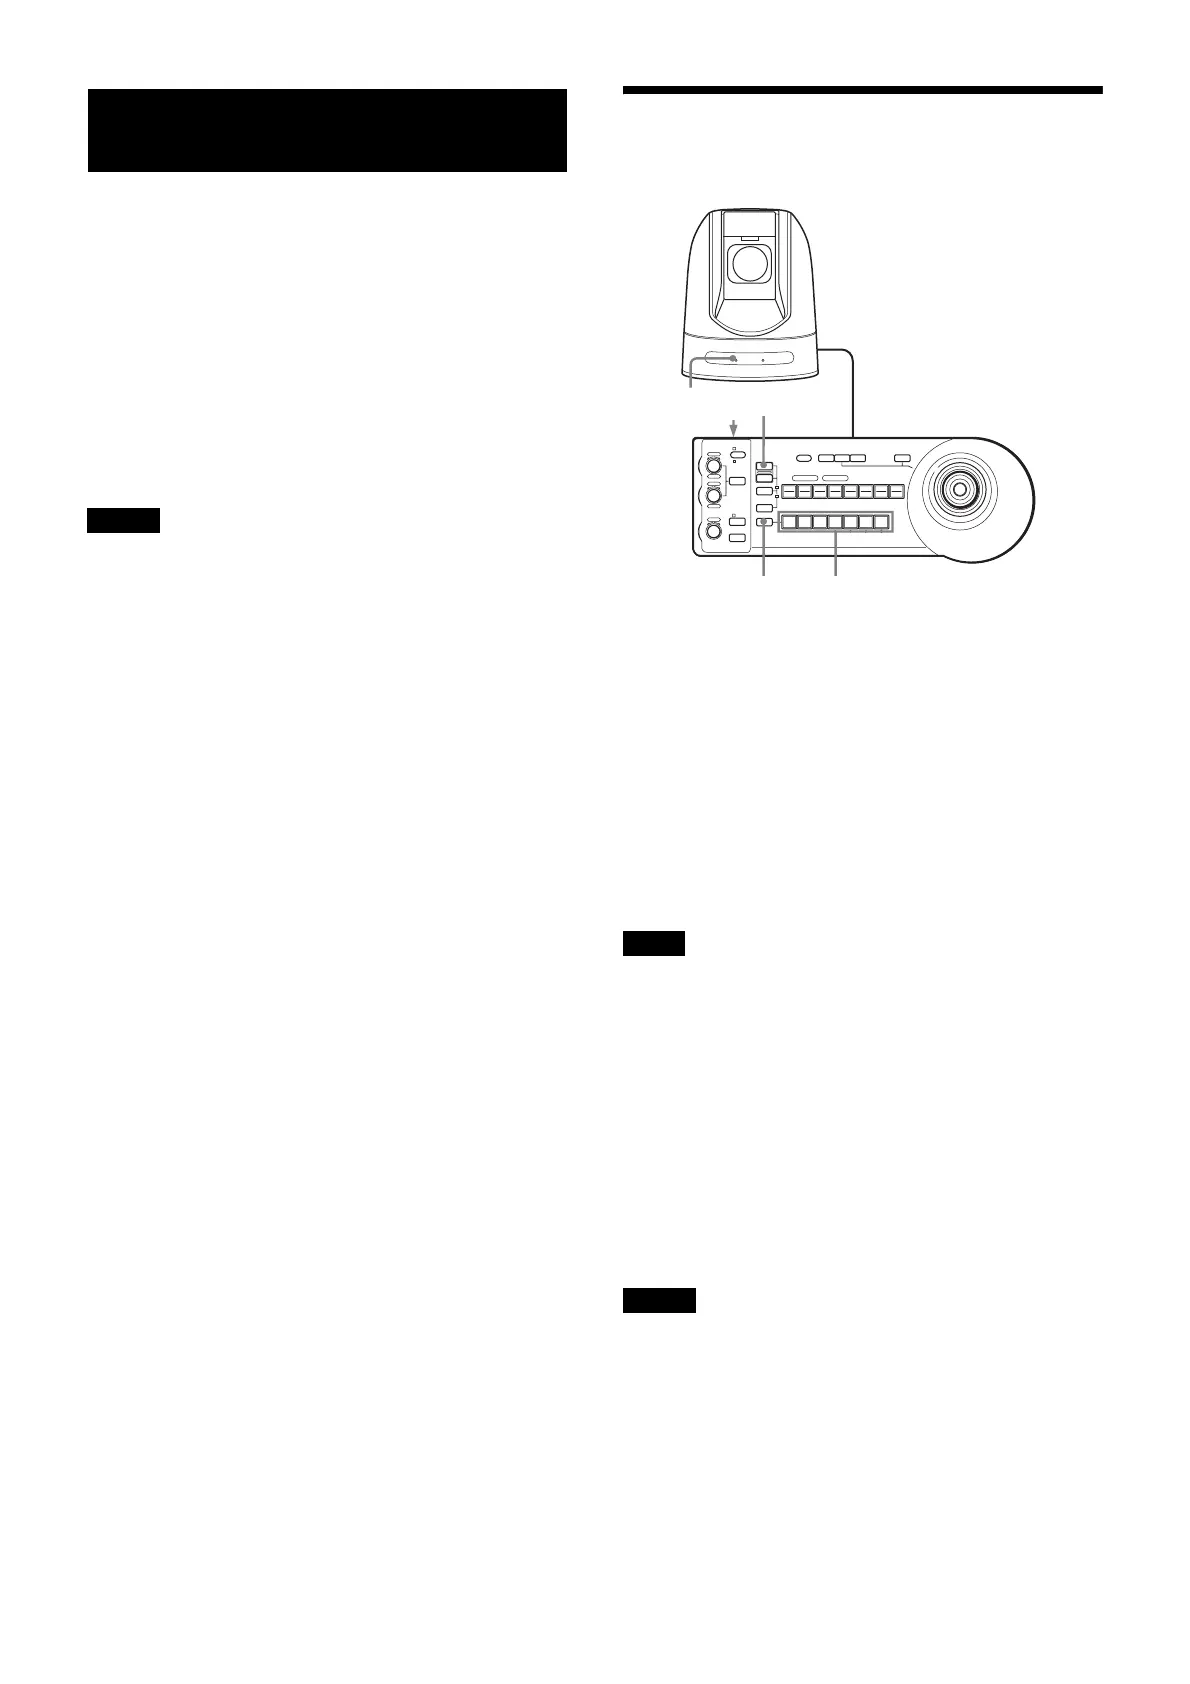
Before operating, check that the camera, the remote
controller, and peripheral devices are properly installed
and connected.
For details, see “System Configuration” on page 12.
• You can select the IP connection and the serial
connection (RS-422) for the connection between the
camera and the remote controller. Set the
communication speed of the VISCA RS-422 connector
of the connected camera using the serial connection to
be the same speed of the remote controller. For details,
see “Location and Function of Parts and Controls” —
“BAUD RATE switch” (page 8).
• When performing the IP output of video and audio, the
response of the camera to operation from the remote
controller may delay.
• For details of the remote controller settings, see the
Operating Instructions of the remote controller.
Preparation
1
Connect the camera to an AC outlet using the
supplied AC power adaptor and AC power cable or to
a LAN connector for PoE+.
The power is turned on and the POWER light turns
on.
The camera automatically pans and tilts to come to
the position stored in POSITION 1 when the power is
turned on. (Pan/Tilt reset)
After this, SDI OUT and HDMI OUT images are
output and the NETWORK light comes on. Then, all
operations become available (up to two minutes).
When power is supplied via PoE+, the POWER light does
not come on until the initial authentication is completed
(the time varies depending on the model; it is
approximately one minute).
2
Press the ON/OFF switch on the remote controller to
turn it on.
The CAMERA button representing the camera whose
power was turned off last lights.
(The CAMERA 1 button lights by default.)
3
Turn on the peripheral devices.
• Be sure to turn on the power of the camera before the
power of the remote controller. Otherwise, the remote
controller may not recognize the connected camera.
• After turning on the power of the camera, wait more
than two minutes and turn on the power of the remote
controller. Otherwise, the connection may not be
recognized.
Notes
Note
Notes
1
LOCK
JOYSTICK
KNOB
MODE
VALU E
RESET
POSITION
GROUP
MENUGROUP
PRESET
SHIFT
BLACK
LIGHT
PAN -T ILT
RESET
ONE PUSH
AWB
POWER
SELECT
AUTO
MANUAL
AUTO
ONE PUSH
AF
234567
POSITION
CAMERA
GROUP
R
–+
BRIGHT
B
–+
FOCUS
NEAR FAR
1 2 3 4 5 6 7 8
910111213141516
12
POWER CAMERA
RESET
 Loading...